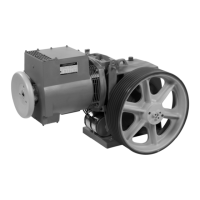
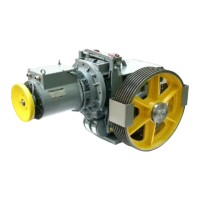
OPERATING MANUAL DAF380 MAINTENANCE/SERVICE
ThyssenKrupp Aufzugswerke GmbH
7.4.1 Setting the brake test switch (CSA version)
Function:
There are two sets of identical brake test switches with the same function to
monitor each brake circuit separately.
The switches each contain a break contact and a make contact.
The break contact with contacts 11 and 12 is used to monitor the position of
the brake shoe. With the brake open, the switch is closed.
The make contact closes contacts 23 / 24 only when the wear limit of the
brake linings has been reached and the brake is closed. The contacts must
be switched in such a way that when one contact of both switches closes the
drive is prevented from starting up.
With a correctly set brake test switch, all switch contacts must be interrupted
with a closed brake.
Setting:
Note: Before starting to set the test switch, the brake block stroke setting
must have been carried out. For description, see Chapter 7.
During the setting up procedures, the drive should be switched off for safety
reasons.
• Connect the continuity test device to contacts 11 and 12 of the break
contact. The adjusting screw must not touch the control tappet.
• In home position of the drive (brake magnet without current) unscrew the
adjusting screw for the brake test from the brake shoe in direction control
tappet until opening of the contact is indicated by a signal interruption at
the continuity test device.
• Continue unscrewing the adjusting screw a further approx. 1/4 revolution.
• Secure this setting by tightening the lock nut.
• Repeat the setting procedure at the second brake test switch.
Checking setting:
Open and close the brakes by switching the motor. Observe whether the
switch at the contacts corresponds to the procedure described above.
Push the feeler gauge between adjusting screw and control tappet. Select
the thickness so that contact 23/24 is closed.
When one of the contacts is closed, it must no longer be possible to start up
the drive.

 Loading...