28
To set the HDMI CEC Setup
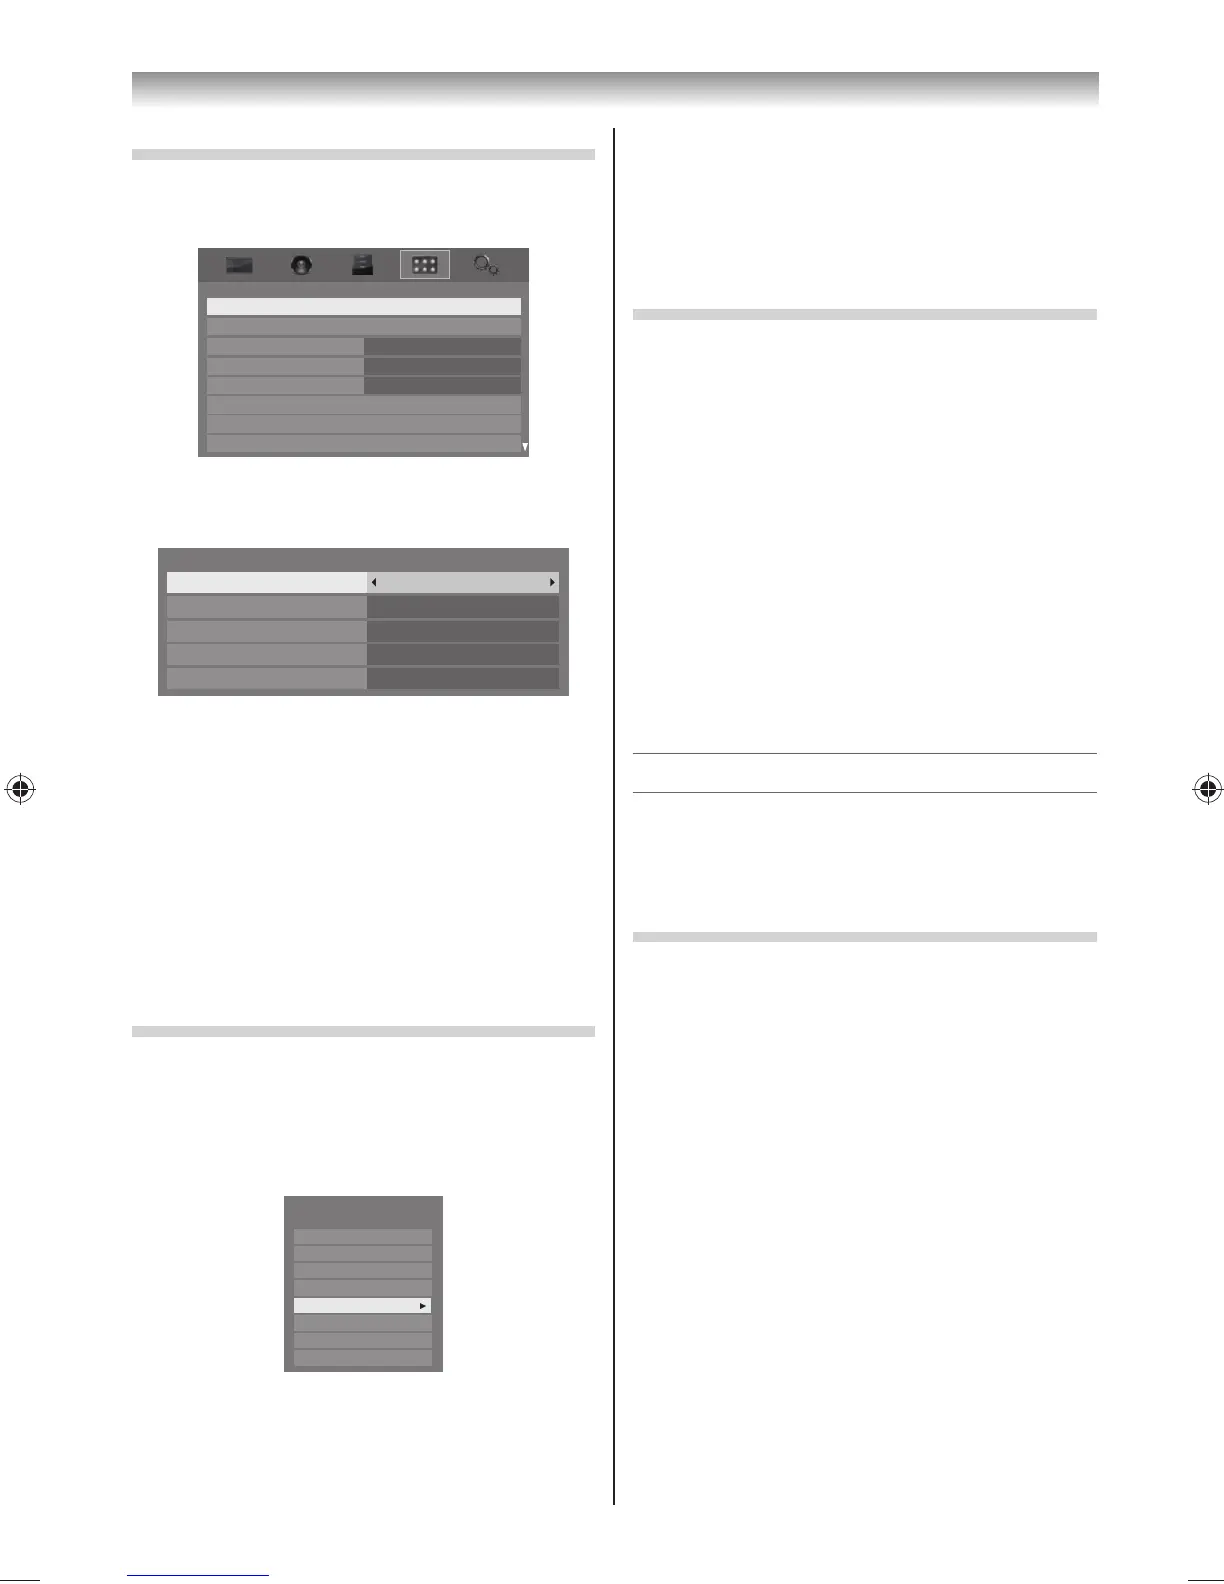
1 From the PREFERENCES menu, press or to
select HDMI CEC Setup.
HDMI CEC Setup
Network Setup
Teletext
Teletext Language
Panel Lock
Display Settings
AV Connection
Auto
Off
4
Energy Saving Settings
PREFERENCES
2 Press OK, press or to select Enable HDMI
CEC, then press or to select On.
HDMI CEC Setup
Enable HDMI CEC On
TV Auto Power
Auto Standby
Amplifier Control
Initial Speaker Setting
On
On
On
TV Speakers
Note:
If you set Enable HDMI CEC to O , the all other
items will be greyed out.
3 Press or to select the HDMI CEC Setup
item you want to use, and press or to
select On/O or the desired speakers mode.
• TV Auto Power: On/O
• Auto Standby: On/O
• Ampli er Control: On/O
• Initial Speaker Setting: TV Speakers/
Ampli er
HDMI CEC input source selection
When you select an input source where an HDMI
CEC device is connected to an HDMI CEC compatible
audio device, c appears in the list.
Press o to display a device list, and press or to
select a device.
TV
Inputs
VIDEO1
VIDEO2
HDMI 1
HDMI 2
HDMI 3
HDMI 4
PC
To select the HDMI input source, refer to “Selecting
the video input source to view” on page 26.
Using the TV’s features
Notes:
• This function depend on the devices connected.
• If the HDMI cable from connected device is changed
or HDMI cable from connected device setting are
changed, Enable HDMI CEC in the HDMI CEC
Setup menu may need to be reset On.
To control the HDMI CEC compatible device
First select the HDMI input source with the desired
HDMI CEC compatible device connected, then
switch the mode on the remote control to HDMI
CEC and press the available button on the remote
control (- page 13).
The TV features that can be controlled by the connected
device remote control are:
Power standby, Volume, Programme channel, Sound
mute, Input selection, Number buttons, Previous
programme channel etc.
Note:
These functions are dependent on the connected
device. Not all the remote control buttons may be
available. Please refer to the owner’s manual for all the
connected devices.
Teletext
This TV has a multi-page Teletext memory, which
takes a few moments to load and it o ers two
ways of viewing Teletext Auto and List which are
explained below.
Setting up the Teletext mode
To select a language for Teletext:
The language 1-4 option enables the display of
di erent language when using Teletext.
1 From the PREFERENCES menu, and then press
or to select Teletext Language.
2 Press or to select the required language.
• Language 1: English, German, Dutch,
Flemish, Russian, Bulgarian, Ukranian, Lettish,
Lithuanian, Czech, Slovak, Estonian
• Language 2: Polish, German, Dutch, Flemish,
Estonian, Lettish, Lithuanian, French, Serbian,
Croatian, Slovenian, Czech, Slovak, Rumanian
• Language 3: English, French, Hebrew, Turkish,
Arabic
• Language 4: English, French, Hebrew, Turkish,
Farsi (Iranian/Persian)
324046PX200SeriesEn.indd28 2012/06/0413:21:49
 Loading...