1 -9
PREPARATION FOR SEWING
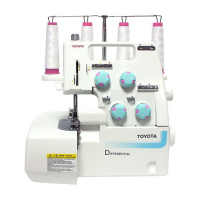
6. Replacing Needles
Cover the spool with the "NET" as chemical fibers
(fibers) and the like are easily frayed.
When using a real type thread spool, insert
the spool adapter (supplied with the machine)
(as shown).
Net
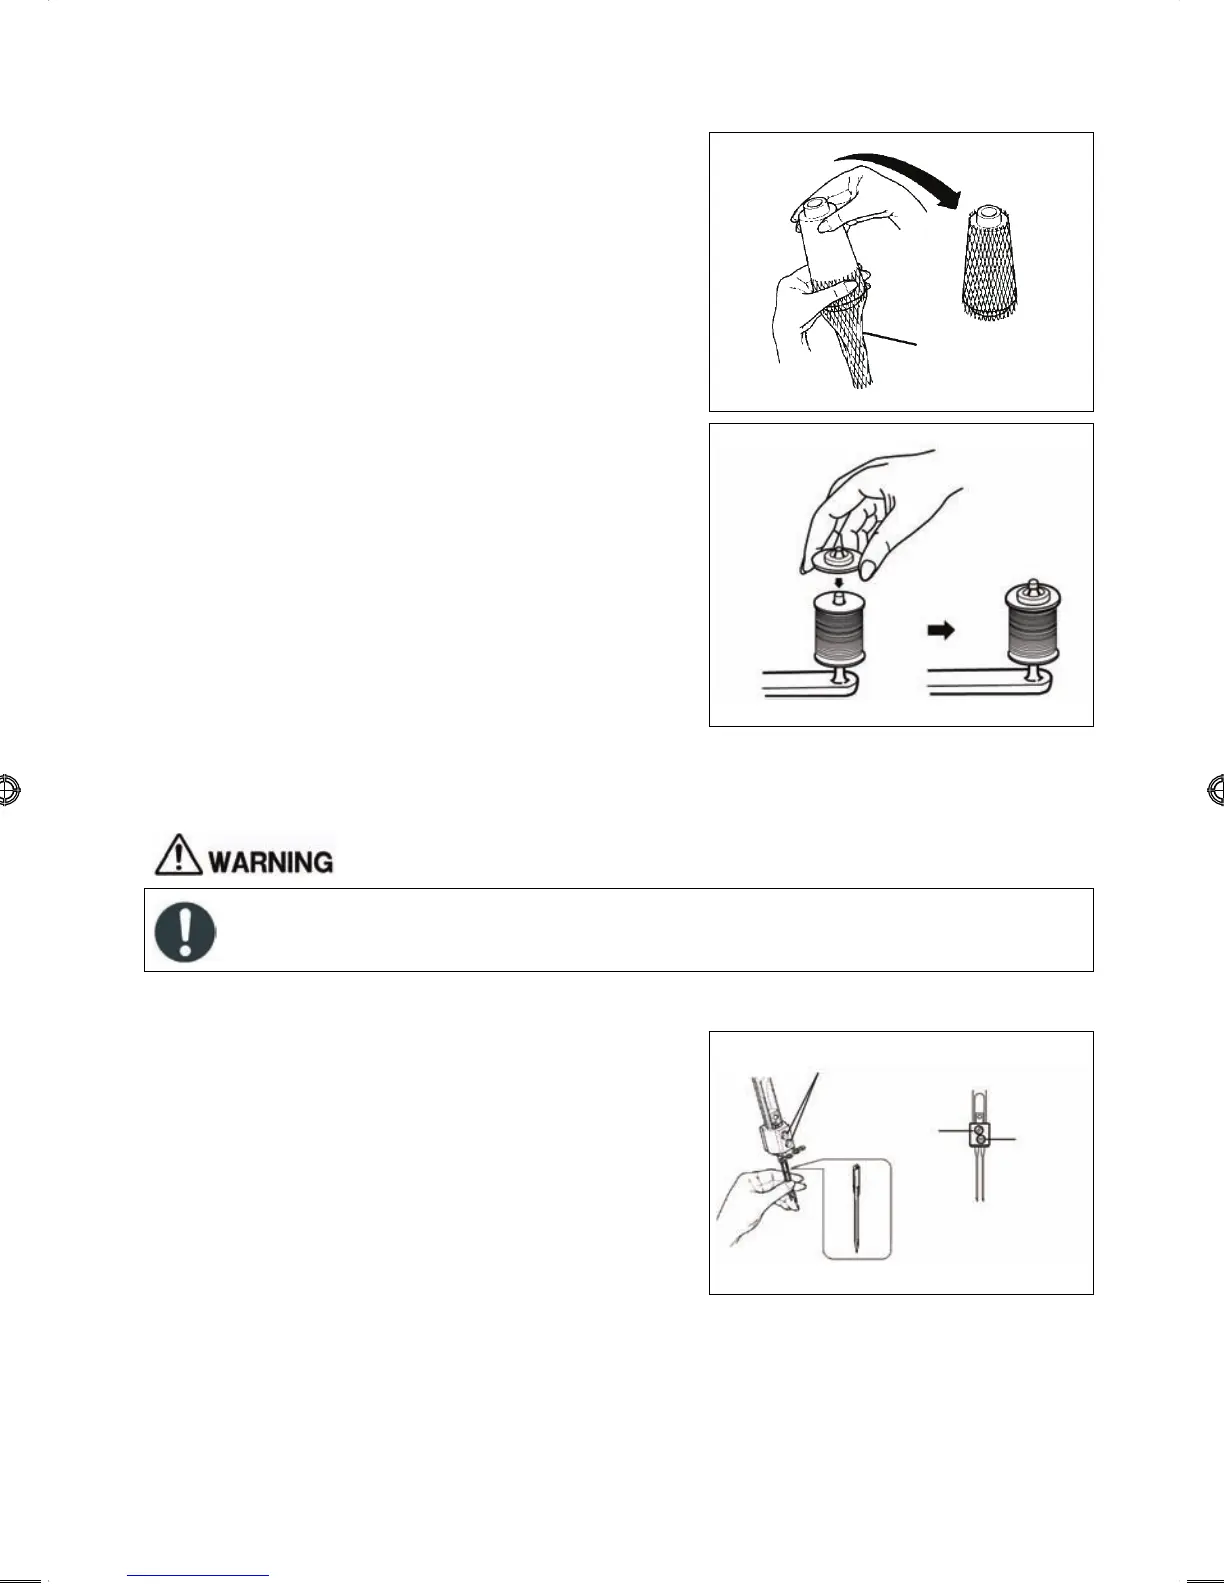
Before changing the needle, switch the machine off.
Not doing so could cause an injury.
Replace needles in the following way:
(1) Bring needles to their highest position by
turning the hand wheel towards you.
(2) Loosen the Right/Left needle set screw and
remove the Right/Left needles separately.
(3) With the flat side away from you, insert the
new needles into the groove of needle bar and
push them up as far as they will go.
(4) Firmly tighten the Right/Left needle set screw
with screw driver.
If you are using one needle, remove the Right/Left
needle.
Use "HA x1T (705/130)" #11(80) or #14(90) or
other homeuse sewing machine needles.
Needle set screw
Left
needle
Right
needle
 Loading...