SS-SVX11K-EN
109
NNOOTTIICCEE
CCoommpprreessssoorr DDaammaaggee!!
EExxcceessssiivvee lliiqquuiidd aaccccuummuullaattiioonn iinn tthhee ssuuccttiioonn lliinneess
ccoouulldd rreessuulltt iinn ccoommpprreessssoorr ddaammaaggee..
DDoo nnoott aallllooww lliiqquuiidd rreeffrriiggeerraanntt ttoo eenntteerr tthhee ssuuccttiioonn
lliinnee..
8. At the liquid line angle valve add as much R-410A
LIQUID as possible up to, but not exceeding, that
listed in Table 33, p. 108. Depending on conditions,
it could not be possible to add more than 60% of the
charge listed in the table. This will be adequate for
compressor startup. More charge will be added
after compressors are started. Use an accurate
scale to measure and record the preliminary
amount of R-410A added to each circuit.
9. Do not add refrigerant in the suction line at this
time to prevent excessive refrigerant in the low side
prior to compressor startup.
Compressor Start-Up
(All Systems)
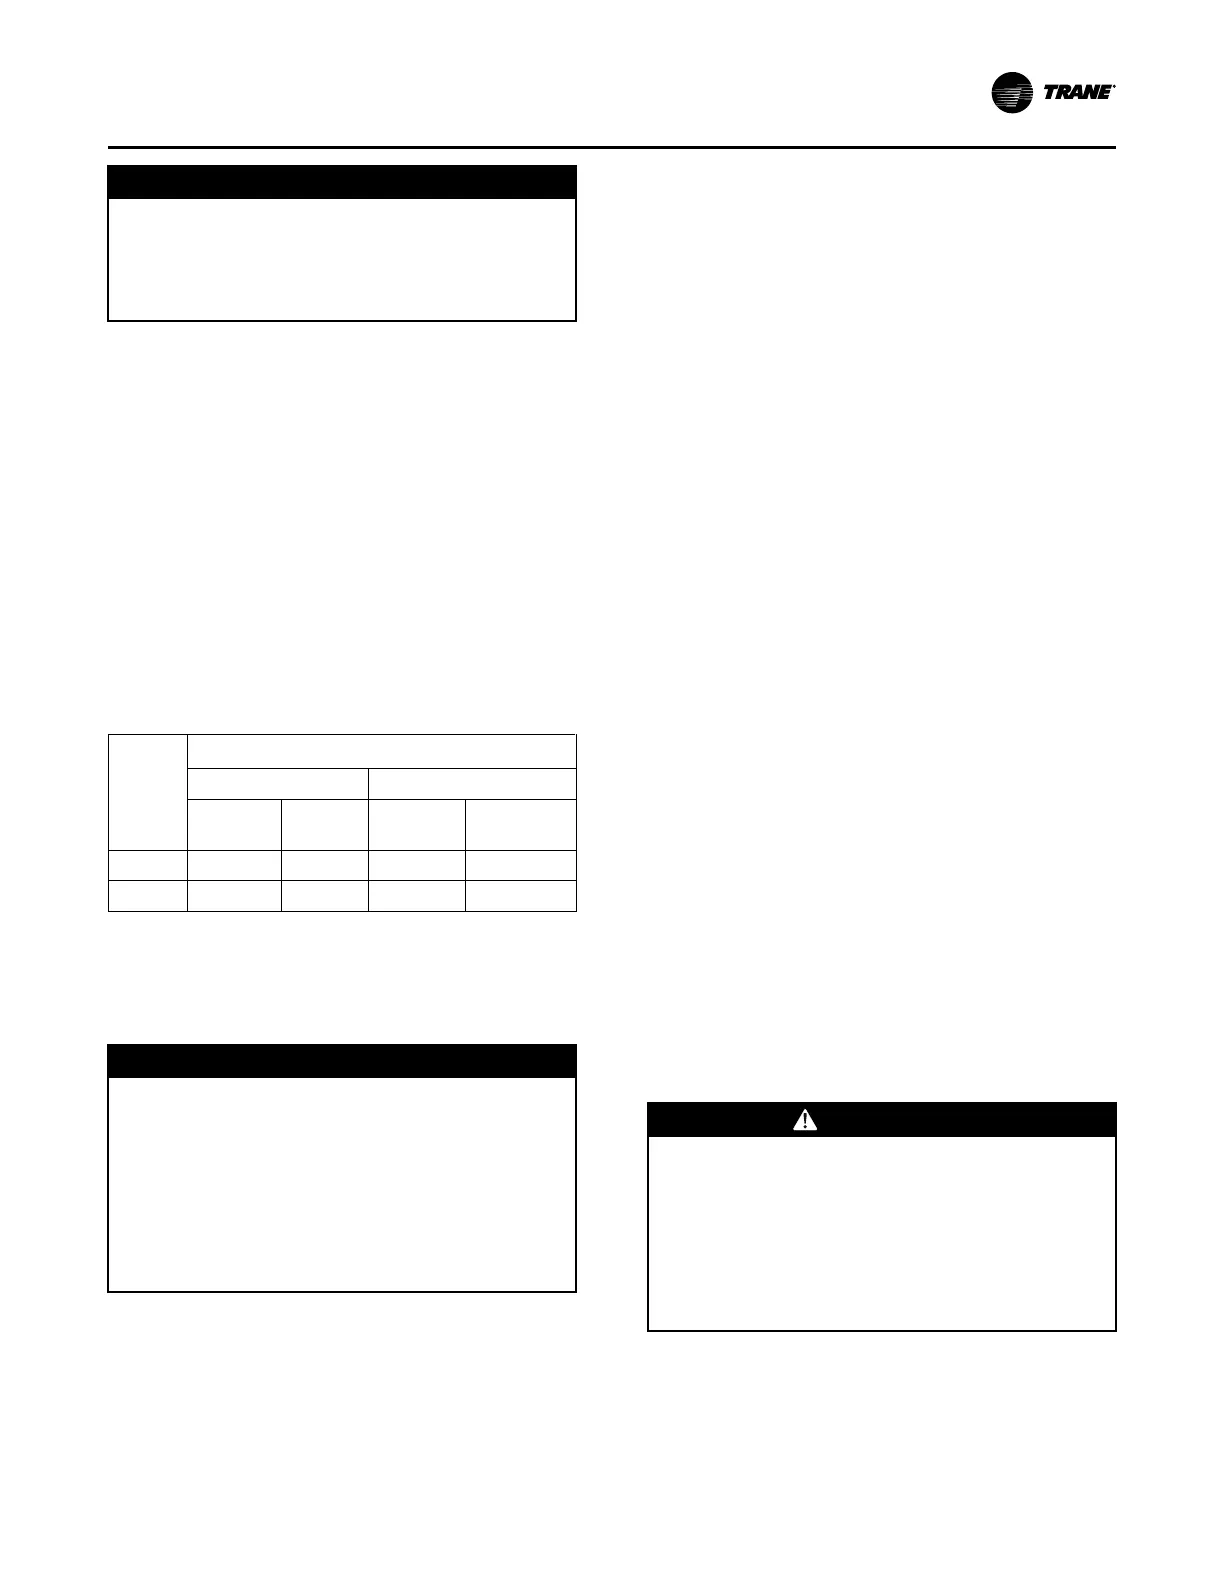
Table 34. Minimum starting ambient temperature
Unit
Size
Minimum Starting Ambient
(a)
(°F)
Standard Units Low Ambient Units
With
HGBP
No
HGBP
With
HGBP No HGBP
20-60 45 40 10 0
80-120 45 40 10 0
(a)
Minimum starting ambients in degrees F and is based on the unit
operating at minimum step of unloading and 5 mph wind across
condenser.
1. Review "Adding Preliminary Charge" section and
confirm all steps were completed.
NNOOTTIICCEE
CCoommpprreessssoorr DDaammaaggee!!
FFaaiilluurree ttoo ffoollllooww iinnssttrruuccttiioonnss ccoouulldd rreessuulltt iinn
ccoommpprreessssoorr ddaammaaggee..
KKeeeepp ccrraannkkccaassee hheeaatteerrss oonn wwhheenneevveerr rreeffrriiggeerraanntt iiss
iinn tthhee ssyysstteemm..
IIff ccrraannkkccaassee hheeaatteerrss hhaavvee nnoott bbeeeenn oonn wwiitthh
rreeffrriiggeerraanntt iinn tthhee ssyysstteemm,, ttuurrnn tthhee ccrraannkkccaassee
hheeaatteerrss oonn ffoorr aa mmiinniimmuumm ooff 2244 hhoouurrss bbeeffoorree
ssttaarrttiinngg ccoommpprreessssoorrss..
NNoottee:: Initial compressor start-up is best done above
70°F outdoor temperature with ample evaporator
load (at least 70°F return air and 350 CFM/Ton)
NNoottee:: Table 34, p. 109 gives the minimum starting
temperatures for both "Standard" & "Low"
Ambient units
IImmppoorrttaanntt:: Do not attempt to charge the system with
the low ambient dampers and/or hot gas
bypass operating (if applicable). Disable
low ambient dampers in the "Open"
position (refer to the "Low Ambient
Damper Adjustment" section) and verify
hot gas bypass is not operating before
proceeding.
2. On units with dual circuits, work on only one circuit
at a time. See tables in Compressor Sequencing
section for the compressor sequencing and
Operating Principals chapter Component Location
illustrations for their location..
3. Compare the amount of preliminary charge added
in the proceeding section to the table in that section
for condensing unit and piping only. Up to 20%
more charge than listed in that table may be
required to fully charge the circuit, depending on
the evaporator design. Have adequate R-410A
available to complete charging as described in the
following steps.
4. Attach a thermocouple type temperature sensor on
the liquid line close to the liquid line service valve.
To insure an accurate liquid temperature reading,
clean the line where the sensor is attached. After
securing the sensor to the line, insulate the sensor
and line to isolate it from the ambient air.
5. Attach a set of service gauges onto the suction and
discharge gauge ports.
6. Check the low side pressure. The low pressure
cutout (4S3, 4S4) opens below 58 psig and closes
above 78 psig. If the low side pressure is less than
78 psig, refrigerant may need to be added to the
suction line before starting the compressor(s).
Slowly meter into the suction line only as much R–
410A as needed to make the low pressure cutout
from the VAPOR charging connection. If possible,
plan to use this entire refrigerant bottle on the same
unit in order to minimize fractionalization. Use an
accurate scale to measure and record the amount of
R-410A added.
WWAARRNNIINNGG
HHaazzaarrddoouuss VVoollttaaggee!!
FFaaiilluurree ttoo ddiissccoonnnneecctt ppoowweerr bbeeffoorree sseerrvviicciinngg ccoouulldd
rreessuulltt iinn ddeeaatthh oorr sseerriioouuss iinnjjuurryy..
DDiissccoonnnneecctt aallll eelleeccttrriicc ppoowweerr,, iinncclluuddiinngg rreemmoottee
ddiissccoonnnneeccttss bbeeffoorree sseerrvviicciinngg.. FFoollllooww pprrooppeerr
lloocckkoouutt//ttaaggoouutt pprroocceedduurreess ttoo eennssuurree tthhee ppoowweerr
ccaann nnoott bbee iinnaaddvveerrtteennttllyy eenneerrggiizzeedd.. VVeerriiffyy tthhaatt nnoo
ppoowweerr iiss pprreesseenntt wwiitthh aa vvoollttmmeetteerr..
7. Switch the field supplied unit disconnect "OFF".
Open the unit control box and plug in the reset
relay (1K21 or 1K22) for the circuit being started
only.
8. This charging procedure is more accurate at higher
SSttaarrtt--UUpp
 Loading...