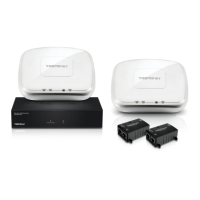
Wireless PoE Access Point (TEW-755AP / TEW-821DAP)
Ceiling Mount Installation
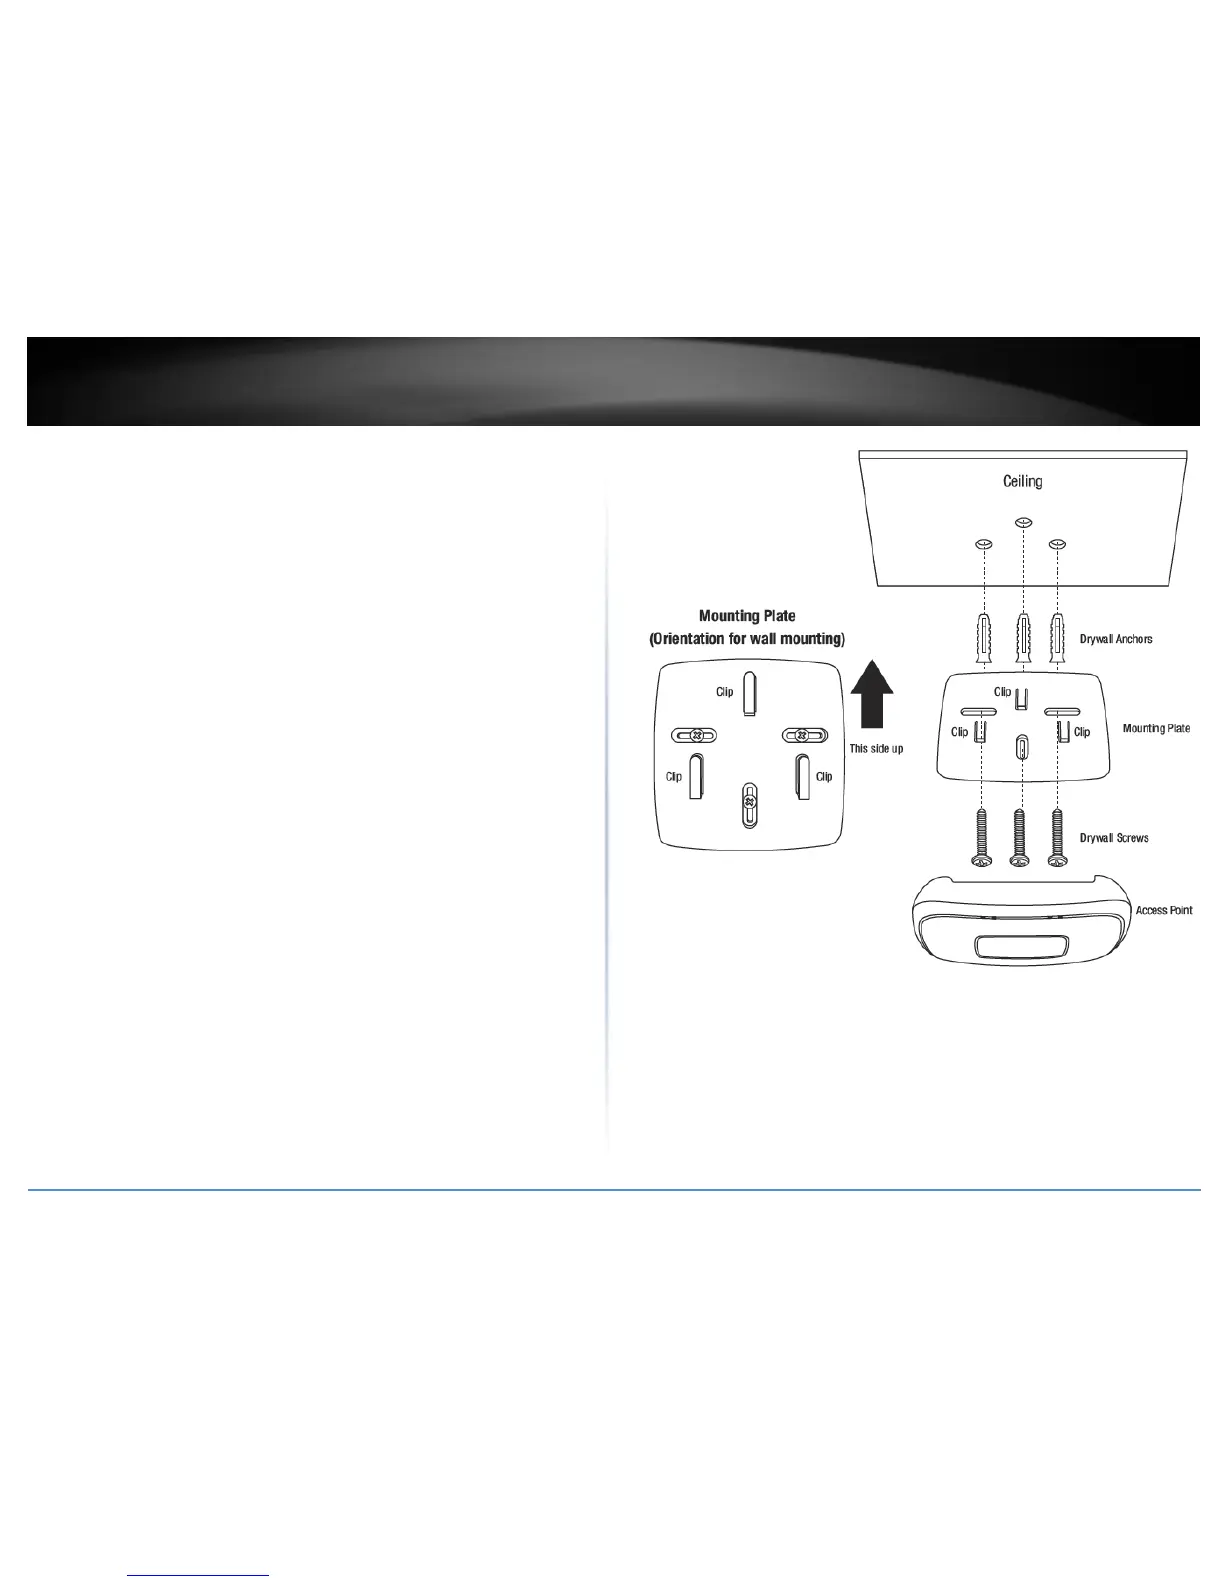
Select the desired ceiling to mount the access point.
First, install the mounting plate using the included drywall anchors (only
required if in wall stud installation points are not available) and screws.
Note: It’s optional to use a stud finder to locate in wall studs and mark as
installation points but not required.
Place mounting plate on ceiling (clips facing away from ceiling) in desired
mounting location and mark the points where the anchors/screws will be
installed.
Using a power drill and drill bits, create the holes were the anchors/screws will
be installed.
If anchors are required, install the anchors in the holes created first, then
attached the mounting plate with the drywall screws using the power drill and
Phillips bit or screwdriver.
After mounting plates are installed, align the access point mounting holes with
the mounting plate clips and slide in acces point to lock into place.
Wall Mount Installation
Select the desired wall to mount the access point and make sure to install the
mounting plates with the correct orientation.
First, install the mounting plate using the included drywall anchors (only
required if in wall stud installation points are not available) and screws.
Note: It’s optional to use a stud finder to locate in wall studs and mark as
installation points but not required.
Place mounting plate on wall (clips facing away from wall) in desired mounting
location and mark the points where the anchors/screws will be installed.
Using a power drill and drill bits, create the holes were the anchors/screws will
be installed.
If anchors are required, install the anchors in the holes created first, then
attached the mounting plate with the drywall screws using the power drill and
Phillips bit or screwdriver.
After mounting plates are installed, align the access point mounting holes with
the mounting plate clips and slide in acces point to lock into place.
 Loading...