Loading Paper 27
IE
IE
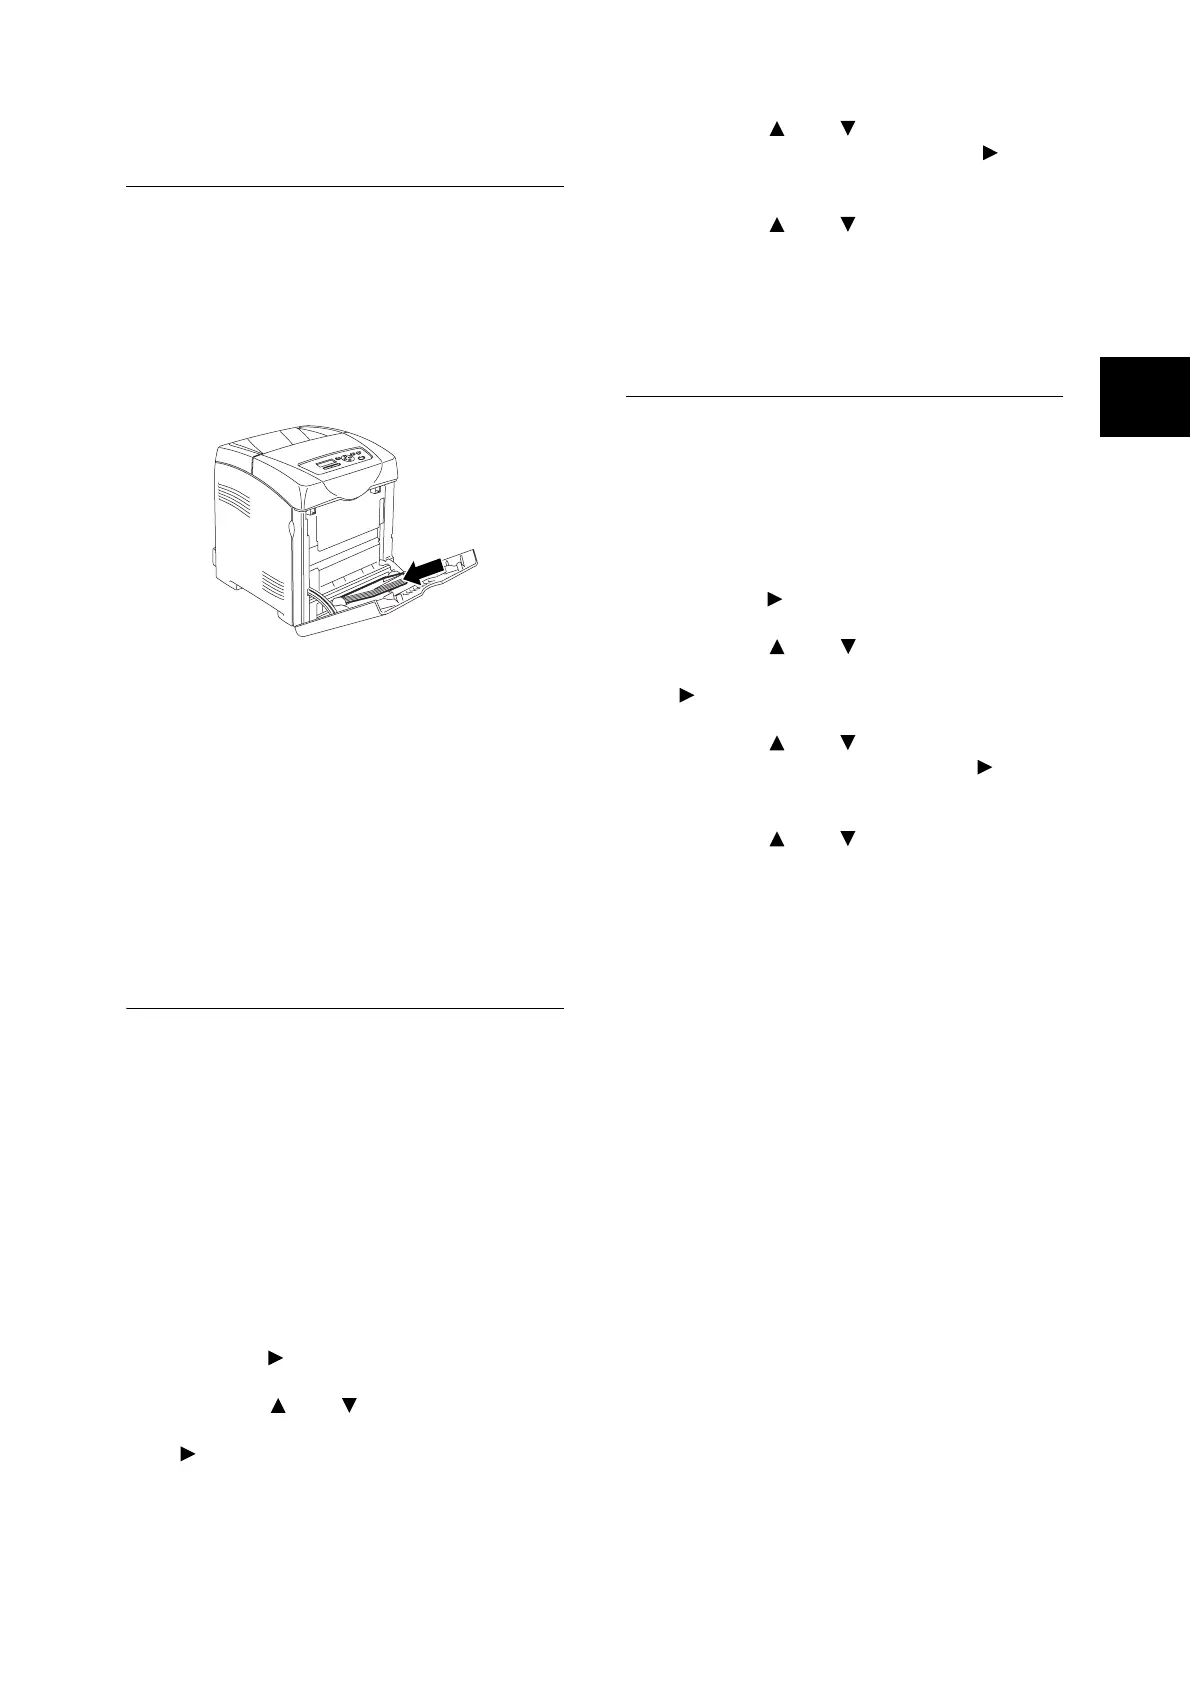
Loading Envelopes in the
Bypass Tray
To load envelopes in the bypass tray, insert the
envelopes with the flaps closed. The print side
must be facing down. You can load envelopes up
to the maximum fill line in the tray at one time.
Sometimes the wrinkle might be generated on
envelopes. In that case it is likely to be improved
by changing the position of the flap.
Important
• For best performance, do not use envelopes that:
• Have excessive curl or twist
• Are stuck together or damaged in any way
• Contain windows, holes, perforations, cutouts,
embossing
• Use metal clasps, string ties, or metal folding bars
• Have an interlocking design
• Have postage stamps attached
• Have any exposed adhesive when the flap is in the
sealed or closed position
• Have nicked edges or bent corners
• Have rough, cockle, or laid finishes
Setting Paper Types
Important
• Paper type settings must match those of the actual
paper loaded in the trays. Otherwise, image quality
cannot be processed accurately. Toner may not fuse
properly on the paper, resulting in dirty and poor quality
printouts.
Refer to
• “Usable Paper” (P. 22)
1. Press the <Menu> button to display the
Menu screen.
2. Check that [Tray Settings] is displayed, then
press the < > or <Eject/Set> button.
3. Press the < > or < > button until the
required tray is displayed, then press the
< > or <Eject/Set> button.
4. Press the < > or < > button until [Paper
Type] is displayed, then press the < > or
<Eject/Set> button.
5. Press the < > or < > button until the
correct paper type is displayed for the loaded
paper, then press the <Eject/Set> button.
6. Press the <Menu> button.
Setting Paper Sizes
Refer to
• “Usable Paper” (P. 22)
1. Press the <Menu> button to display the
Menu screen.
2. Check that [Tray Settings] is displayed, then
press the < > or <Eject/Set> button.
3. Press the < > or < > button until the
required tray is displayed, then press the
< > or <Eject/Set> button.
4. Press the < > or < > button until [Paper
Size] is displayed, then press the < > or
<Eject/Set> button.
5. Press the < > or < > button until the
correct paper size and direction are
displayed for the loaded paper, then press
<Eject/Set> button.
Note
• When using custom sized paper, select [Custom Size]
and specify the X and Y sizes.
6. Press the <Menu> button.
 Loading...


