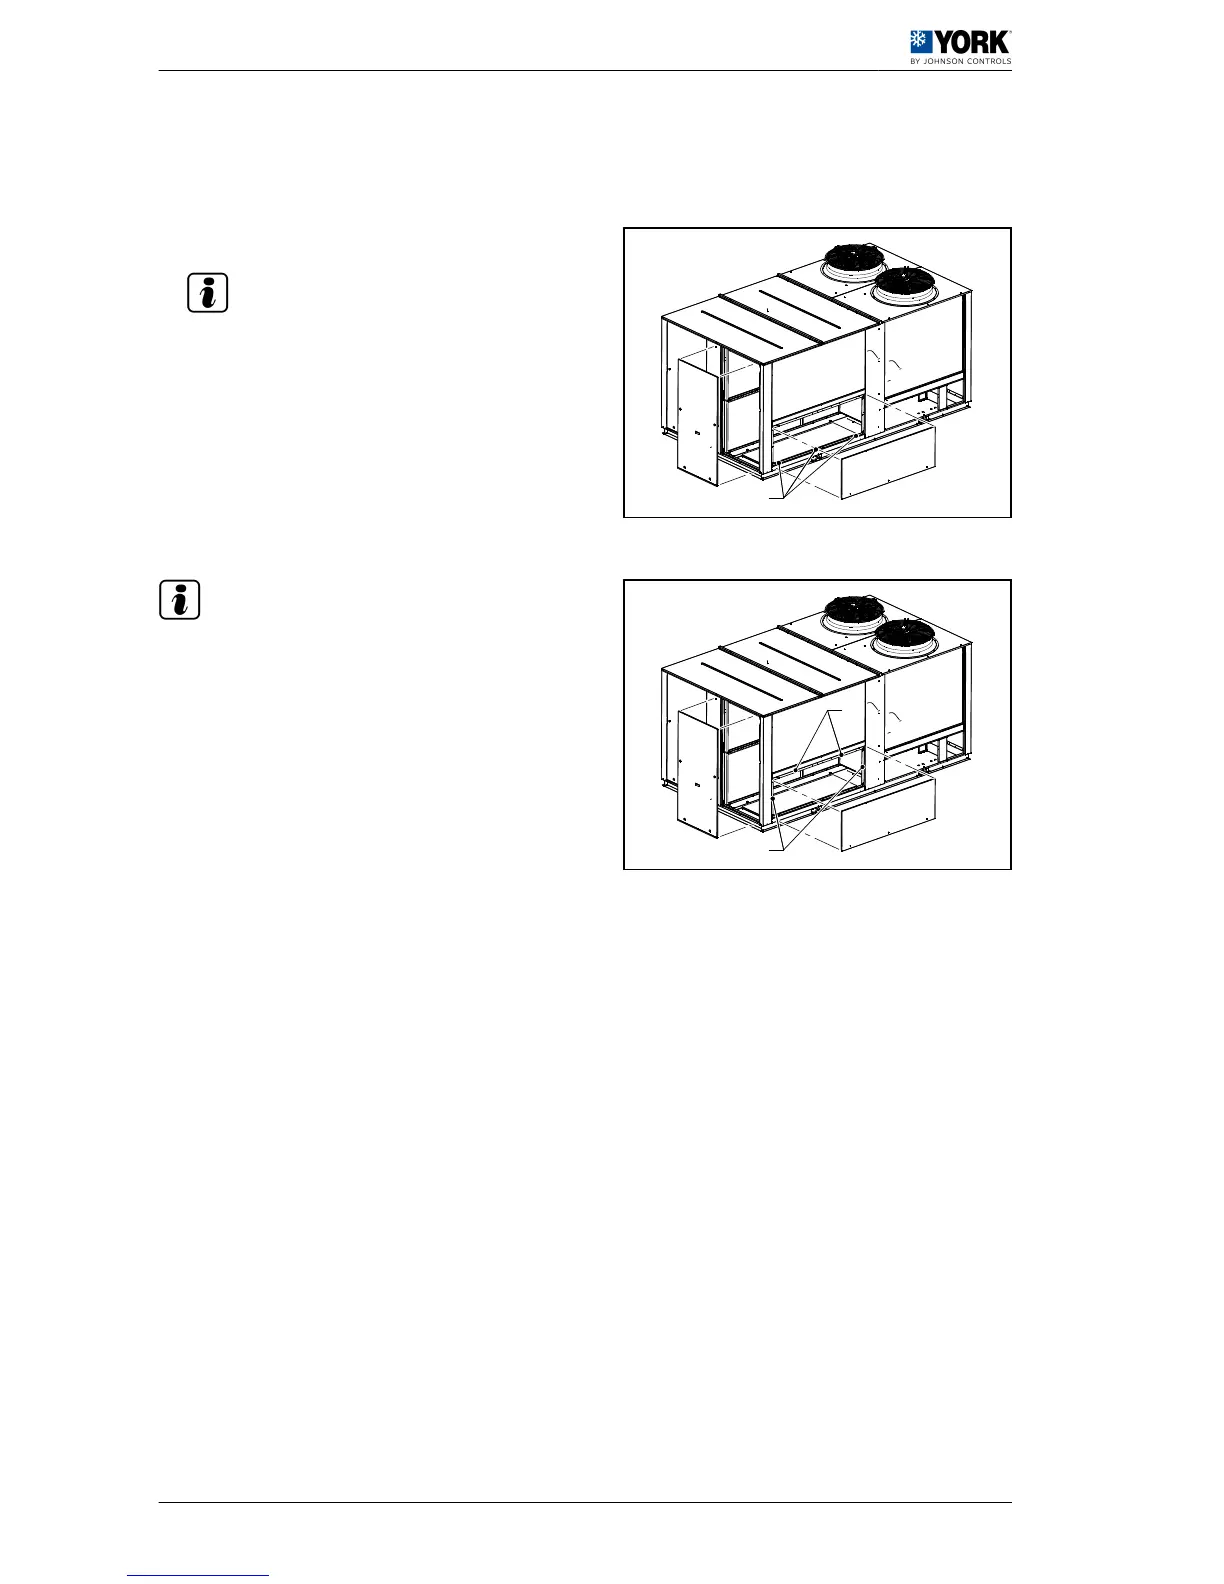
1.7.2 Connections for supply and return ducts
Units are shipped with the openings for the connection of the return duct covered.
For applications with downward discharge ducts
1. The return compartment is accessed by removing
the access panel -B2-.
N O T E
For the supply duct -S1-, it is not necessary to
remove any cover or access panel.
2. Remove and dispose of the lower cover of the duct
-R2- (return). In order to do this, loosen the three
bolts -D- that fix the cover to the base.
3. After removing the lower cover, reattach the side
panel, ensuring that the seal is hermetic.
For applications with sideways discharge ducts
N O T E
For the supply duct -S2-, it is not necessary to remove
any cover or access panel.
1. Access the return compartment via the access
panel -B2- and loosen the bolts -E- from the inside.
2. Remove and dispose of the side cover -A2-.
3. After removing the side cover, reattach the side
panel, ensuring that the seal is hermetic.
 Loading...