GB
50 Robolinho
Operation
NOTE The appliance must come to a stop
when it moves into the base station. If the appli-
ance does not touch the contacts when it moves
into the base station, it moves further along the
boundary cable. If the appliance moves through
the base station, the calibration procedure has
failed. In this case, the base station must be bet-
ter aligned and the calibration procedure repeat-
ed.
After the calibration movement
The preset current mowing duration is displayed.
For all further settings, refer to see chapter 7
"Settings", page50.
Robolinho
NOTE To ensure proper operation and re-
duce error messages, the loop length must be
measured using the “Learn entry points” function.
6 OPERATION
6.1 Starting the appliance manually
1. Switch on the appliance with .
For unscheduled edge mowing: see chapter
7.7 "Edge mowing with a manual start",
page52.
2. Start the appliance manually with .
6.2 Cancelling mowing
■
Robolinho: Press on the appliance.
■
Robolinho 450 W/700/1200/2000: Press
on the base station (12/4) or on the appli-
ance.
The appliance moves automatically into the base
station. It deletes the mowing plan of the current
day and starts again the next day for the set time.
■
Press on the appliance.
The mowing is interrupted for half an hour.
■
Press on the appliance.
The appliance is switched off.
NOTE In dangerous situations, the appli-
ance can be stopped with the STOP but-
ton(12/2).
6.3 Mowing the secondary area (05/NF)
1. Lift the appliance and place in the secondary
area by hand.
2. Switch on the appliance with .
3. Call up the main menu with .
4. or * Settings
5. or * Sub zone mowing
6. Select the mowing time with or .
7. Start the appliance manually with .
Depending on the setting: The appliance mows
for the set time period and then switches off or
mows until the rechargeable battery is flat.
After mowing the secondary area, place the ap-
pliance in the base station again by hand.
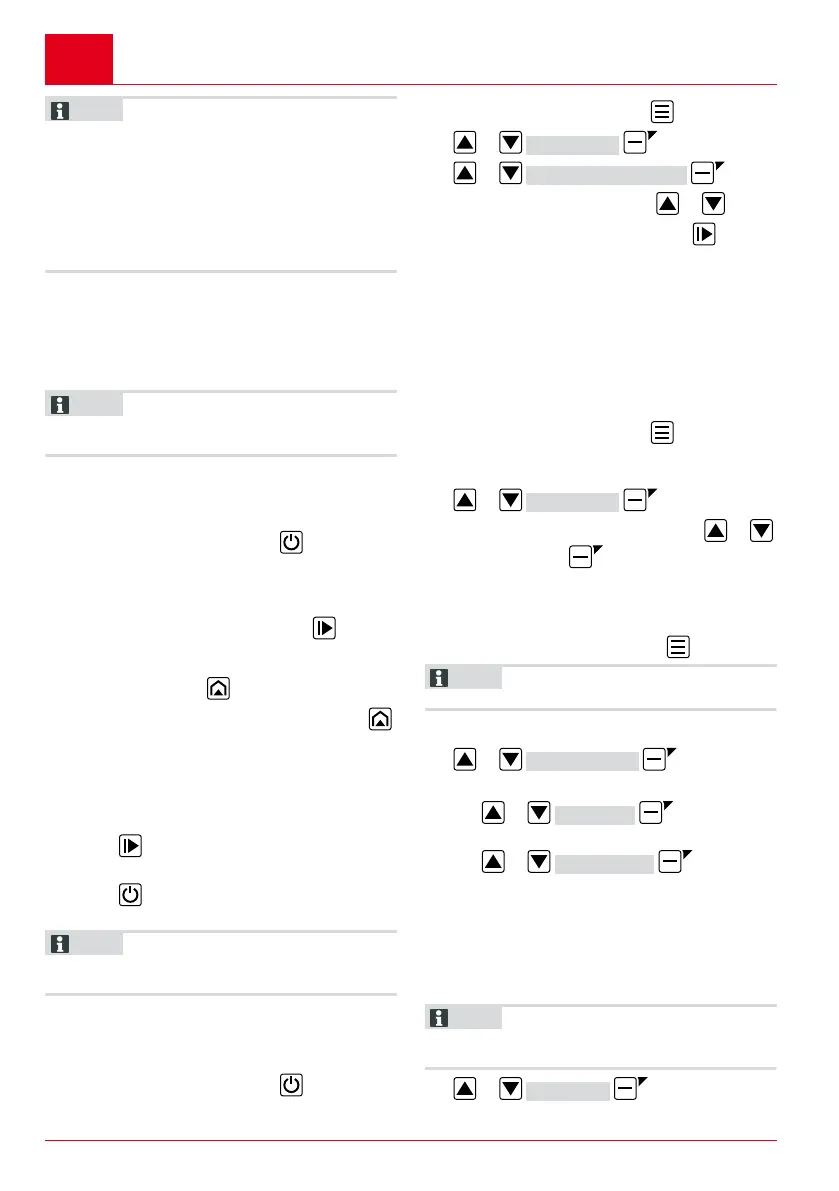
7 SETTINGS
7.1 Calling up the setting – General
1. Call up the main menu with .
Note:The asterisk * in front of the menu item
indicates that it has just been selected.
2. or * Settings
3. Select the required menu item with or
and accept with .
4. Make the settings.
Note:The menu items are described in the
following sections.
5. Return to the main menu with .
NOTE Further menu items: see chapter
5.2 "Making the basic settings", page49.
7.2 Activating/deactivating the button tones
1. or * Key clicks
2. Activating/deactivating the button tones:
■
or Activate :
Activate the button tones.
■
or Deactivate :
Deactivate the button tones.
7.3 Activating/deactivating Eco mode
(Robolinho 700/1200/2000)
In Eco mode, the appliance switches to energy-
saving mode. This reduces the energy consump-
tion and noise emissions.
NOTE With high and thick grass and for
thick rolled turf, this is not recommended or may
not be possible.
1. or * EcoMode
 Loading...