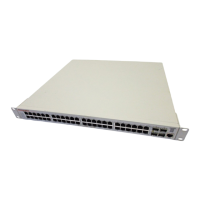
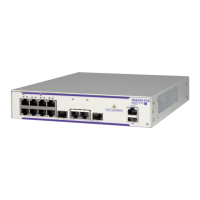
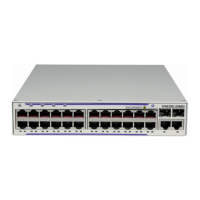
Mounting the Switch OmniSwitch 6850 Series Chassis and Hardware Components
page 2-60 OmniSwitch 6850 Series Hardware Users Guide August 2007
Installation Options
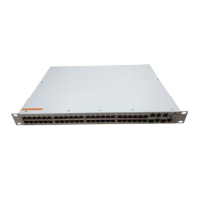
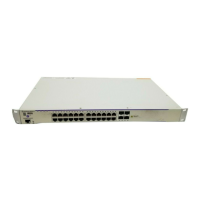
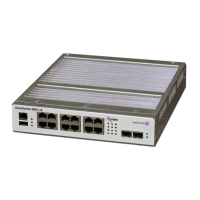
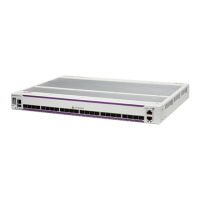
The OmniSwitch 6850 Series switches can be installed in two ways:
• Tabletop installation
• Rack-mount installation
Installing the Switch on a Tabletop or Bench
OmniSwitch 6850 Series switches can be installed freestanding as tabletop units. Place your switch on a
stable, flat, and static-free surface.
Note. OmniSwitch 6850 Series switches must be placed “right side up.” Never attempt to operate a switch
positioned on its side.
Tabletop Mounting Steps
To install the switch as a tabletop unit, follow the steps below:
1 Position the chassis on the table or bench where it is to be installed.
2 Be sure that adequate clearance has been provided for chassis airflow and access to the front, back, and
sides of the switch. For recommended clearances, refer to page 2-57. Also, be sure that you have placed
the chassis within the reach of all the required AC power sources.
3 If you are installing a single (i.e., stand-alone) switch, continue to “Setting Up a Stacked Configura-
tion” on page 2-63 for additional setup procedures.
If you are placing multiple switches in a stacked configuration, carefully stack the remaining switches, one
on top of the other. Up to eight switches may be stacked to form a single virtual chassis. Be sure to main-
tain adequate clearance at the front, rear, left, and right side of all switches (see page 2-57). Also, be sure
that you have placed all switches in the stack within reach of required AC power sources. Once the
switches are stacked together, continue to “Cabling Stacked Configurations” on page 2-63 for additional
setup procedures.
Note. Switches should be added one at a time in a stack.
Note. For comprehensive information on operating switches in a stacked configuration, refer to Chapter 4,
“Managing OmniSwitch 6850 Series Stacks.”
 Loading...
