Axon Body 3 Camera User Guide
Axon Enterprise, Inc. Page 8 of 26
For details on all the icons that may display both in the field and during dock charging, see
Notification reference tables on page 16.
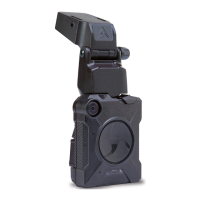
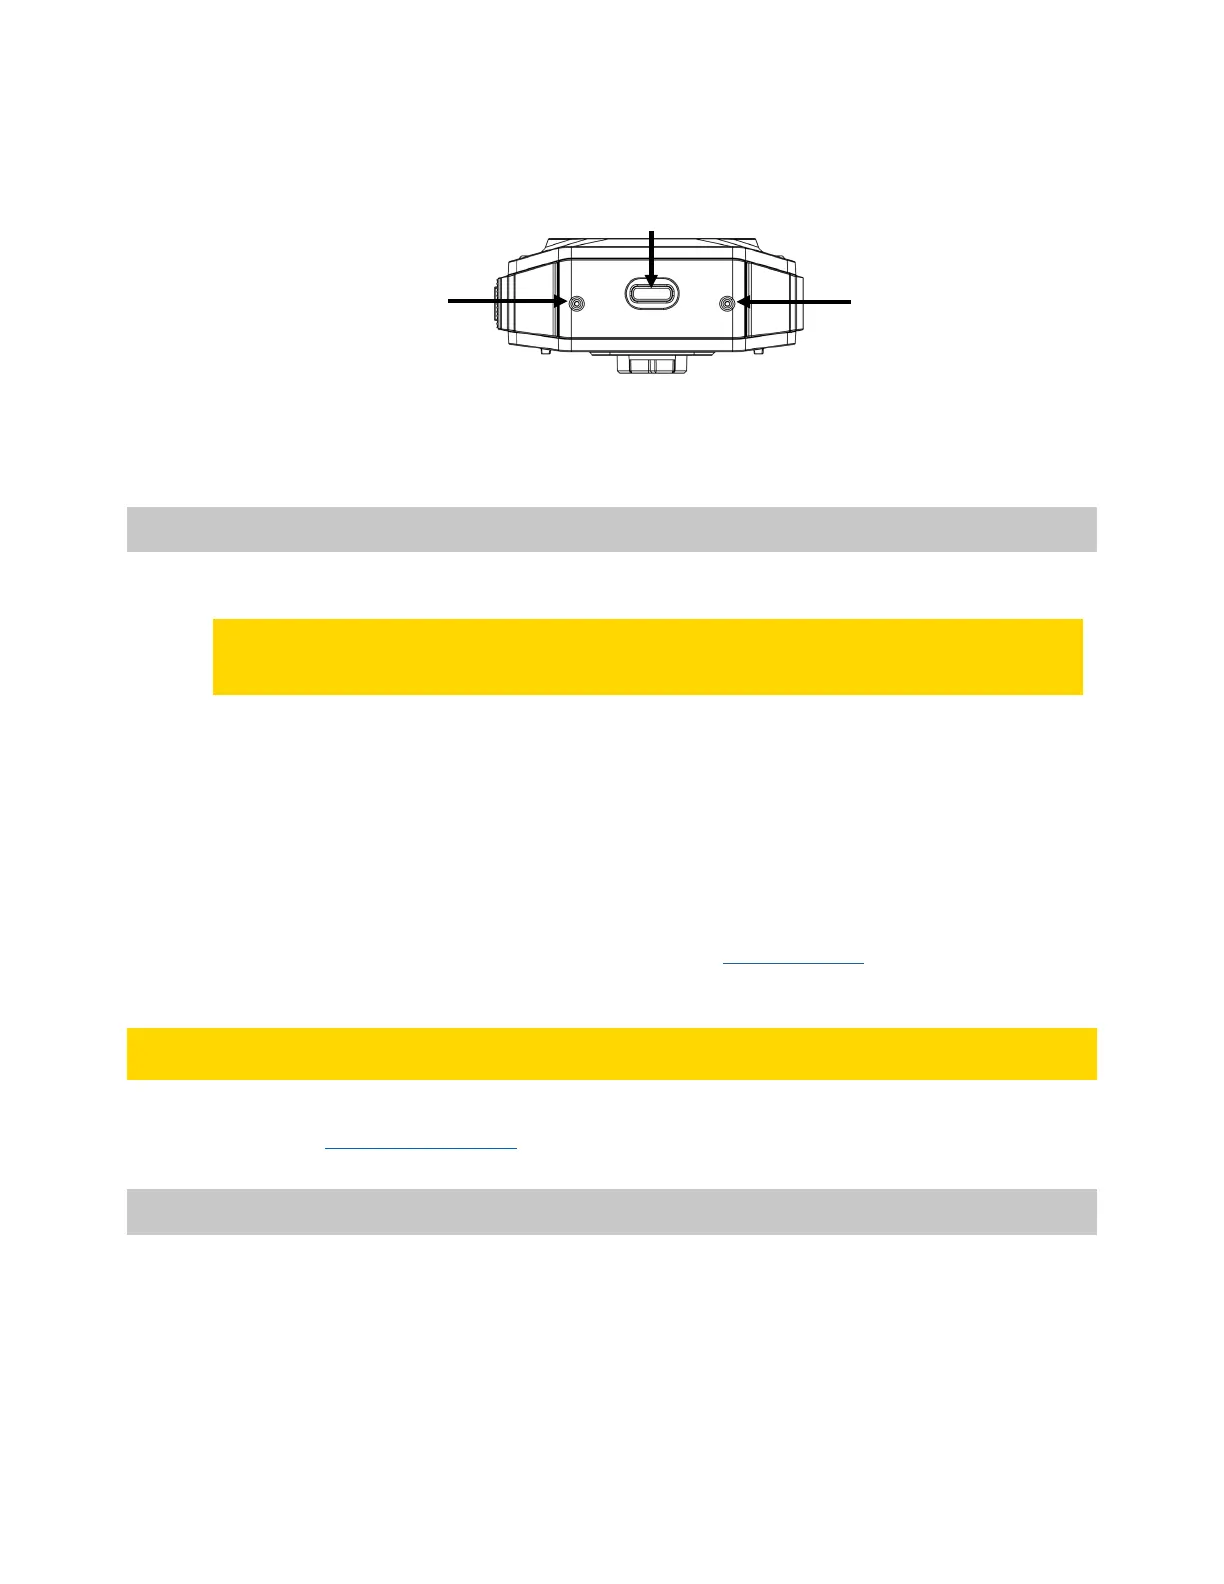
Axon Body 3 Camera bottom
USB C connector – Used for data transfer and charging when placed in an Axon Dock.
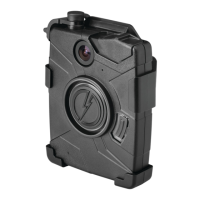
Accessories and mounts
The Axon Body 3 camera works with a variety of Axon mounting systems.
Note As with any Radio Frequency or electronic device, Axon recommends that you avoid
placing your Axon Body 3 camera directly next to your radio to prevent inadvertent
radio activation.
The various mounts that use this system can be used with a wide variety of
uniforms and
holds the camera to your shirt, patrol vest, jacket, or belt.
In general, Axon mounting system consist of the attachment piece (called the key) on the
camera and the attachment receiver (called the lock) on the mount. To lock a camera in
place, insert the key of the camera into the lock of the mount and turn it 90 degrees
counterclockwise (when you are looking straight at the mount). To release the camera from
the mount, turn the camera 90 degrees clockwise.
You can find details on additional mounting options on www.axon.com
.
Operate the Axon Body 3 Camera
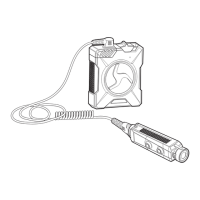
Before using an Axon Body 3 camera, ensure it is fully charged and properly configured. For
details, see Charging the battery on page 20.
Operating modes
The Axon Body 3 camera has two operating modes:
• Ready (Buffering) – turning on the camera and starting pre-event buffering
• Recording (Event) – event recording
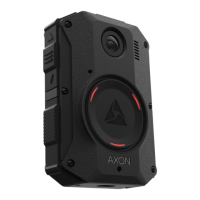
Microphone
(only Model AX1023)
Microphone
USB C connector
 Loading...