75
Buttonholes
Sewing on a 4-Hole Button
► sew the front holes first
► carefully move the button forward
► sew the back holes with the same program
Start and End Threads
► the threads have already been secured and can be
trimmed
For Secure Results
► pull both lower threads until the ends of the upper
threads are visible on the wrong side (knot if required)
► trim threads
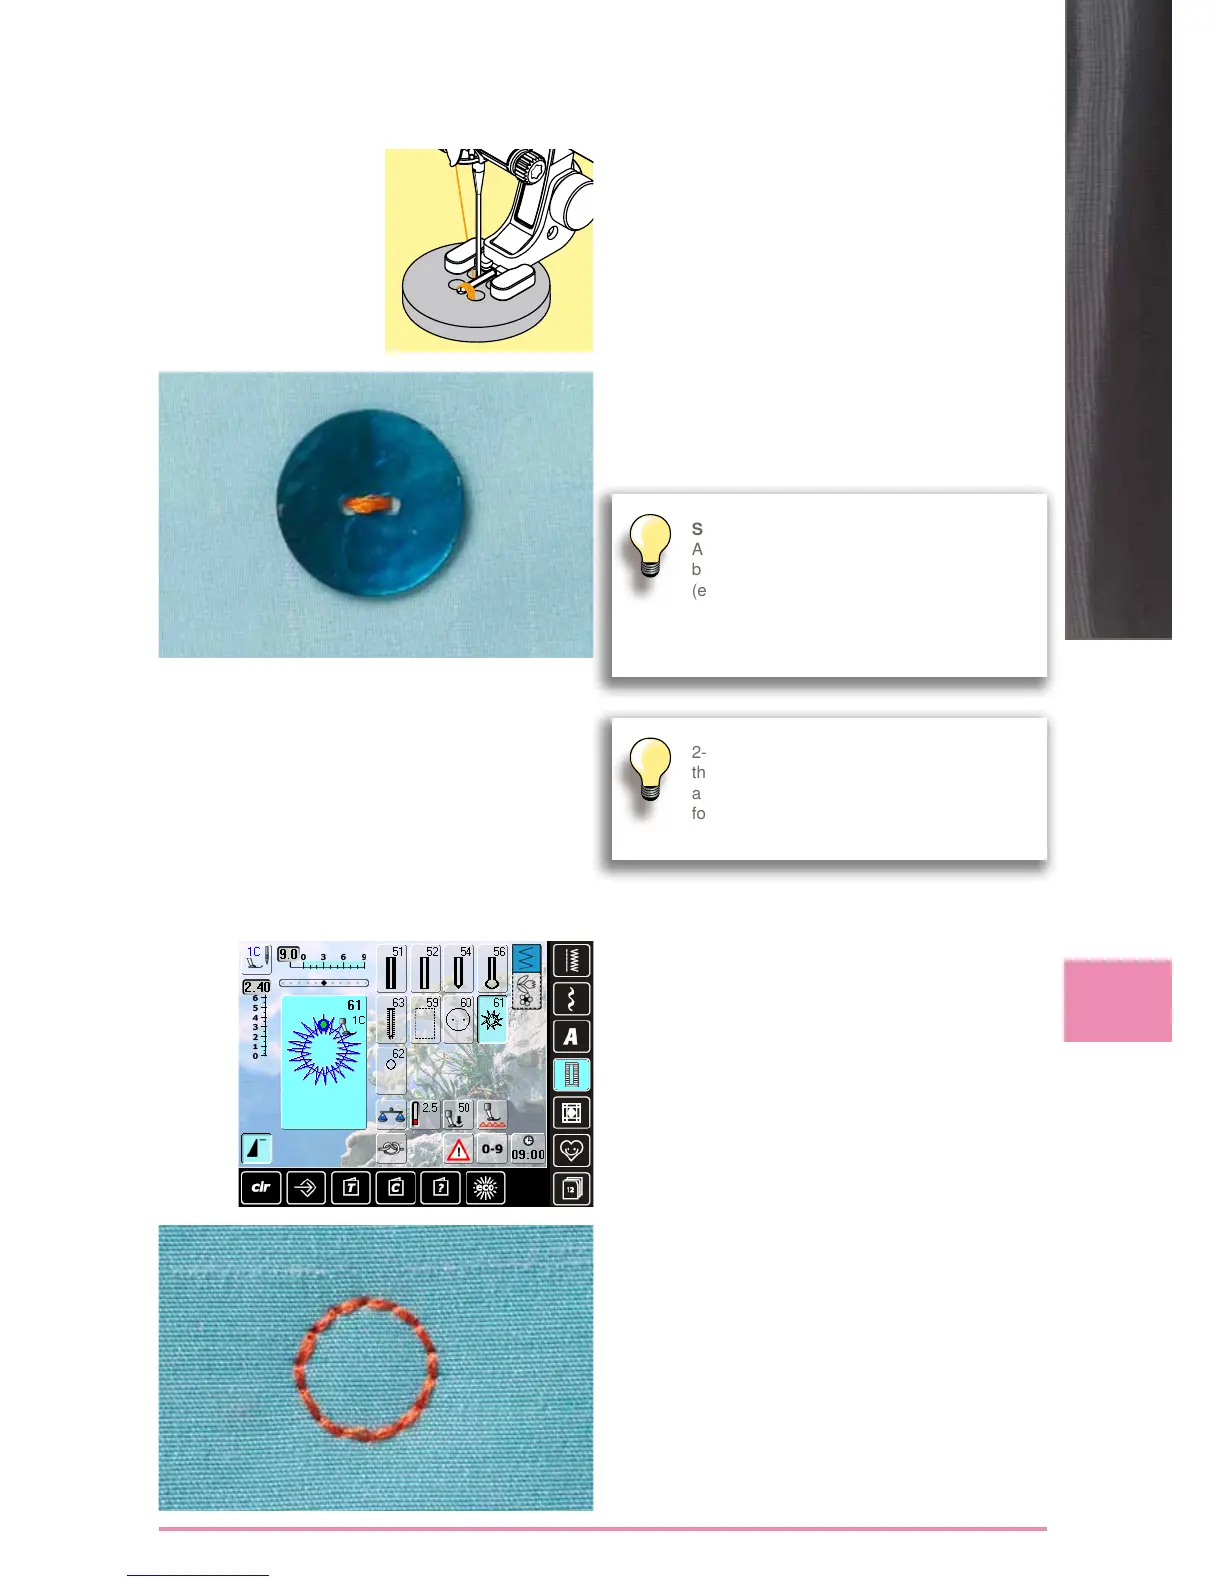
Eyelet Program
► select desired eyelet:
► no. 61 = zigzag eyelet
► no. 62 = straight stitch eyelet
Sewing Eyelets
► position fabric under the presser foot and sew
► the sewing computer stops automatically when finished
and is immediately ready for the next eyelet
Punching Eyelets
► use an awl or punch to cut open the eyelet
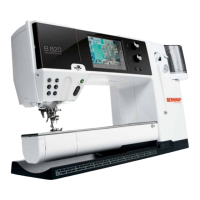
Sewing on Buttons
A real time-saver for projects where several
buttons of the same type must be sewn on
(e.g. blouse, bed linen etc.).
For work which is subject to heavy wear or
washing, sew buttons on using button sew-on
program twice.
2- and 4-hole-buttons can be attached. The
thread shank (distance between the button
and the fabric) can be set as required using
foot no 18. Buttons for decorative purposes
are just sewn on, without the thread shank.
 Loading...