EasyManua.ls Logo

Bosch Compress Hybrid 3400i AW User Manual

Bosch Compress Hybrid 3400i AW
44 pages
To Next Page IconTo Next Page
To Previous Page IconTo Previous Page
Page #17 background imageLoading...
Page #17 background image
Installation
17
Compress Hybrid 3400i AW – 6721861825 (2023/08)
5.6 Fitting the outside temperature sensor
If the length of the temperature sensor cable outdoors is more than
15 m:
Use screened cable.
A temperature sensor cable that runs outdoors must satisfy the following
requirements:
Cable diameter: 0.5 mm
2
Resistance: max. 50 Ohm/km
•Number of conductors:2
Maximum length: 50 m
Mount the sensor on the coldest side of the house (normally facing
north).
Protect the sensor from direct solar radiation, draughts, etc.
In addition, the sensor must not be installed directly under the
ceiling.
Fig. 24 Positioning the outside temperature sensor
5.7 Accessories
5.7.1 Mounting the flow temperature sensor
The installation of the flow temperature sensor T0 depends on the
design of the heating system.
No additional measures are required when the heating system is not
equipped with a buffer cylinder or low loss header as the flow
temperature sensor is already integrated into the indoor unit.
If the heating system is equipped with a buffer cylinder:
Install the flow temperature sensor T0 at the buffer cylinder.
Electrical power connection (Chapter 6.8.2).
Assembly downstream of the bypass or at the buffer cylinder
If the flow temperature sensor is installed outside the indoor unit on the
buffer cylinder or downstream of the bypass (e.g. when using a heating
circuit set), it must be removed from the indoor unit and extended using
a suitable extension cable of corresponding length (H03VV-F
2x0.5 mm
2
) (Chapter 6.8.2).
5.7.2 Installing the heating circuit module
In the delivery scope a heating circuit without mixer can be controlled via
the controller.
If other heating circuits are to be installed, a heating circuit module is
required for each heating circuit.
Install the heating circuit module, mixer, heating pump and other
components according to the selected system solution.
Observe the relevant separate installation and operating instructions
when installing and adjusting the components.
Electrical connection (Chapter 6.8.3).
5.7.3 Room temperature-dependent controller
In the default setting, the controller automatically regulates the flow
temperature depending on the outside temperature. A room
temperature-dependent controller can be installed for greater comfort.
Electrical connection (Chapter 6.8.4).
5.7.4 Installing the accessories for the cooling mode
NOTICE
Damage to the indoor unit due to condensation
The indoor unit with mixer is not designed to be used in cooling mode
below the dew point.
Only use the indoor unit in cooling mode above the dew point.
For cooling operation, the installation of a dew point monitor
(accessory) is absolutely essential.
Install the dew point monitor on the flow pipe for the heating system
(Figure 25).
Electrical connection (Chapter 6.8.5).
1
/
2
H
(min 2m)
H
N
S
W
E
NW
NE
SW
SE
6 720 809 156-23.1I

Table of Contents

Question and Answer IconNeed help?

Do you have a question about the Bosch Compress Hybrid 3400i AW and is the answer not in the manual?

Bosch Compress Hybrid 3400i AW Specifications

General IconGeneral
BrandBosch
ModelCompress Hybrid 3400i AW
CategoryHeat Pump
LanguageEnglish

Summary

Explanation of Symbols and Safety Instructions

Explanation of Symbols

Explains signal words like DANGER, WARNING, CAUTION, NOTICE.

General Safety Instructions

Provides instructions for target group, intended use, handling refrigerant, and electrical safety.

Product Description

GB Importer

Lists the UK importer details for Bosch.

Scope of Delivery

Details items to check upon delivery for completeness.

Product Overview

Shows a diagram of indoor unit components and pipe connections.

Possible Combinations of Indoor and Outdoor Units

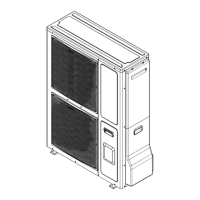
Lists compatible outdoor units for the indoor unit.

Possible Combinations of Indoor Unit and External Booster Heater

Details compatible external booster heaters and system requirements.

Dimensions and Minimum Clearances

Provides diagrams and measurements for installation clearances.

Regulations

Preparing for Installation

Water Quality

Discusses requirements for heating system water quality to prevent damage.

Install the Particulate Filter

Instructions for installing a particulate filter to protect the indoor unit.

Heating System Minimum Volume and Flow

Explains the importance of system volume and flow for defrost operation.

Installing the Piping

Guidance on installing pipework and ensuring connections are clean.

Installing the Pressure-Relief Valve

Details on installing a pressure-relief valve for safety.

Installing the Heating Pump (Optional)

Instructions for installing an optional heating pump based on system resistance.

Maximum Sensor

Information on maximum sensor requirements for safety cut-outs.

Insulating the Hydraulic Pipework

Guidance on insulating pipework inside and outside the building.

Installation

Transport and Storage

Instructions for transporting and storing the indoor unit correctly.

Unpacking

Steps for unpacking the indoor unit and checking contents.

Indoor Unit Installation

Covers removing and installing the indoor unit.

Removing the Cover

Steps to remove the indoor unit cover for access.

Installing the Indoor Unit

Instructions for mounting the indoor unit securely on the wall.

Fitting the Cover

Steps to re-attach the indoor unit cover after installation.

Connecting the Indoor Unit to the Outdoor Unit

Detailed steps for connecting the indoor unit to the outdoor heat pump.

Connecting the Indoor Unit to the External Booster Heater and Heating System

Guidance on connecting the indoor unit to external heating systems.

Fitting the Outside Temperature Sensor

Instructions for installing the outside temperature sensor.

Accessories

Mounting the Flow Temperature Sensor

How to mount the flow temperature sensor depending on system setup.

Installing the Heating Circuit Module

Steps for installing the heating circuit module for additional control.

Room Temperature-Dependent Controller

Information on installing room thermostats for enhanced comfort control.

Installing the Accessories for the Cooling Mode

Instructions for installing accessories required for cooling operation.

Installation with Swimming Pool

Guidance for installing the system for swimming pool heating.

Connect-Key K 30 RF

Installation of the WLAN communication module for remote monitoring.

Electrical Connection

Connecting the Device

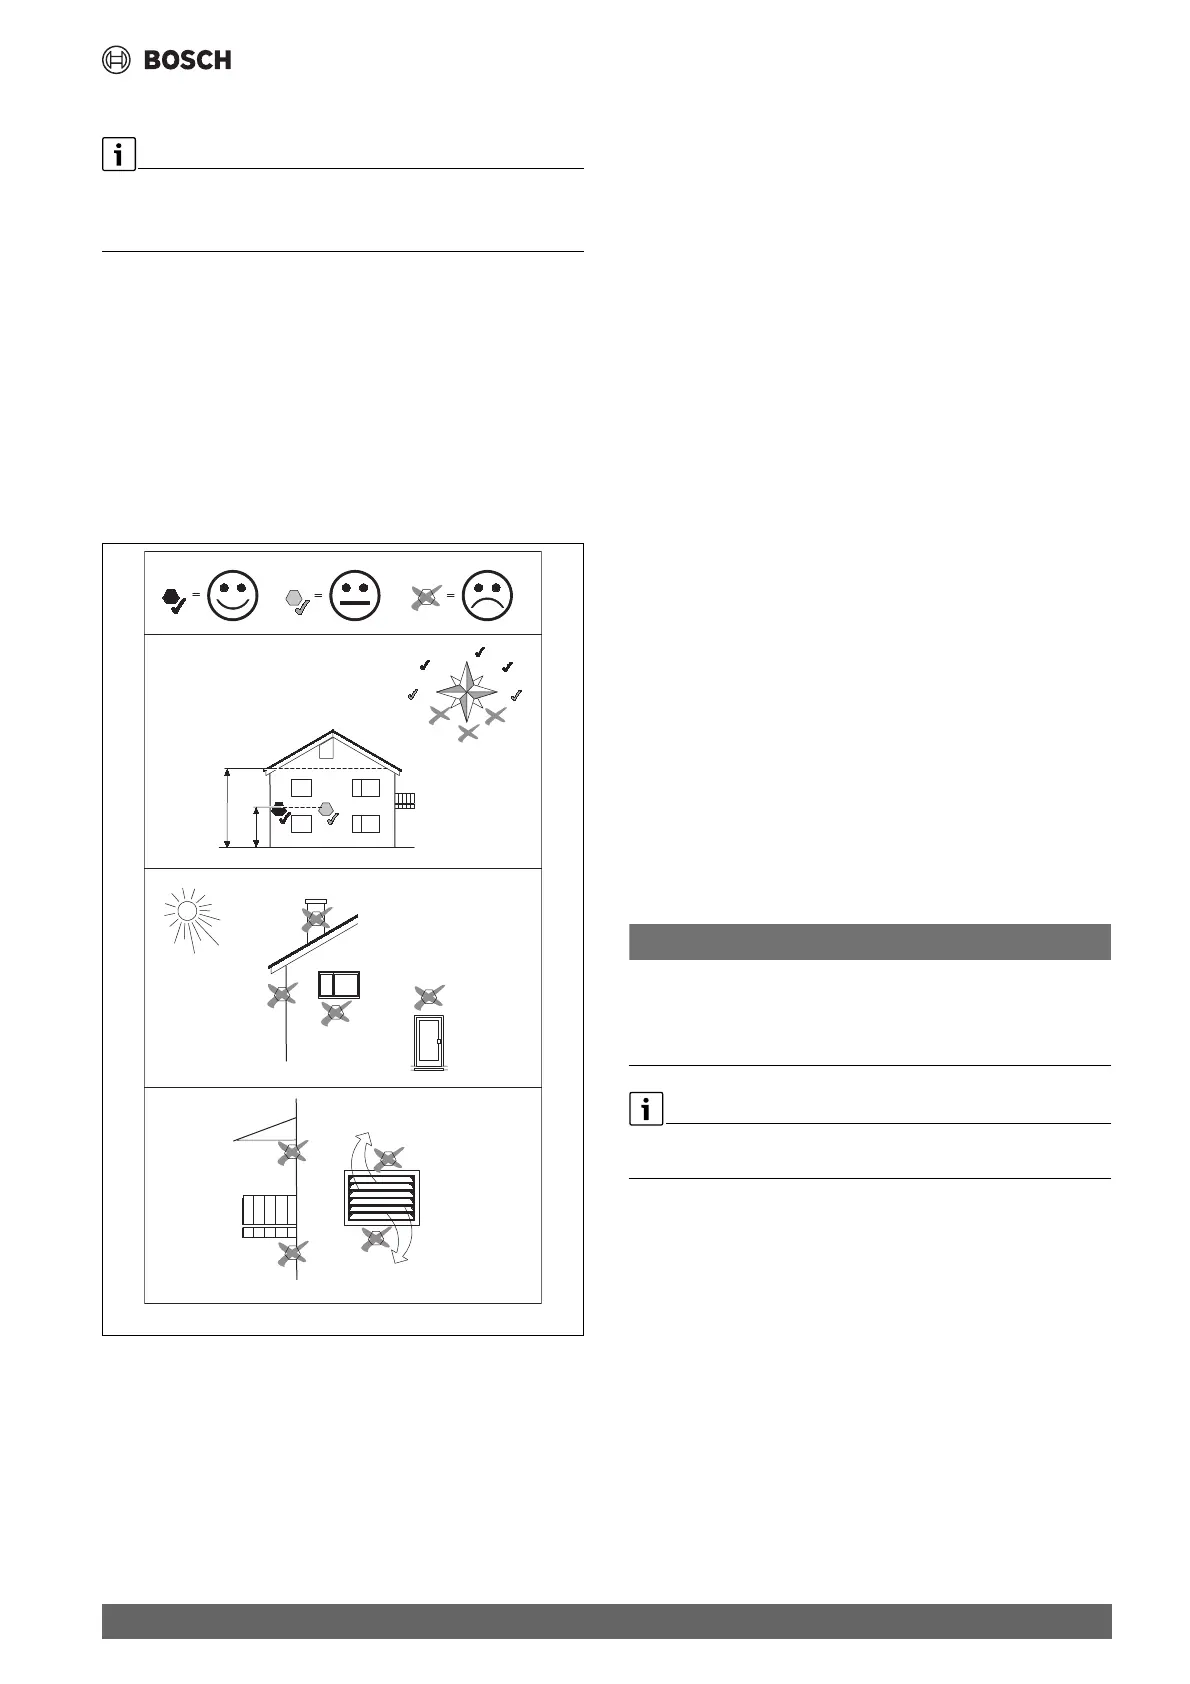
Placement considerations for the appliance based on IP rating.

Routing Cables

Guidelines for routing cables safely to prevent damage and interference.

Connecting the Power Supply

Steps for connecting the main power supply to the unit.

CAN-BUS

Information and precautions for CAN-BUS communication connections.

Installation of the Temperature Sensor

Details on installing temperature sensors for system regulation.

Connecting the Outside Temperature Sensor

Instructions for connecting the outside temperature sensor.

External Booster Heater (Uncommon in UK Market)

Details on connecting external booster heaters.

Connect the Actuator of the External Booster Heater (e.g. Floor Standing Boiler)

How to connect the external booster heater actuator for control.

Connect the Alarm Signal for the External Booster Heater

Steps to connect the alarm signal from the external booster heater.

Solenoid Valve for External Auxiliary Heater with Volume Control

Installation of a solenoid valve for specific auxiliary heaters.

EMS BUS

Instructions for connecting accessories via the EMS BUS system.

Connect the Flow Temperature Sensor

How to connect the flow temperature sensor, including buffer cylinder scenarios.

Connecting the Heating Circuit Module

Connecting the heating circuit module to the EMS connection.

Room Temperature-Dependent Controller

Installing room thermostats and connecting them for control.

Connecting the Dew Point Monitor

Installing dew point monitors for cooling mode operation.

Connecting the Swimming Pool Mixer

Connecting a swimming pool mixer to the EMS connection.

Connecting MB LAN 2

Connecting the MB LAN 2 for network interface and remote control.

External Connections

Information on making external electrical connections to the unit.

Commissioning

Filling and Venting the Heating System

Procedures for filling the system with water and removing air.

Operation Without Outdoor Unit (Stand-alone Mode and Chimney Sweep Mode)

How to operate the unit without an outdoor unit connected.

Function Test

Performing functional tests during commissioning.

Operating Temperatures

Checking operating temperatures and setting differentials.

Settings

Overview of Control Elements and Symbols

Explains the control panel layout, buttons, and display symbols.

Faults

Information on system faults and how to find error code explanations.

General Commissioning of the User Interface

Steps for initial setup and configuration of the user interface.

System Handover

Procedures for handing over the installed system to the customer.

Service Menu

Accessing and using the service menu for advanced settings.

Menu: Set Additional Heater

Settings for the additional heater's general parameters.

Menu: Auxiliary Heater with Mixer

Settings specific to auxiliary heaters with a mixer.

Cooling Mode

Settings and precautions for operating the unit in cooling mode.

Adjusting the Room Temperature-Dependent Controller

How to adjust room temperature controllers for optimal comfort.

Maintenance

Draining the Heating System

Steps to drain the heating system for component replacement.

Replacing Components

General procedures for replacing system components.

Replacing the Pump

Detailed steps for replacing the circulation pump.

Replacing the Temperature Sensor

Instructions for correctly replacing temperature sensors.

Environmental Protection and Disposal

Data Protection Notice

Appendix

Technical Data

Detailed technical specifications, dimensions, and electrical data.

Hydraulic Diagram of the Indoor Unit

Shows the hydraulic layout of the indoor unit with component labels.

System Solutions

Describes different system configurations and their requirements.

Installer Module

Connection diagram and details for the installer module.

System Commissioning Report

A report template for documenting system installation and commissioning.

Error Codes on the Display

Lists and explains error codes, their causes, and corrective measures.

Related product manuals