32
Disassembly Procedures
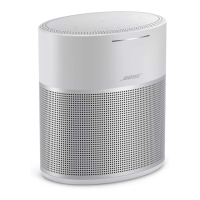
Figure 31
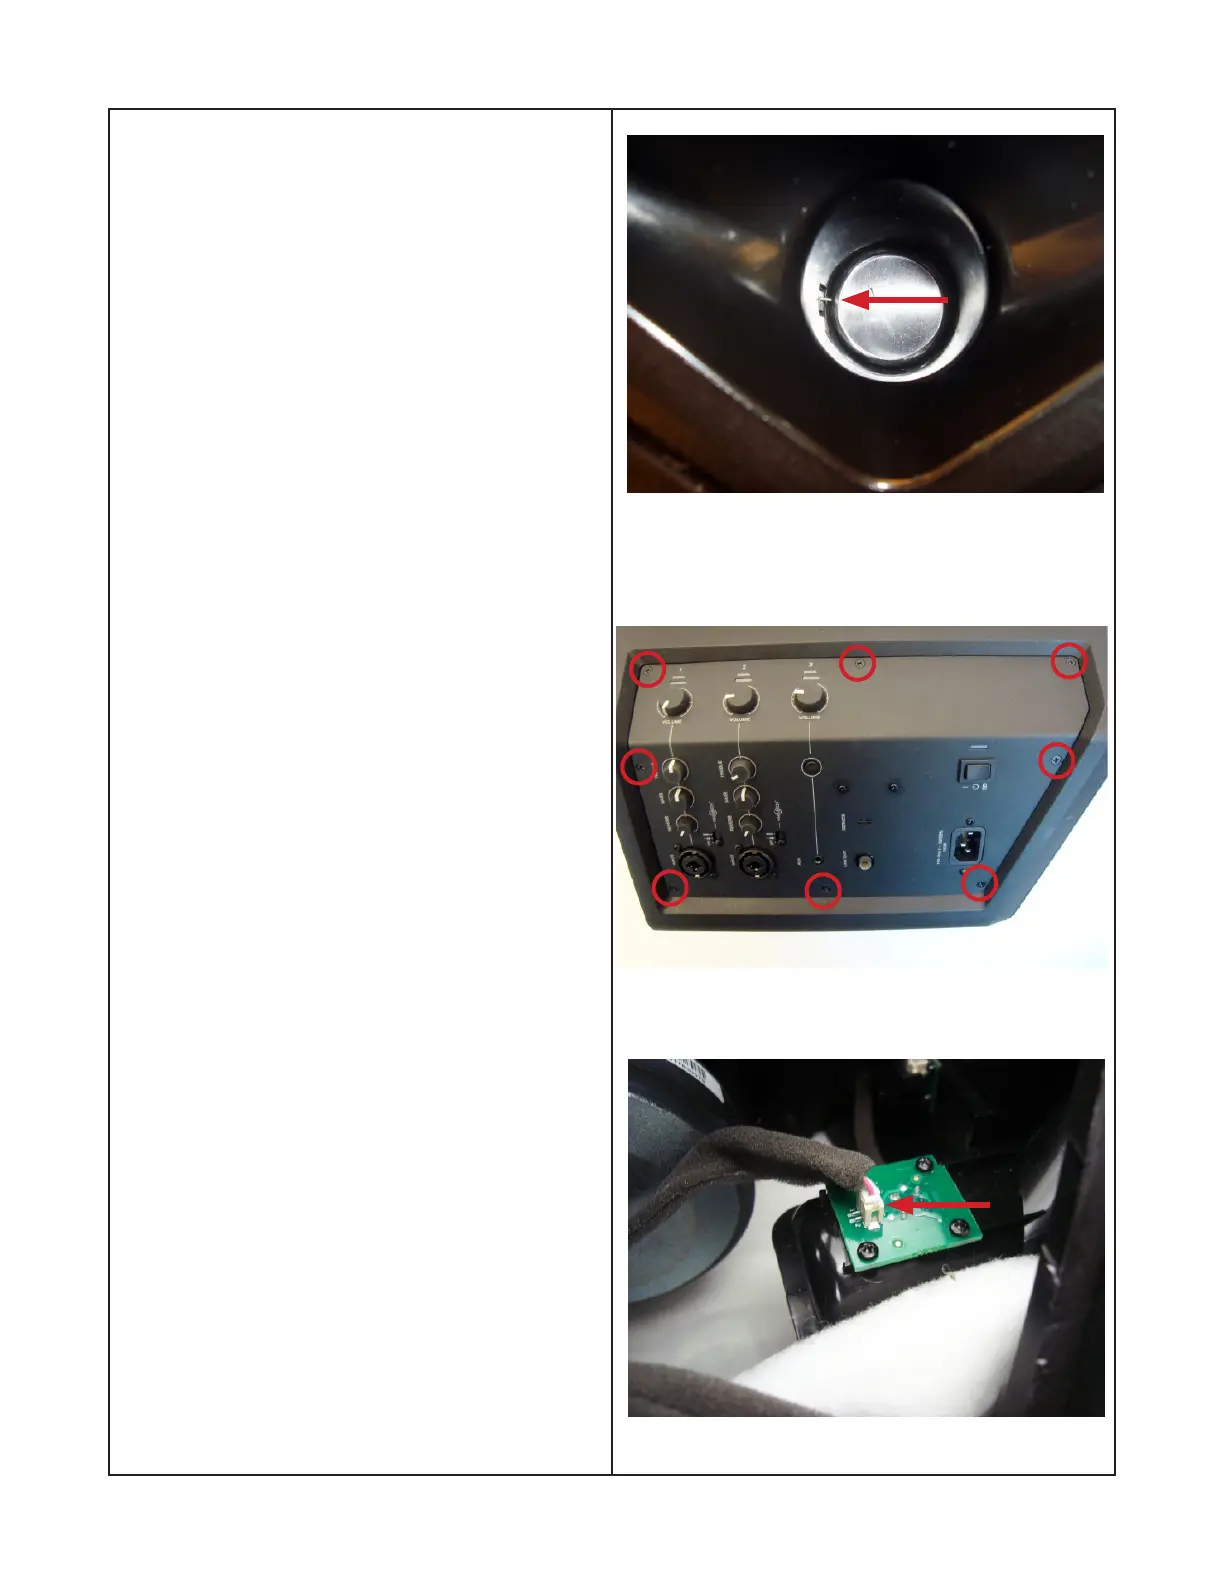
Figure 33
11. Pole Switch Removal
11.1 Figure 31 shows the pole receptacle and
the micro switch that applies an additional 3dB of
volume when the S1 Pro is mounted on a pole.
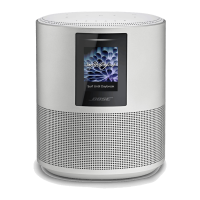
11.2 Remove the screws circled, as shown in
gure 32. Remove the I/O Panel and access the
Pole Switch PCB.
11.3 After removing the I/O panel, the pole
switch is easily accessible. Remove the
connector as indicated by the red arrow in gure
33.
Figure 32
 Loading...