Home > Scan > Scan Using the Scan Button on Your Machine > Save Scanned Data to a USB Flash Drive
Save Scanned Data to a USB Flash Drive
Related Models: MFC-J4535DW
Scan documents and save them directly to a USB flash drive without using a computer.
1. Load your document.
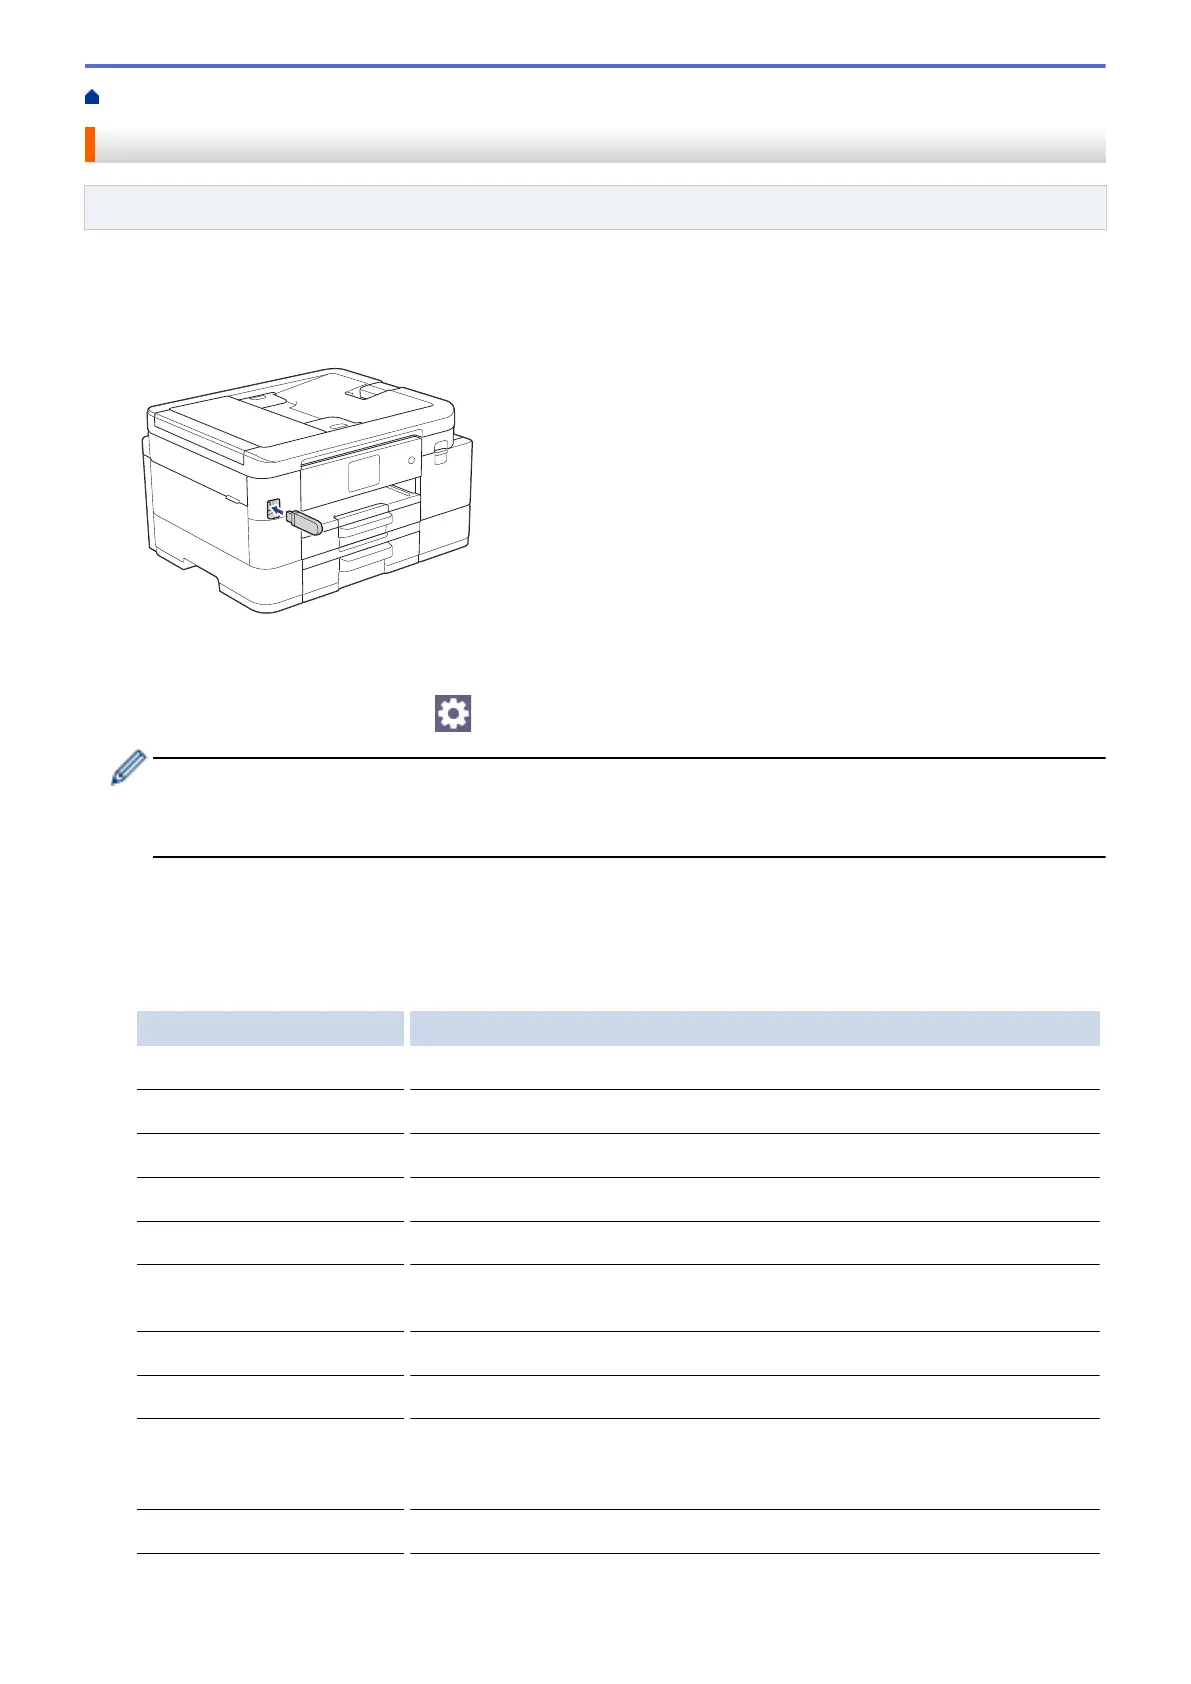
2. Insert a USB flash drive in the USB slot.
3. Press [Scan to Media].
4. Do one of the following:
• To change the settings, press [Options], and then go to the next step.
- To set your own default settings: after making changes to settings, press the [Set New Default]
option, and then press [Yes].
- To restore the factory settings: press the [Factory Reset] option, and then press [Yes].
• Press [Start] to start scanning without changing additional settings.
The machine starts scanning. If using the machine's scanner glass, follow the LCD instructions to
complete the scanning job.
5. Select the scan settings you want to change, and then press [OK].
Option Description
Color Setting
Select the color format for your document.
Resolution
Select the scan resolution for your document.
File Type
Select the file format for your document.
Document Size
Select your document size.
File Name
Rename the file.
File Name Style
Select the order in which the date, counter number, and other items appear
in the file names.
Brightness
Select the brightness level.
Contrast
Select the contrast level.
Auto Crop
Scan multiple documents placed on the scanner glass to a USB flash drive.
The machine will scan each document and create separate files or a single
multi-page file.
Auto Deskew
Correct any skewed documents when they are scanned.
109
 Loading...