EasyManua.ls Logo

Brother P-Touch 1800 User Manual

Brother P-Touch 1800
95 pages
To Next Page IconTo Next Page
To Previous Page IconTo Previous Page
Page #71 background imageLoading...
Page #71 background image
67
HORIZONTAL ALIGNMENT FUNCTION
You can choose to align the text in one of three ways. In addition, if the Length function
was used to set the length of the label, the text will align within the label according to the
selected horizontal alignment setting.
The default horizontal alignment setting is LEFT; however, two other settings are also
available.
To change the horizontal alignment setting:
1 While holding down , press once, and keep held down to dis-
play the current horizontal alignment setting.
2 While still holding down , continue pressing until the desired horizon-
tal alignment setting is displayed.
3 Release to apply the selected horizontal alignment setting to the entire text.
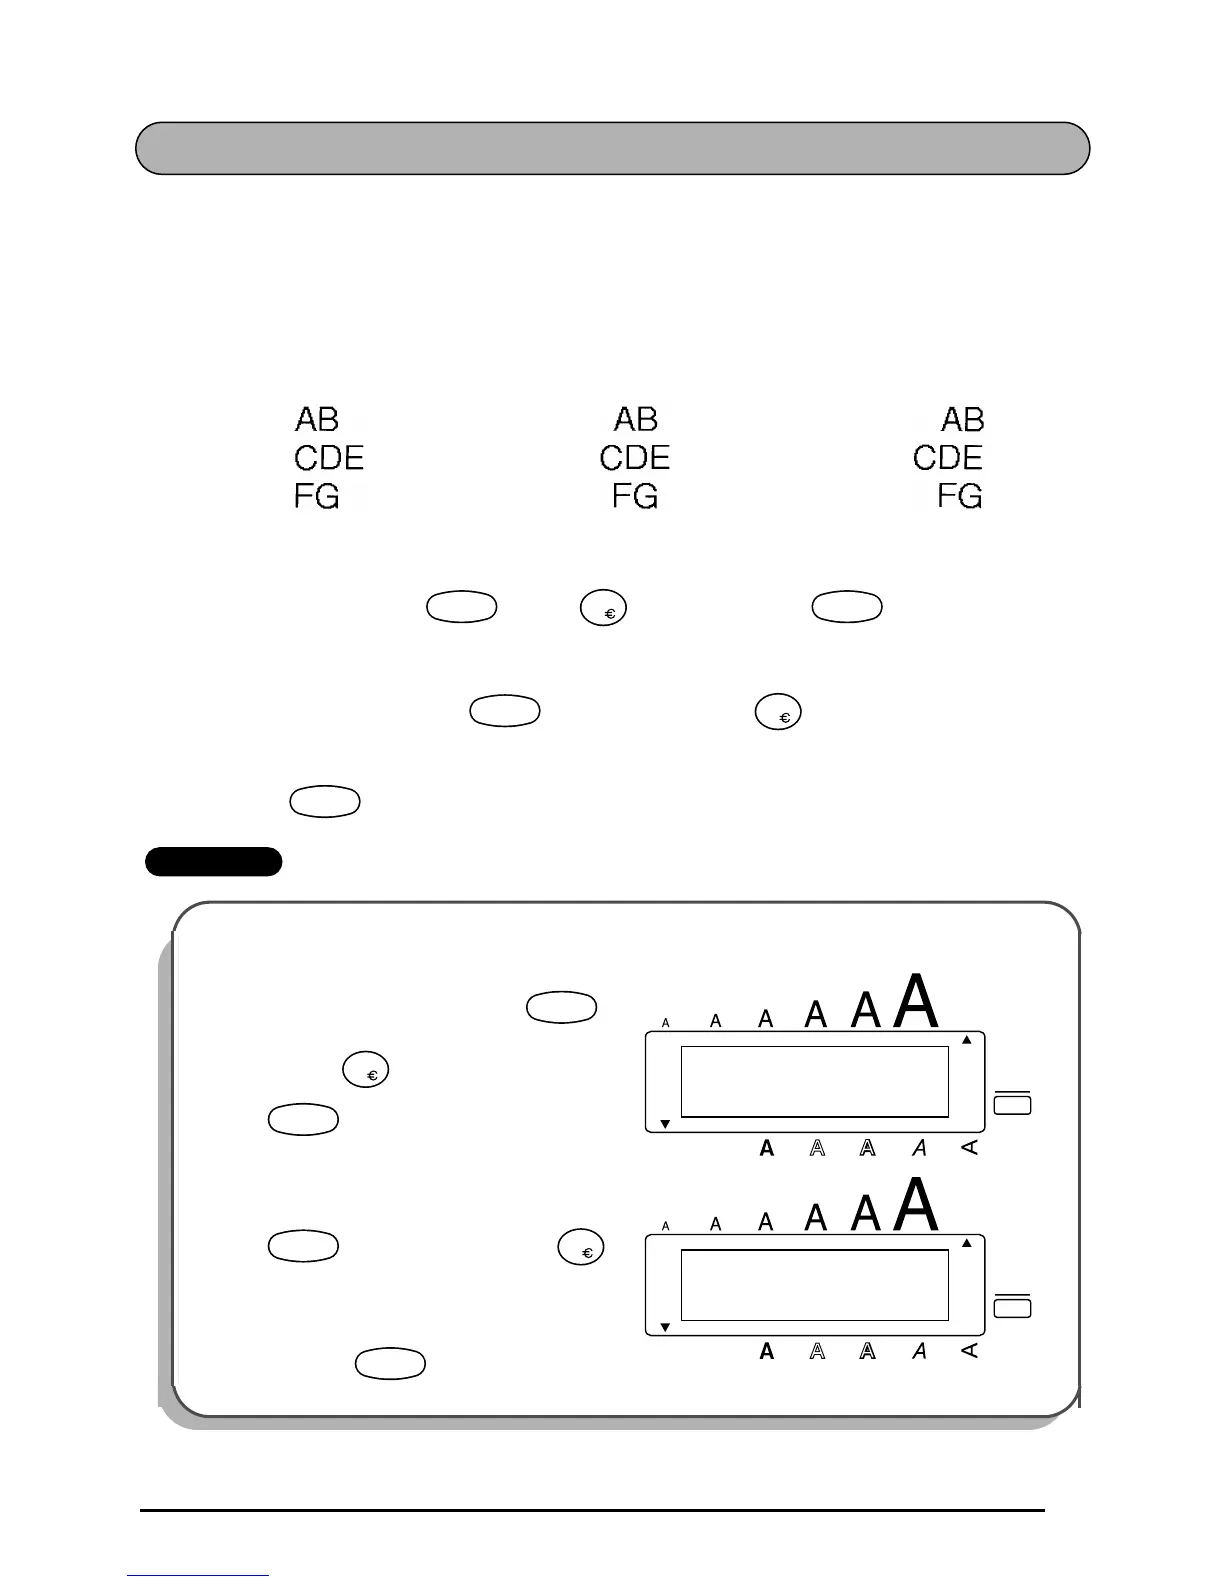
EXAMPLE
LEFT CENTRE RIGHT
To select the RIGHT horizontal alignment setting:
1 While holding down ,
press once, and keep
held down.
2 While still holding down
, continue pressing
until RIGHT is displayed.
3 Release .
Code
H.Ali
R
Code
Code
H.Ali
R
Code
LEFT
H.ALI
Alt
Caps
Auto
Font 1 Font 2
ABC
ABC
Length
Code
H.Ali
R
Code
RIGHT
H.ALI
Alt
Caps
Auto
Font 1 Font 2
ABC
ABC
Length
Code
H.Ali
R
Code

Questions and Answers:

Brother P-Touch 1800 Specifications

General IconGeneral
SeriesP-Touch
Print TechnologyThermal Transfer
Print Speed10 mm / sec
Tape Width3.5mm, 6mm, 9mm, 12mm
DisplayLCD
Power SourceAC Adapter or Battery
Battery TypeAA

Summary

Introduction

Declaration of Conformity

Details the compliance of the PT-1800 with relevant EMC and Low Voltage Directives.

General Description

Top View

Illustrates and labels the main external parts of the P-touch 1800 when viewed from above.

Bottom View

Illustrates and labels the main external parts of the P-touch 1800 when viewed from below.

General Precautions

Batteries

Optional AC Adapter

Tape Cassette

Attaching Labels

Laminated Tape

Details the method for easily removing the backing from laminated labels using an included stick.

Non-Laminated Tape

Describes the technique for peeling backing from non-laminated tapes by folding them.

Print Head & Rollers

Door Label Example

To turn on the machine

Instructions on pressing the power key to start the P-touch 1800 and what appears on the display.

Address Label Example

To erase all of the text and reset the format functions

Procedure to clear all entered text and reset all formatting options to their default settings.

Power Key

Cursor Keys

Left Cursor Key

Instructions for moving the cursor left by character or to the beginning of the line.

Right Cursor Key

Instructions for moving the cursor right by character or to the end of the line.

Up Cursor Key

Instructions for moving the cursor up by line or to the beginning of the entire text.

Down Cursor Key

Instructions for moving the cursor down by line or to the end of the entire text.

Code, Alt & Shift Keys

Code Key

How to use the Code key to access functions printed above other keys on the P-touch 1800.

Alt Key

Instructions for typing characters in color on the key tops using the Alt key.

Shift Key

How to use the Shift key to type uppercase letters or symbols in the upper-left corner of keys.

Space Key

Return Key

Tab Function

Delete Key

Line Out Function

Clear Function

Composite Character Keys

Accent Function

Symbol Function

Auto Format Function

Size & Wide Functions

Style Function

Frame Function

Tape Margin Function

Horizontal Alignment Function

Length Function

Print Key & Feed Function

Numbering Function

Repeat Printing Function

Memory Functions

Troubleshooting

Error Message List

Specifications

Accessories

Related product manuals