Video
Manual
Exposure
Adjustment
Manual
Focus
Adjustment
Adjust the zoom before you start the
procedure.
(CD
26)
POINTS
TO
CHECK
Ii
."
110
II,
:
..
: .
2
Push
the
joystick
(.)
toward
[FOCUS].
"MF" appears.
3
Push
the
joystick
(
.....
)
or
(~)
once
to
verify
if
the
image
is
focused.
The center
of
the screen will be
magnified
to
help you focus more
easily.
You
can also turn
off
the focus
assist function
(CD
93).
~~~.~_!_~
1
If
the
joystick
guide
does
not
appear
on
screen,
press
@
to
display
it.
If
[FOG
US] does not appear on the
joystick guide, repeatedly push the
joystick
(T)
toward [NEXT] to display
it.
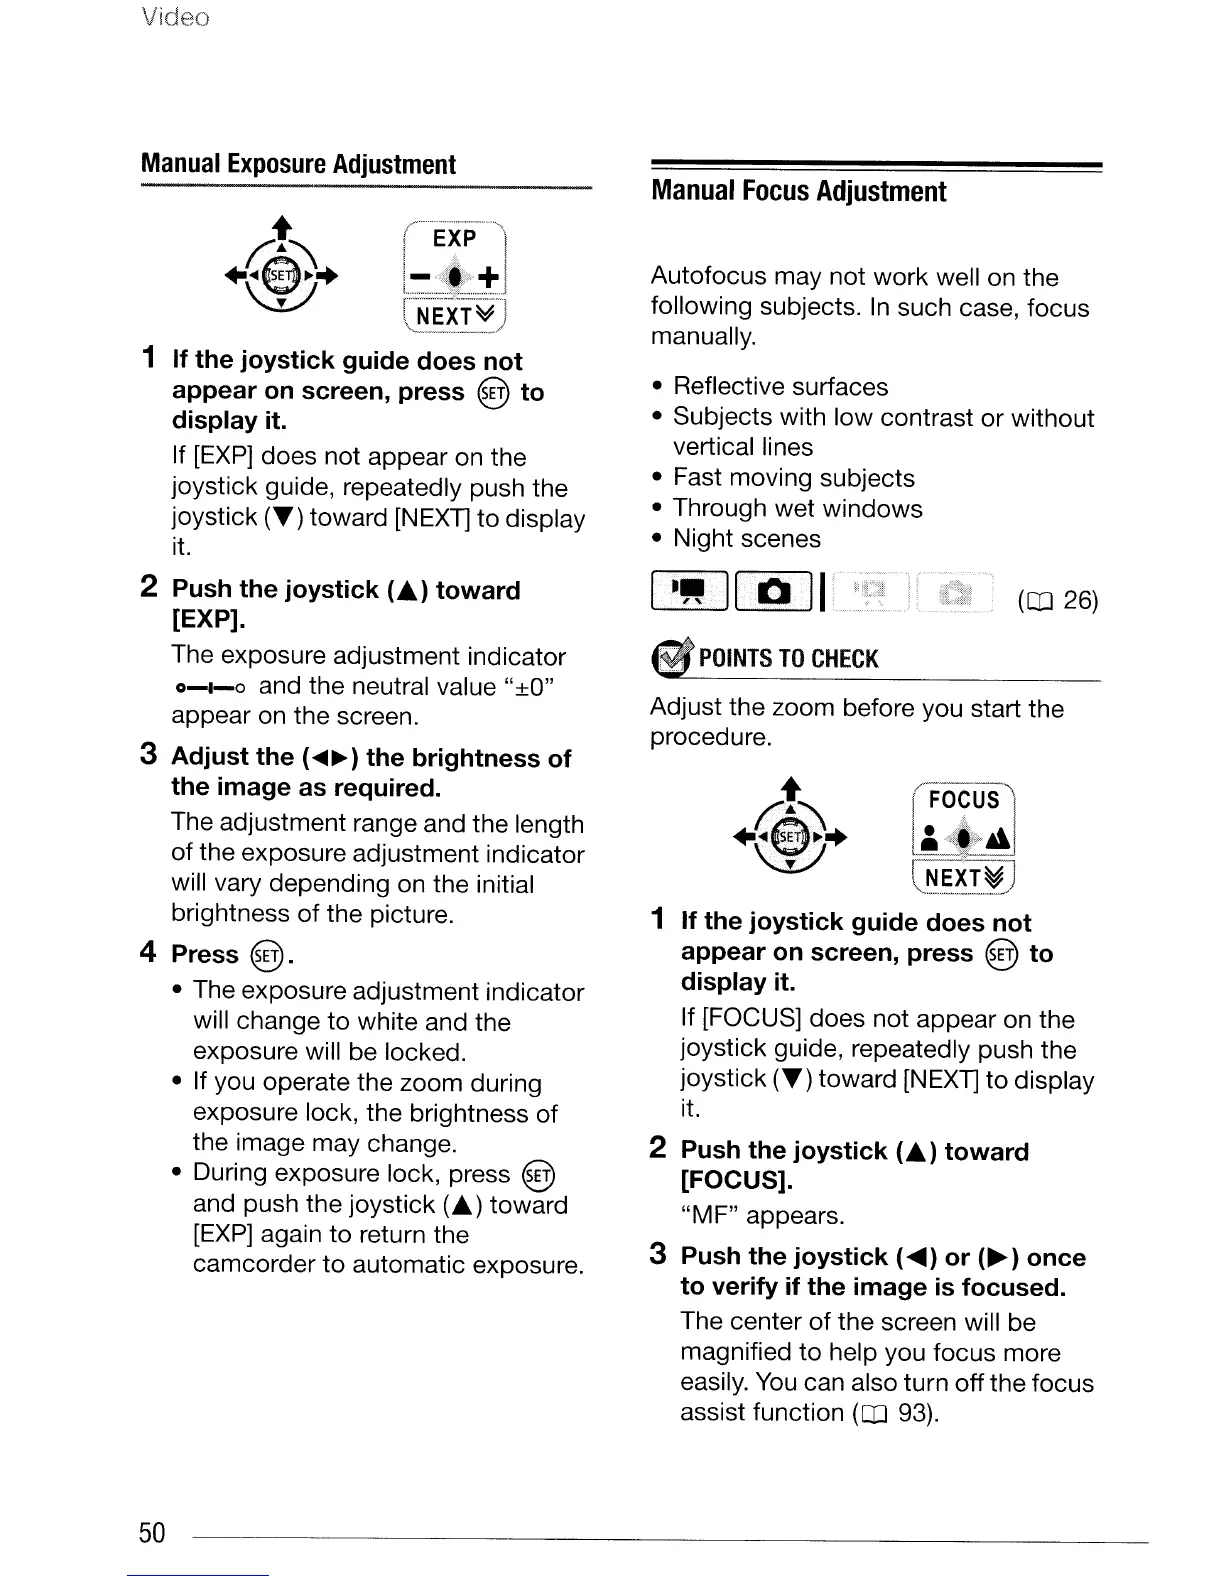
Autofocus may not work well on the
following subjects.
In
such case, focus
manually.
• Reflective surfaces
• Subjects with low contrast or without
vertical lines
• Fast moving subjects
• Through wet windows
• Night scenes
r"""~"~'~--"-'"
!
EXP
1
!.:-
±J
CNE'XT¥'J
...........
~~~
....
,
......
_-
............
~/
1
If
the
joystick
guide
does
not
appear
on
screen,
press
@
to
display
it.
If
[EXP]
does not appear on the
joystick guide, repeatedly push the
joystick
(T)
toward [NEXT] to display
it.
2
Push
the
joystick
CA.)
toward
[EXP].
The exposure adjustment indicator
0-1-0
and the neutral value "±O"
appear on the screen.
3
Adjust
the
(
...
~)
the
brightness
of
the
image
as
required.
The adjustment range and the length
of
the exposure adjustment indicator
will vary depending on the initial
brightness of the picture.
4
Press
@.
• The exposure adjustment indicator
will change to white and the
exposure will be locked.
• If you operate the zoom during
exposure lock, the brightness
of
the image may change.
• During exposure lock, press
@
and push the joystick C
..
)toward
[EXP]
again
to
return the
camcorder
to
automatic exposure.
50
 Loading...