14
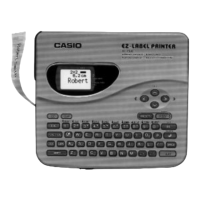
• Be sure to turn the ink ribbon take up spool
only in the direction indicated by the arrow
(a).
• Turn the spool until the other spool (b) starts
turning in the direction noted by the arrow.
This indicates there is no slack in the rib-
bon.
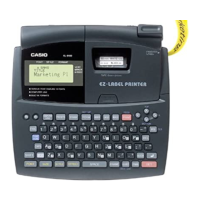
5. Load the tape cartridge into the Label Printer,
making sure that the tape and ink ribbon pass
between the head and roller.
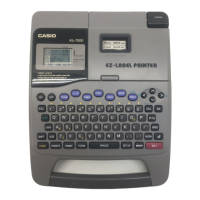
6. Close the tape cartridge compartment cover.
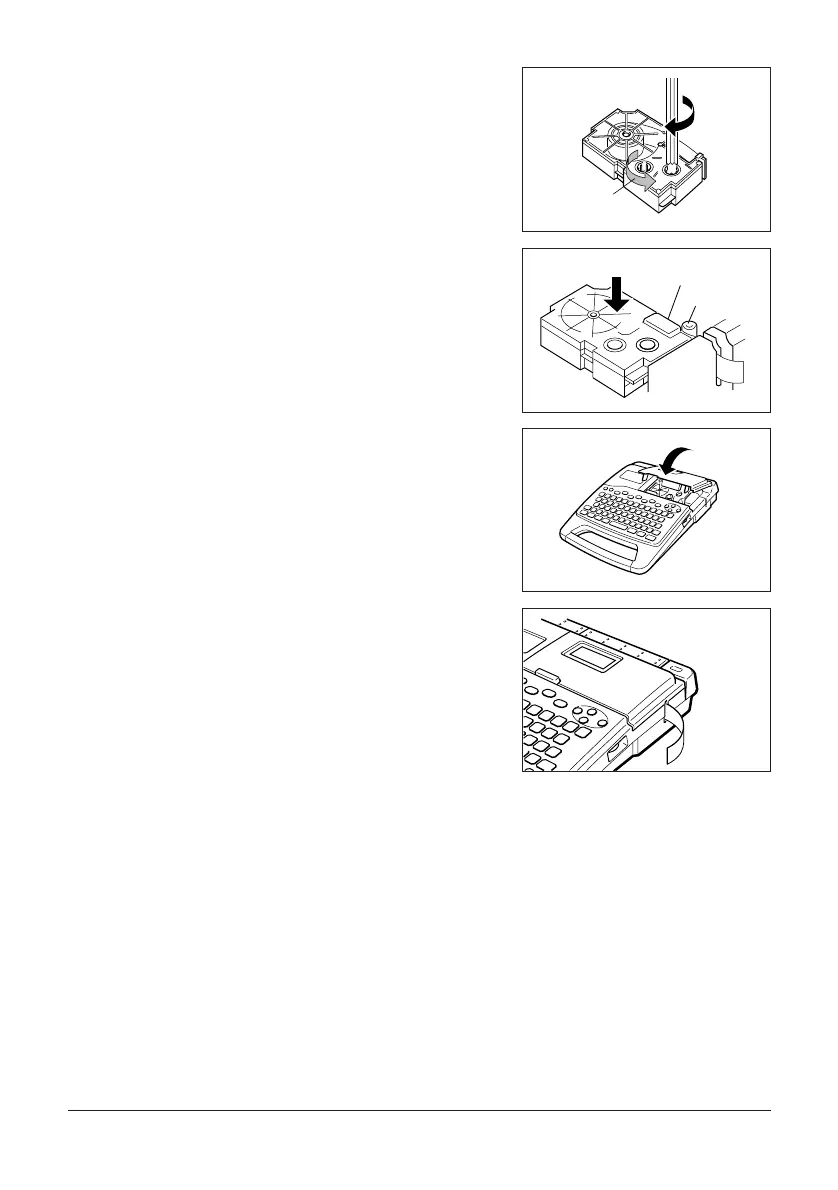
7. Switch on Label Printer power and press FUNC
and then FEED two or three times to make sure
that the tape comes out without any problem.
• If the tape does not come out normally,
switch off power and start again from step 1
above.
To specify the tape width
Important!
• When using 6mm tape, certain character sizes and layouts can cause characters to run
off the top or bottom of the tape.
• Be sure to specify 6mm tape whenever you are using it.
• In addition to the following tape size specification procedure, you can also specify 6mm
tape by holding down the 6 key while pressing ON to switch power on. To specify another
tape size (other than 6mm) you must use the following procedure.
1. Switch power on.
(a)
(b)
Head
Roller
 Loading...