— 14 —
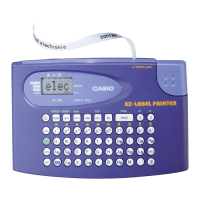
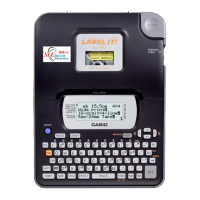
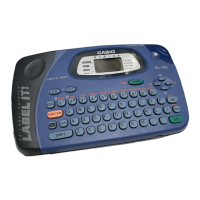
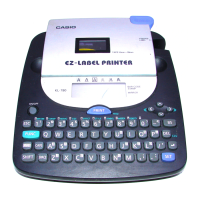
7. SENSOR POSITION, PRINTING SPECIFICATION & OPERATION CHECK
● REMARK
1. After checking to make sure that the QV Digital Camera you are connecting to is turned off,
connect the QG-100.
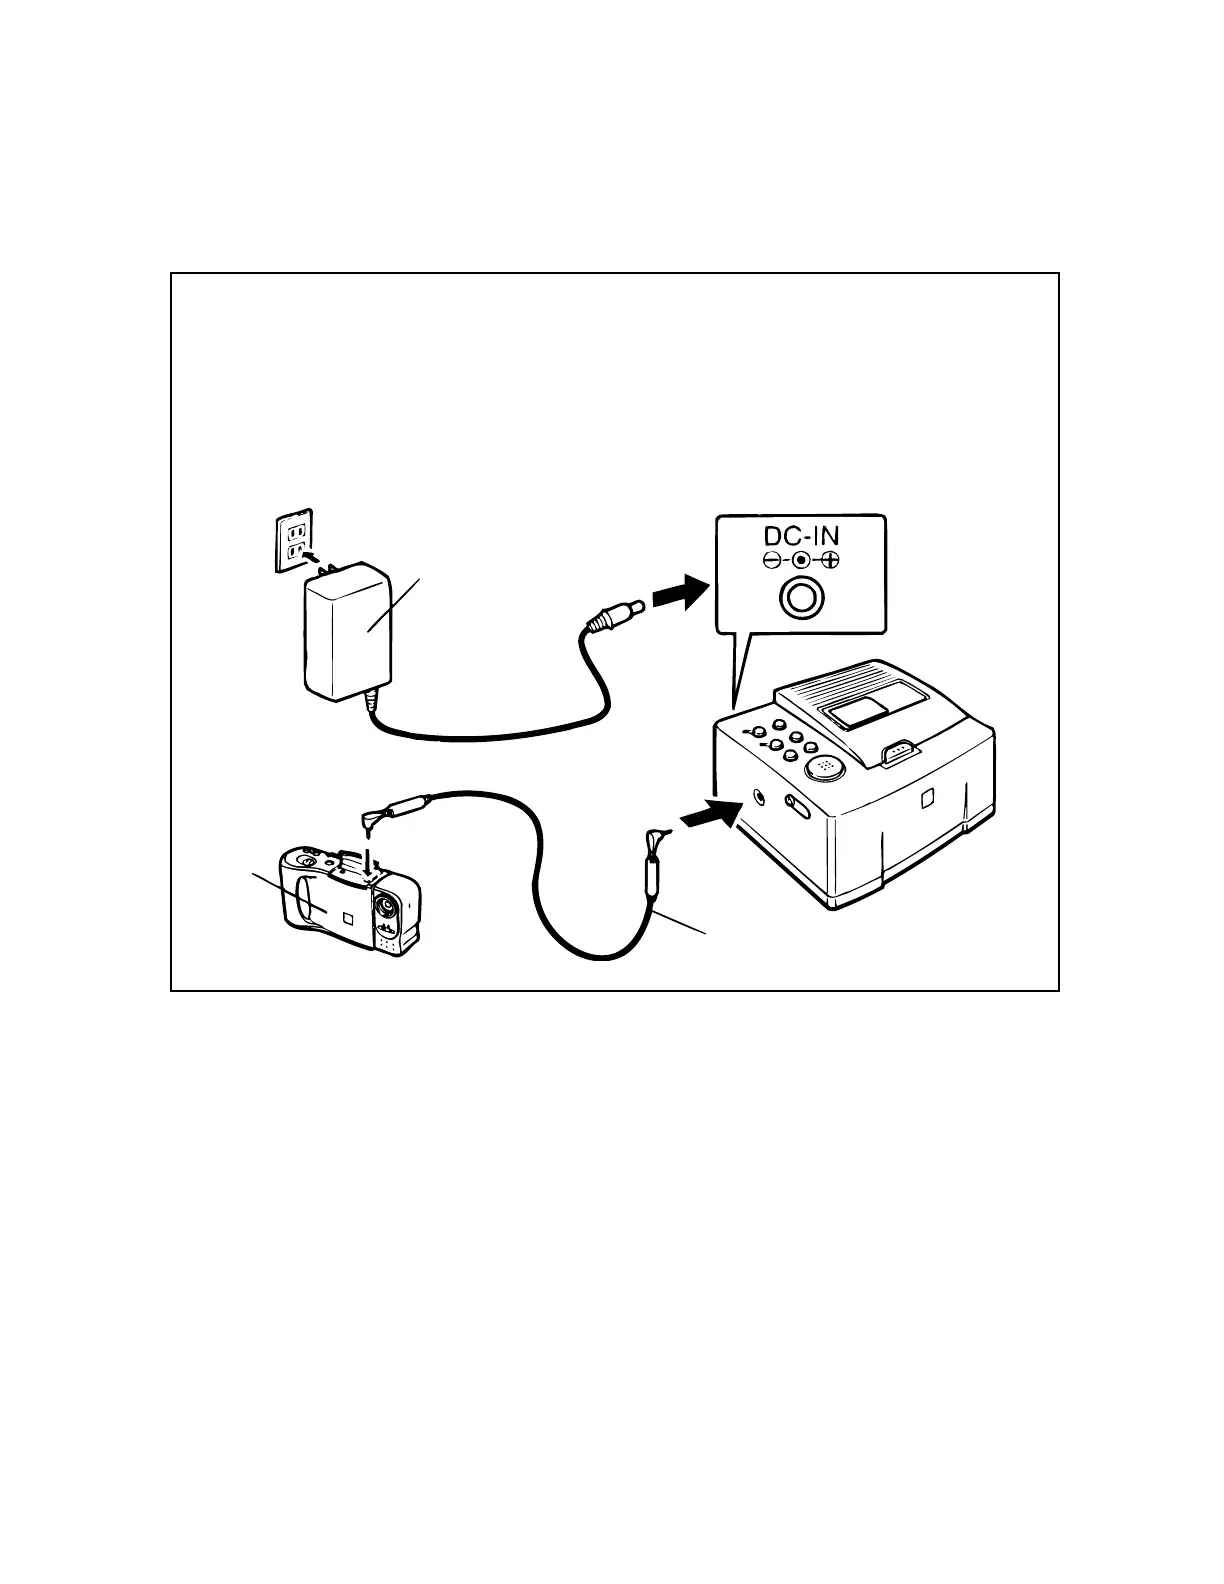
Connecting to a QV Digital Camera
Be sure to read the separate Connection Guide before connecting a QV Digital Camera. Connect
the two units in the following sequence.
1 Connect the AC adaptor to the QG-100.
2 Turn off the digital camera and the QG-100.
3 Connect the digital camera and QG-100 with the SB-62 cable.
AC adaptor AD-2012
Power supply
QG-100
SB-62 Cable
QV Digital
Camera
• Printer power may turn on automatically when you connect the adaptor and plug into a wall socket.
If this happens, be sure to turn off the digital camera and the QG-100 before connecting the SB-
62 cable.
• Make sure the AC adaptor and SB-62 cable plug are connected securely to the digital camera and
the QG-100. Push them in as far as they will go.
• We recommend that you use the digital camera's AC adaptor to power it, and that you do not rely
on battery power during this operation.
2. Refer to 8. TROUBLESHOOTING as to turning power on/off QV camera and QG-100.
3. While turning on QV camera and QG-100 power, QV camera's button (mode, zoom, +, –, rec., play,
etc.) cannot operate. Only QG-100's button can operate.
4. While QV camera has not some picture data, you can not turn on QG-100 power.
 Loading...