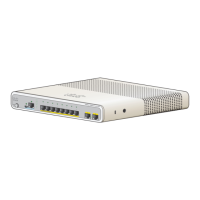
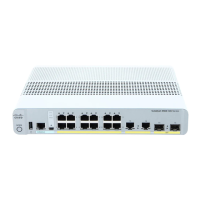
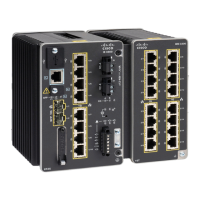
Verifying Switch Operation
Before you install the switch in a rack, on a wall, or on a table or shelf, power on the switch and verify that
it passes POST.
To power on the switch, do one of the following, depending on your switch model:
•
Connect a 10/100/1000 uplink port to a PoE or PoE+ switch.
•
Plug the auxiliary power adapter cord into the switch AUX power connector and into an AC power
outlet.
You can use both the uplink port and the auxiliary power adapter. The switch shares
power from all the available power sources. The total available power to the switch is
the sum of power available from all the power sources minus the power that is lost.
Note
•
Plug one end of the AC power cord into the switch AC power connector, and plug the other end into an
AC power outlet.
As the switch powers on, it begins the POST, a series of tests that runs automatically to ensure that the switch
functions properly. LEDs can blink during the test. POST lasts approximately 1 minute. When the switch
begins POST, the SYST, STAT, and SPEED LEDs turn green. The SYST LED blinks green, and the other
LEDs remain solid green.
When the switch completes POST successfully, the SYST LED remains green. The other LEDs turn off and
then reflect the switch operating status. If a switch fails POST, the SYST LED turns amber.
POST failures are usually fatal. Call Cisco technical support representative if your switch fails POST.
After a successful POST, unplug the power cord from the switch and install the switch in a rack, on a wall,
on a table, or on a shelf.
Mounting the Switch
On a Desk or Shelf (without Mounting Screws)
Step 1
Locate the adhesive strip with the rubber feet in the accessory kit.
Step 2
Remove the four rubber feet from the adhesive strip, and attach them to the recessed areas on the bottom of the unit.
This prevents the switch from sliding on the desk or shelf
We strongly recommend that you attach the rubber feet. Doing so helps prevent airflow restriction and overheating.Note
Step 3
Place the switch on the desk or shelf.
To prevent airflow restriction, allow clearance around the ventilation openings to be at least: 3 in. (7.6 cm) Statement
1076
Catalyst 3560-CX and 2960-CX Switch Hardware Installation Guide
17
Switch Installation
Verifying Switch Operation
 Loading...
