Check Si04-306
132 Service Diagnosis
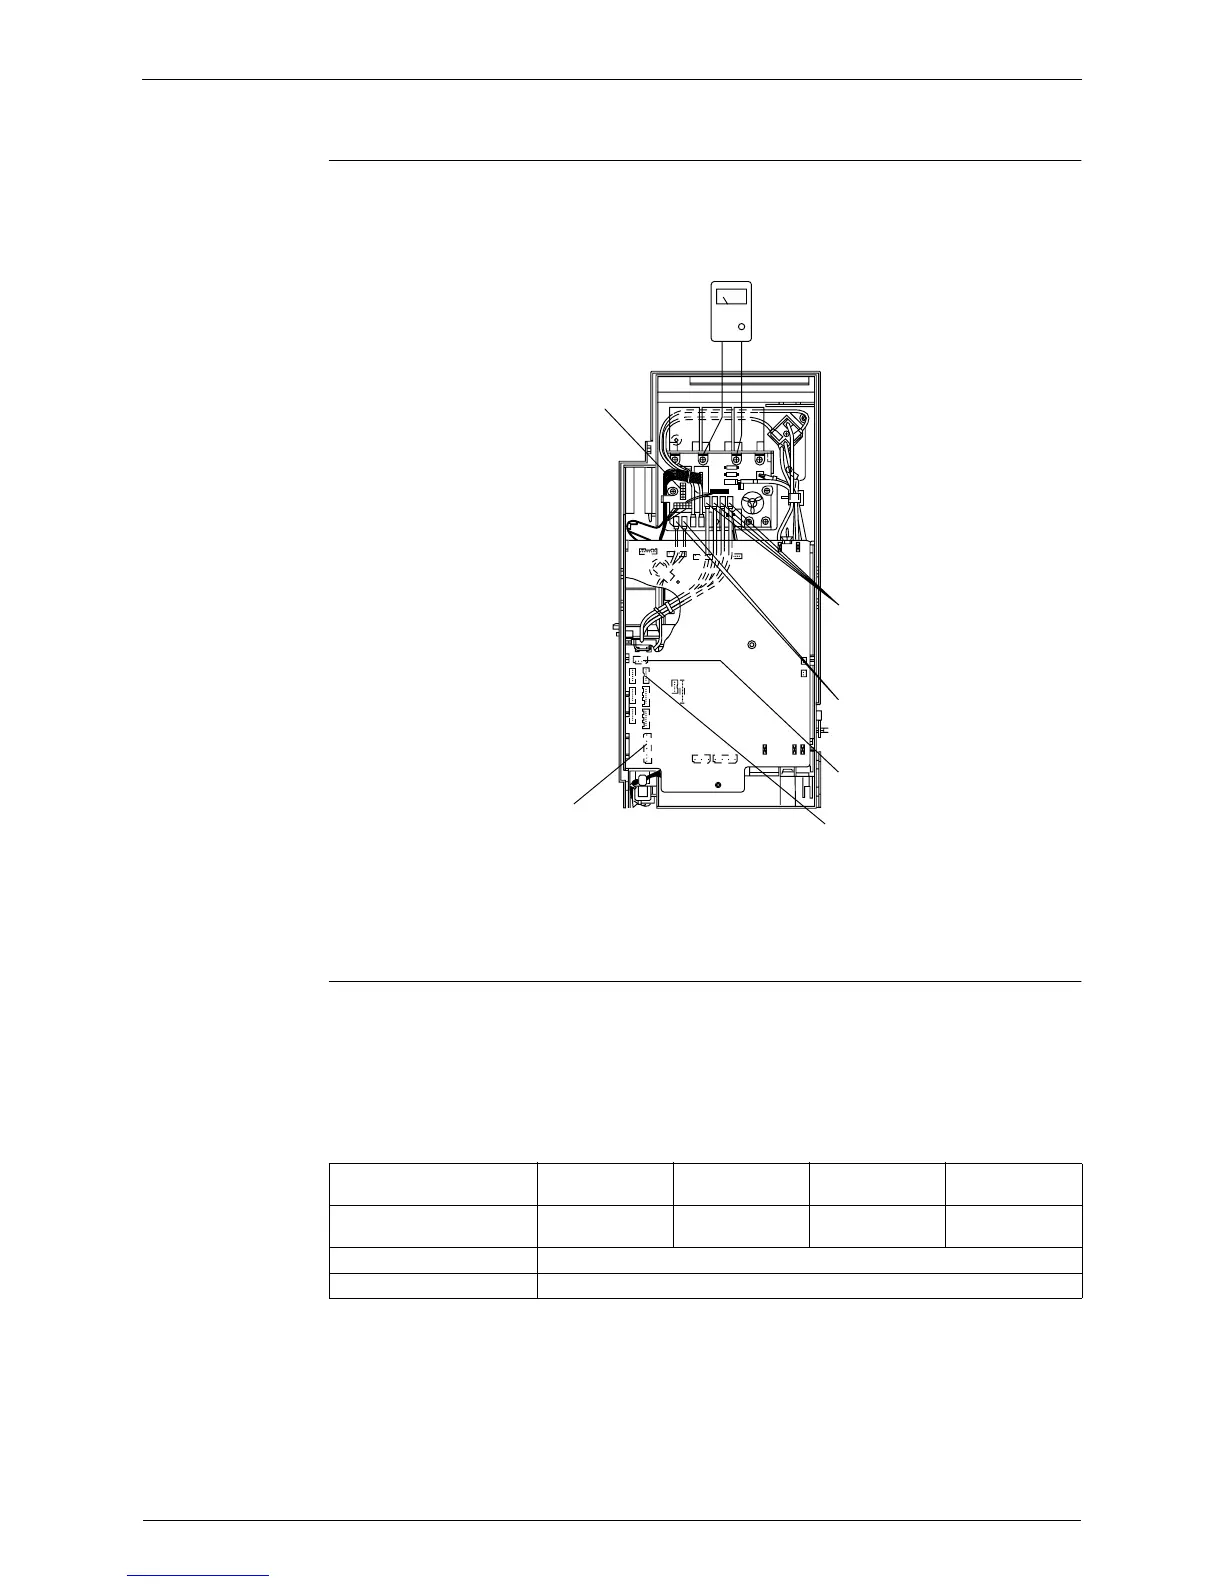
5.1.10 Capacitor Voltage Check
Check No.12 Before this checking, be sure to check the main circuit for short-circuit.
Checking the capacitor voltage
z
With the circuit breaker still on, measure the voltage according to the drawing of the model in
question. Be careful never to touch any live parts.
5.1.11 Power Transistor Check
Check No.13
Checking the power transistor
z
Never touch any live parts for at least 10 minutes after turning off the circuit breaker.
z
If unavoidably necessary to touch a live part, make sure the power transistor's supply
voltage is below 50 V using the tester.
z
For the UVW, make measurements at the Faston terminal on the board or the relay
connector.
Fan motor
lead wire
Solenoid valve
lead wire
Thermistor
lead wire
OL
lead wire
Reactor
lead wire
Compressor
lead wire
TB2
>PS<
TB3
P2 N1
590 592 593
580
520 521 522
540
(R2858)
Use the tester
in the DC range.
Tester's negative terminal
Power transistor
(+)
UVW
Power transistor
(–)
UVW
Tester's positive terminal UVW
Power transistor
(+)
UVW
Power transistor
(–)
Normal resistance Several kohms to several Mohms
Abnormal resistance 0 or
∞
 Loading...


