8. Print a configuration page from the control panel to ensure the hard disk is correctly installed.
Setting the Hard Disk in the Printer Properties
After installing the hard disk, you need to select it in the printer properties to enable its use.
To access the properties of the printer driver:
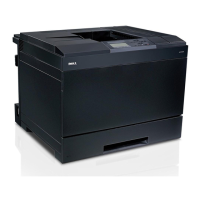
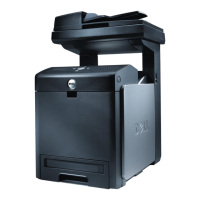
Dell 5330dn Mono Laser Printer
1. Click the Windows Start button.
2. For Windows 2000, select Settings and then Printers.
For Windows XP/Server 2003, select Printers and Faxes.
For Windows Vista/Server 2008 , select Control Panel Hardware and Sound Printers.
For Windows 7, select Control Panel
Hardware and Sound Devices and Printers.
For Windows Server 2008 R2, select Control Panel
Hardware Devices and Printers.
3. Select the Dell 5330dn Mono Laser Printer.
4. Right-click the printer icon and select Properties.
5. Click the Printer tab, and check Optional Hard Disk Driver (HDD)
6. Click OK.
Dell 5330dn Mono Laser Printer PS
1. Click the Widows Start button.
2. For Windows 2000, select Settings and then Printers.
For Windows XP/Server 2003, select Printers and Faxes.
For Windows Vista/Server 2008 , select Control Panel Hardware and Sound Printers.
For Windows 7, select Control Panel
Hardware and Sound Devices and Printers.
For Windows Server 2008 R2, select Control Panel
Hardware Devices and Printers.
3. Select Dell 5330dn Mono Laser Printer PS.
4. Right-click the printer icon and select Properties.
5. Click the Device Settings tab and select Installed from the Optional Hard Disk Drive (HDD) in the
Installable Options section.
6. Click OK.
Printing with the Optional Hard Disk
After installing the optional hard disk, you can use the advanced printing features, such as storing or spooling a print job
to the hard disk, proofing a job, and specifying the printing of a private job in the printer properties window.
Once you have stored files in the hard disk, you can easily print or delete the stored files using the control panel of your
 Loading...