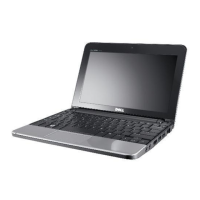
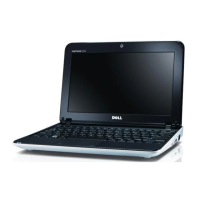
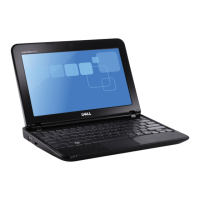
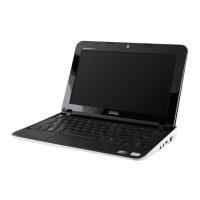
11. Remove the two screws that secure the display assembly to the computer base.
12. Lift the display assembly off the computer base.
Replacing the Display Assembly
1. Follow the instructions in Before You Begin.
2. Place the display assembly in position and replace the two screws that secure the display assembly to the computer base.
3. Route the ambient-light sensor cable, touch-screen cable, display cable, and camera cable through the routing guides.
4. Connect the ambient-light sensor cable, touch-screen cable, display cable, and camera cable to their connectors on the system board.
5. Route the Mini-Card antenna cables through the routing guides.
6. Connect the appropriate antenna cables to the Mini-Cards(s) on your computer (see Replacing the Mini-Card(s)).
7. Replace the memory module (see Replacing the Memory Module).
8. Replace the battery (see Replacing the Battery).
9. Replace the palm-rest assembly (see Replacing the Palm-Rest Assembly).

 Loading...

