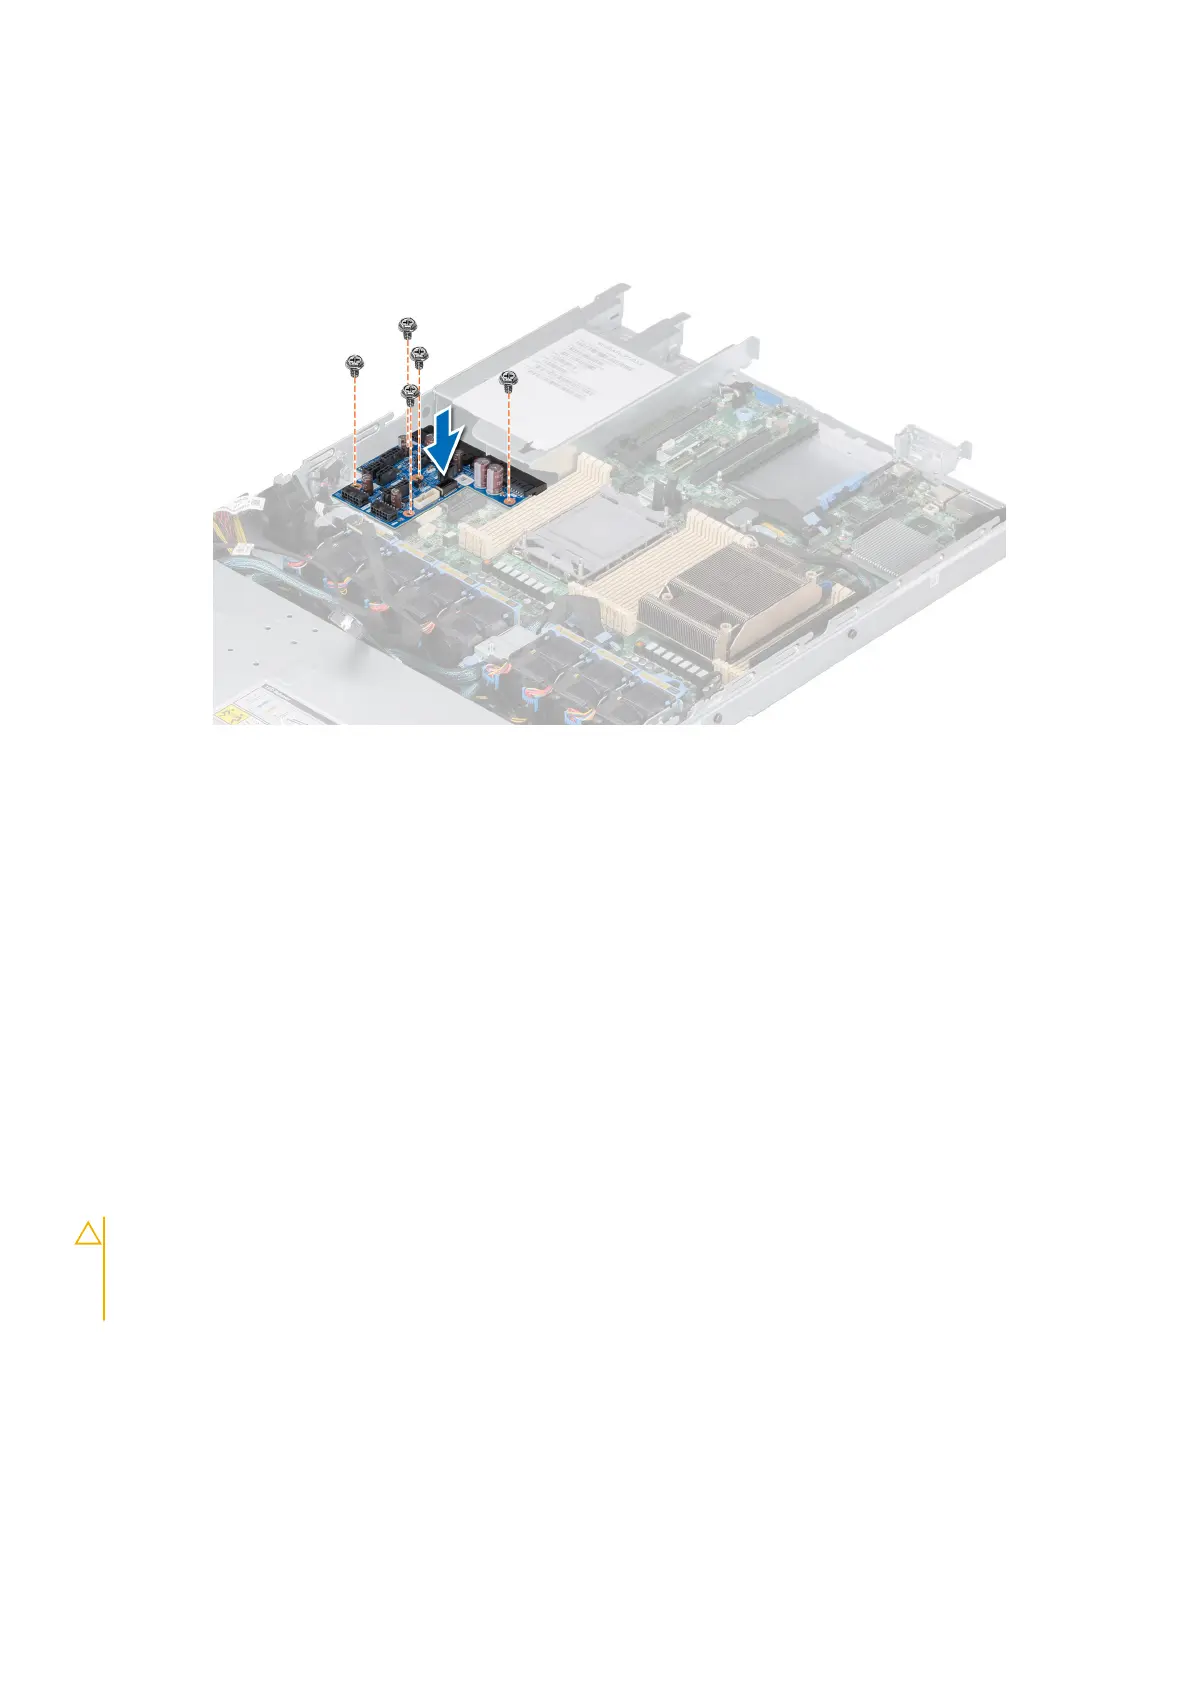
Steps
1. Align the slots on the PIB with the hook on the chassis and slide it into place.
2. Using Phillips #2 screwdriver, tighten the screws to secure the PIB to the system.
Figure 124. Installing the power interposer board
3. Reconnect all the required cables.
Next steps
1. Install the PSU.
2. Install the air shroud.
3. Follow the procedure listed in After working inside your system.
System board
This is a service technician replaceable part only.
Removing the system board
Prerequisites
CAUTION:
If you are using the Trusted Platform Module (TPM) with an encryption key, you may be prompted
to create a recovery key during program or System Setup. Be sure to create and safely store this recovery key.
If you replace this system board, you must supply the recovery key when you restart your system or program
before you can access the encrypted data on your drives.
1. Follow the safety guidelines listed in the Safety instructions.
2. Follow the procedure listed in Before working inside your system.
3. Remove the following components:
a. Air shroud
b. Expansion cards
c. Expansion card risers
d. M.2 BOSS riser
e. Internal USB key (if installed)
120
Installing and removing system components
 Loading...