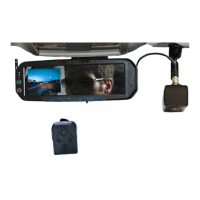
DVM-750 Installation Guide 860-0008-00 Rev C
Digital Ally, Inc |DVM-750 Installation Guide
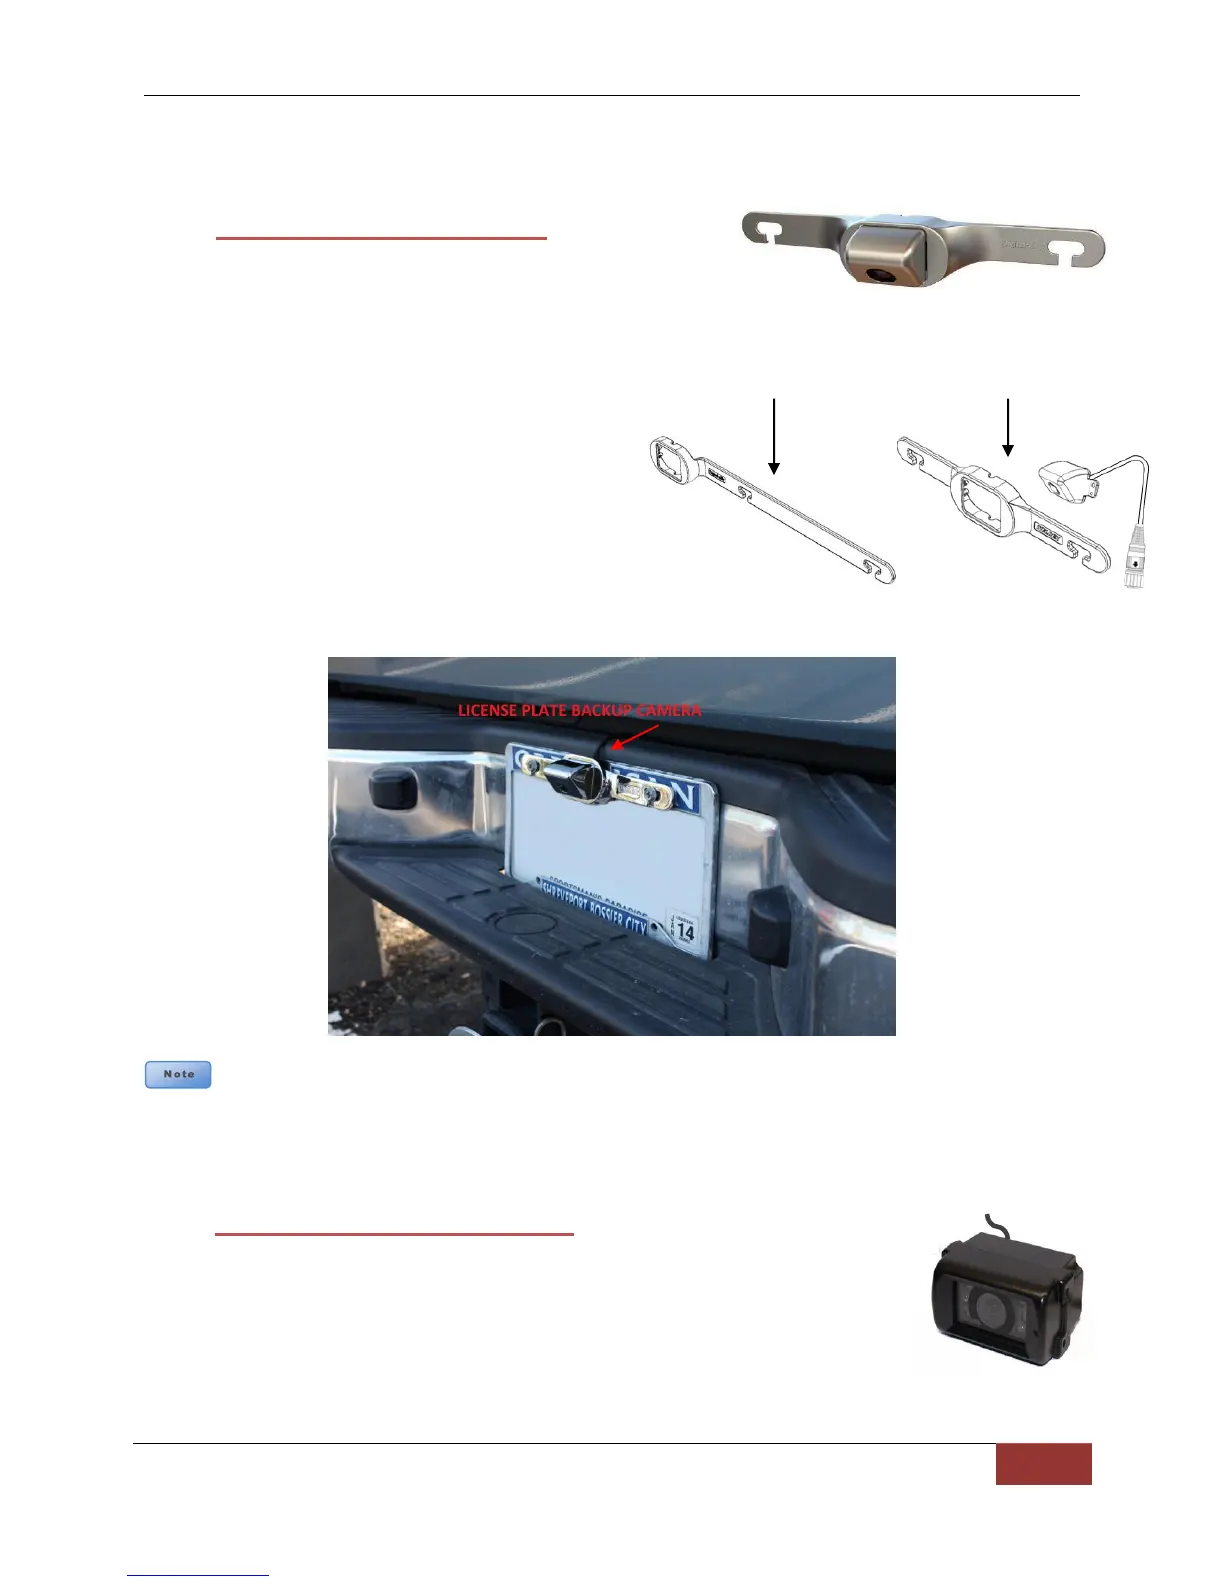
Side Mount Bracket Top Mount Bracket
2. Mount the Backup Camera
LICENSE PLATE BACKUP CAMERA
a. Loosen the top two screws holding the rear
license plate to the vehicle.
b. Position the backup camera bracket along
the top edge of the license plate, centering
the bracket mounting holes to the license
plate screws.
c. Install the bracket by sliding the
bracket downward onto the license
plate screws.
d. Slide the bracket either to the left or to
the right to secure the screws within
the bracket mounting slots.
e. Tighten the license plate mounting
screws to complete the bracket installation.
It may be illegal in your local area or state to cover up the State, County, Year, etc. on the vehicle
license plate. Depending on the design of the license plate for your particular state, you may need
to use the Side Mount camera bracket included in the kit in order to ensure compliance with your
local and state laws. This bracket is designed so it can be mounted behind the license plate
when installing the backup camera.
EXTERNAL MOUNT BACKUP CAMERA
a. Identify a flat surface to attach the mounting bracket.
b. For exterior mounting where the cable must be routed through a
panel to the interior of the vehicle:
i. Position the mounting bracket, locate the ¾” hole in the
bracket, and mark the center on the mounting surface.
 Loading...