49
Level Sensor Leak Troubleshooting & Repair
If a substandard result occurs, then the following procedures need to be
followed to determine where the leak is occurring and how to repair the
Level Sensor Assembly.
1. While the assembly is under pressure (82” – 90” of water (in air)), spray soapy water
or leak detector around barbed fitting, and the joint between the two assembly
halves.
2. If a leak is detected around the barbed fitting, install a new fitting and retest the
assembly.
3. Check for leaks around all joints of the test assembly.
4. Lay the LSA on its side and spray soapy water so that it runs over the column hole in
the bell area to see if it is leaking passed the switches.
5. Check for leaks on the test assembly.
6. If you cannot determine the exact location of the leak, replace the entire assembly.
7. If any of the methods above are unable to eliminate the leak, replace the entire
assembly.
8. Before re-installing the equalizer tube onto the barbed fitting, snip ½” of the tubing off
to ensure a good seal.
Level Sensor Disassembly
1. Loosen and remove the four Philip head screws that hold the Level Sensor assembly
together.
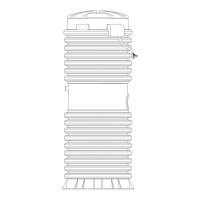
Figure 9 – 3

 Loading...


