59
Chapter 10 – Control Cavity
Wireless-Communicating Models: (DR & WR)
Top End Disassembly and Level Sensor Removal
Refer to Chapter 8a for the removal of the Top Housing on DR models. Refer to Chapter 9 for
the removal of the Wireless Level Sensor
Control Housing Removal
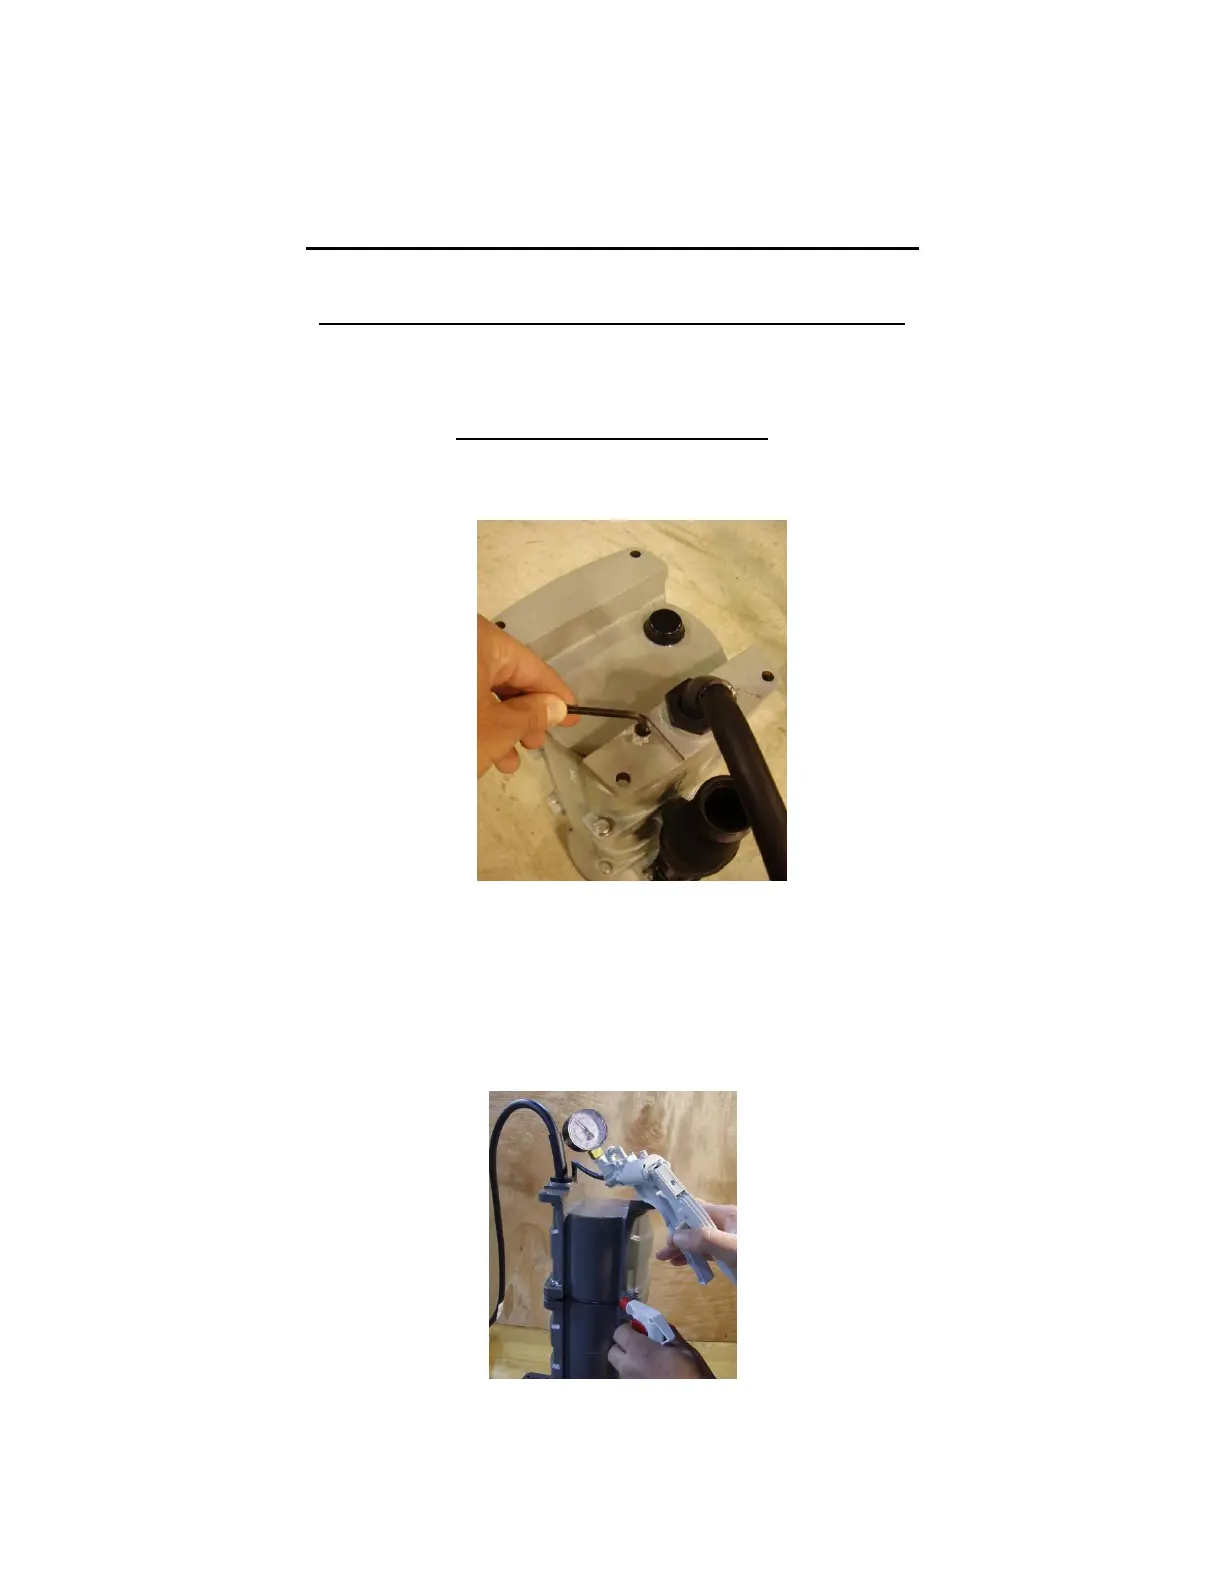
1. Once the top and Level Sensor has been removed and set aside, loosen and remove
the air release plug with a 3/16” hex key.
Figure 10 – 1
2. Install the control cavity air test fitting and pressurize the control cavity to 5 PSI, using a
regulated low pressure line or hand pump
3. Test for leaks around the o-ring joint and compression nut connection using soapy
water. Submerging this assembly at this point may find leaks more easily. (Note: it may
take several minutes for trapped air to clear).
Figure 10 – 2
 Loading...

