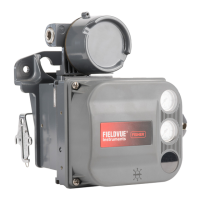
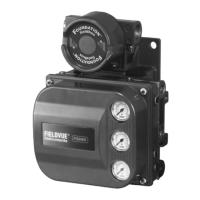
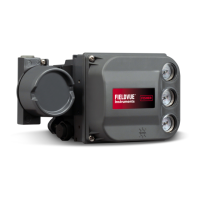
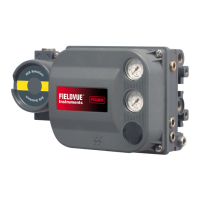
DVC6000f Series
March 2006
2-14
Note
While the housing differs on the
DVC6025 and the DVC6020f, feedback
parts are the same.
As shown in figure 2-5, two feedback arms are
available for the digital valve controller. Most
long-stroke sliding-stem and rotary actuator
installations use the long feedback arm [62 mm (2.45
inches) from roller to pivot point]. Installations on
Fisher Type 1051 size 33 and Type 1052 size 20 and
33 actuators use the short feedback arm [54 mm (2.13
inches) from roller to pivot point]. Make sure the
correct feedback arm is installed on the digital valve
controller before beginning the mounting procedure.
Refer to figures 2-4, 2-5, and 2-7 for parts locations.
Also, where a key number is referenced, refer to figure
11-5. Refer to the following guidelines when mounting
on sliding-stem actuators with 4 to 24 inches of travel
or on rotary actuators:
1. Isolate the control valve from the process line
pressure and release pressure from both sides of the
valve body. Shut off all pressure lines to the
pneumatic actuator, releasing all pressure from the
actuator. Use lock-out procedures to be sure that the
above measures stay in effect while working on the
equipment.
2. If a cam is not already installed on the actuator,
install the cam as described in the instructions
included with the mounting kit. For sliding-stem
actuators, the cam is installed on the stem connector.
3. If a mounting plate is required, fasten the mounting
plate to the actuator.
4. For applications that require remote venting, a
pipe-away bracket kit is available. Follow the
instructions included with the kit to replace the existing
mounting bracket on the digital valve controller with
the pipe-away bracket and to transfer the feedback
parts from the existing mounting bracket to the
pipe-away bracket.
5. Larger size actuators may require a follower arm
extension, as shown in figure 2-7. If required, the
follower arm extension is included in the mounting kit.
Follow the instructions included with the mounting kit
to install the follower arm extension.
6. Mount the Type DVC6025 on the actuator as
follows:
If required, a mounting adaptor is included in the
mounting kit. Attach the adaptor to the actuator as
shown in figure 2-5. Then attach the digital valve
controller assembly to the adaptor. The roller on the
digital valve controller feedback arm will contact the
actuator cam as it is being attached.
If no mounting adaptor is required, attach the
digital valve controller assembly to the actuator or
mounting plate. The roller on the digital valve
controller feedback arm will contact the actuator cam
as it is being attached.
7. For long-stroke sliding-stem actuators, after the
mounting is complete, check to be sure the roller
aligns with the position mark on the cam (see figure
2-4). If necessary, reposition the cam to attain
alignment.
Type Type DVC6035 on Quarter-Turn
Actuators
WARNING
Refer to the Installation WARNING at
the beginning of this section.
If ordered as part of a control valve assembly, the
factory mounts the digital valve controller on the
actuator, makes pneumatic connections to the
actuator, sets up, and calibrates the instrument. If you
purchased the digital valve controller separately, you
will need a mounting kit to mount the digital valve
controller on the actuator. See the instructions that
come with the mounting kit for detailed information on
mounting the digital valve controller to a specific
actuator model.
Note
Refer to Type DVC6005f Base Unit
Mounting on page 2-10 when installing
a Type DVC6035 remote feedback unit.
Figure 2-6 shows an example of mounting on on a
quarter-turn actuator. Refer to figure 2-6 for parts
locations. Also, where a key number is referenced,
refer to figure 11-7. Refer to the following guidelines
when mounting on quarter-turn actuators:
2
 Loading...