C4 Maintenance 7. Joint #3
102 C Series Maintenance Manual Rev.2
7.3 Joint #3 - Replacing the Timing Belt
Removal: Joint #3 Timing belt
1. Follow Removal steps (1) through (4) of C4
Maintenance: 7.1 Joint #3 – Replacing the Motor
(with a Brake).
2. Loosen the Joint #3 motor unit set screw.
Hexagon socket head cap bolts: 2-M4×15
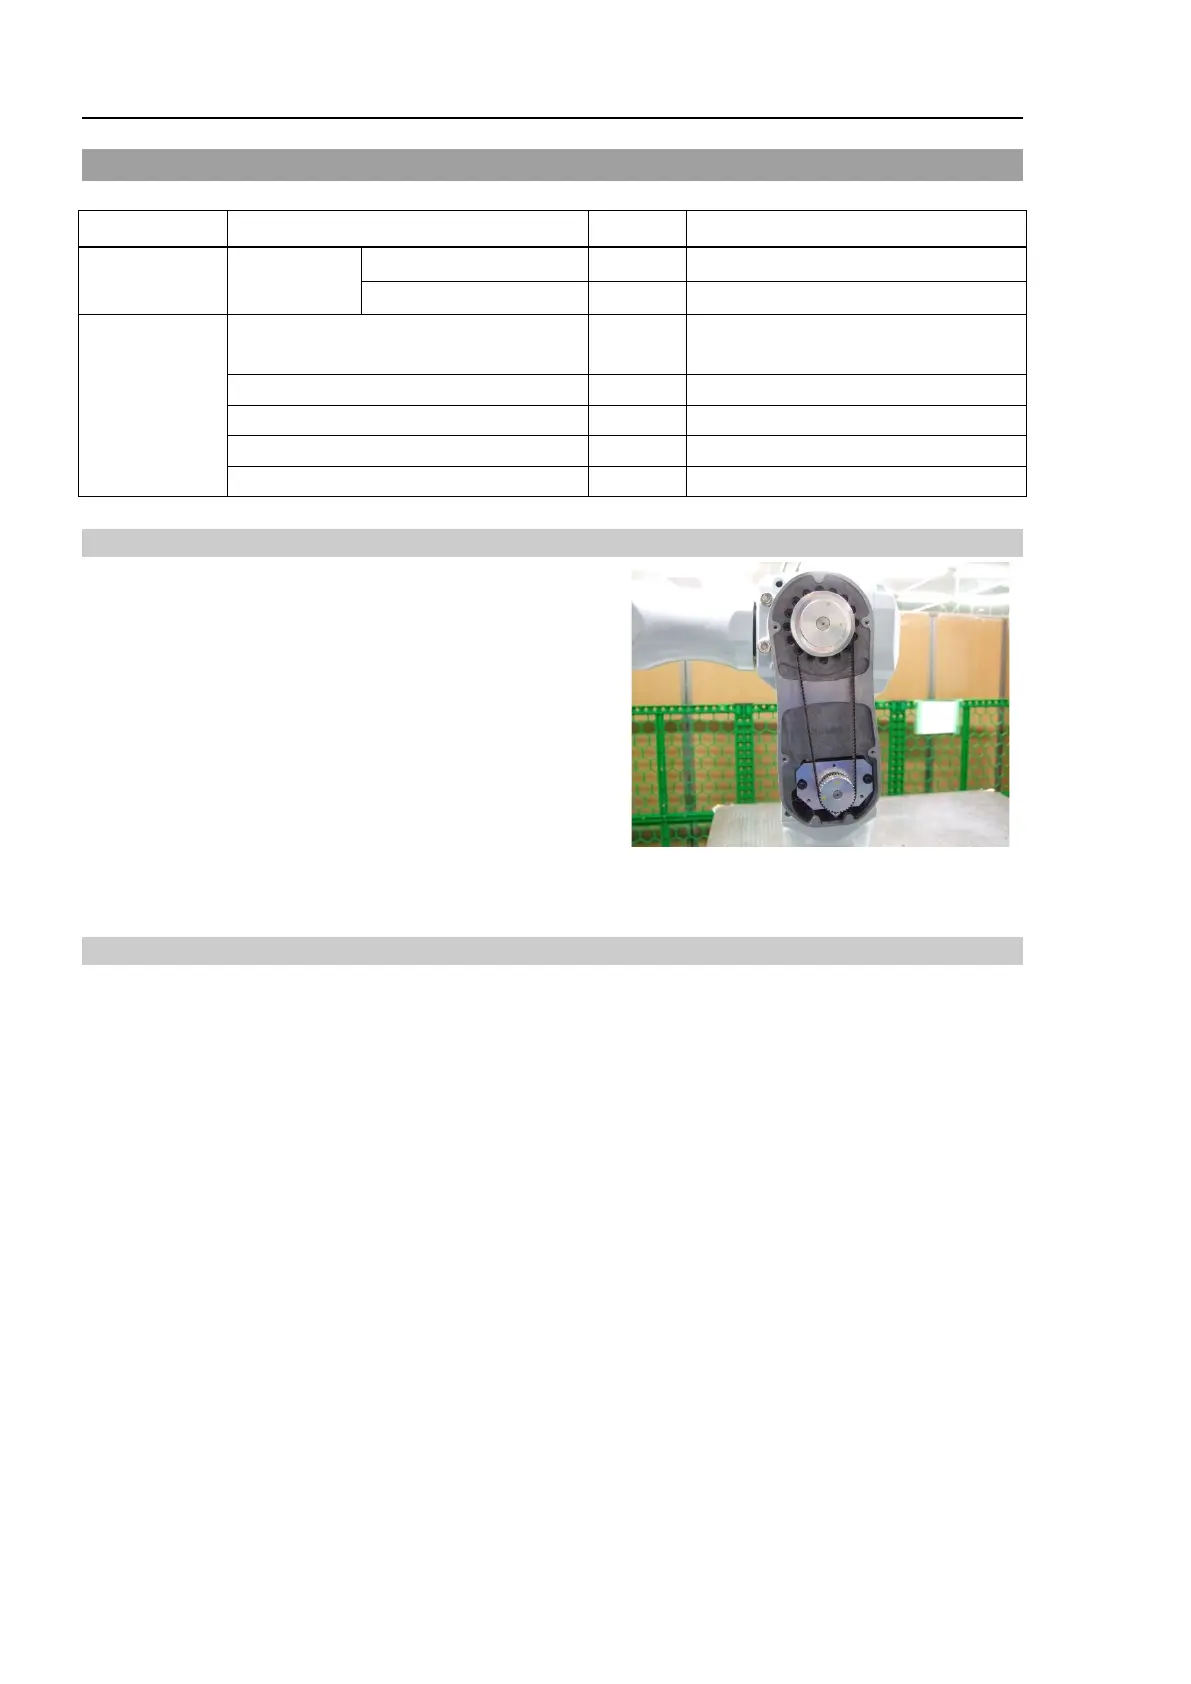
3. Remove the Joint #3 timing belt.
Remove the timing belt from the pulley 1 first.
Then, remove the timing belt from the pulley 2.
Installation: Joint #3 Timing belt
1. Place the Joint #3 timing belt to the pulley 1 and the pulley 2 of the Joint #3.
Place the timing belt to the pulley 2 first. Then, place the timing belt to the pulley 1.
2. Secure the Joint #3 motor unit.
For details, refer to C4 Maintenance: 7.1 Joint #3 – Replacing the Motor (with a Brake), Installation
Maintenance
Timing belt
Tools
Hexagonal wrench
(width across flats: 3 mm)
1 For M4 hexagon socket head cap bolt
 Loading...


