C8 Maintenance 6. Joint #2
324 C Series Maintenance Manual Rev.2
8. After fixing the Arm #2, fix the Arm #1 side arm.
Hexagon socket head cap bolts: 8-M6×25 (with a plain washer)
Tightening torque: 18.0 ± 0.9 N·m
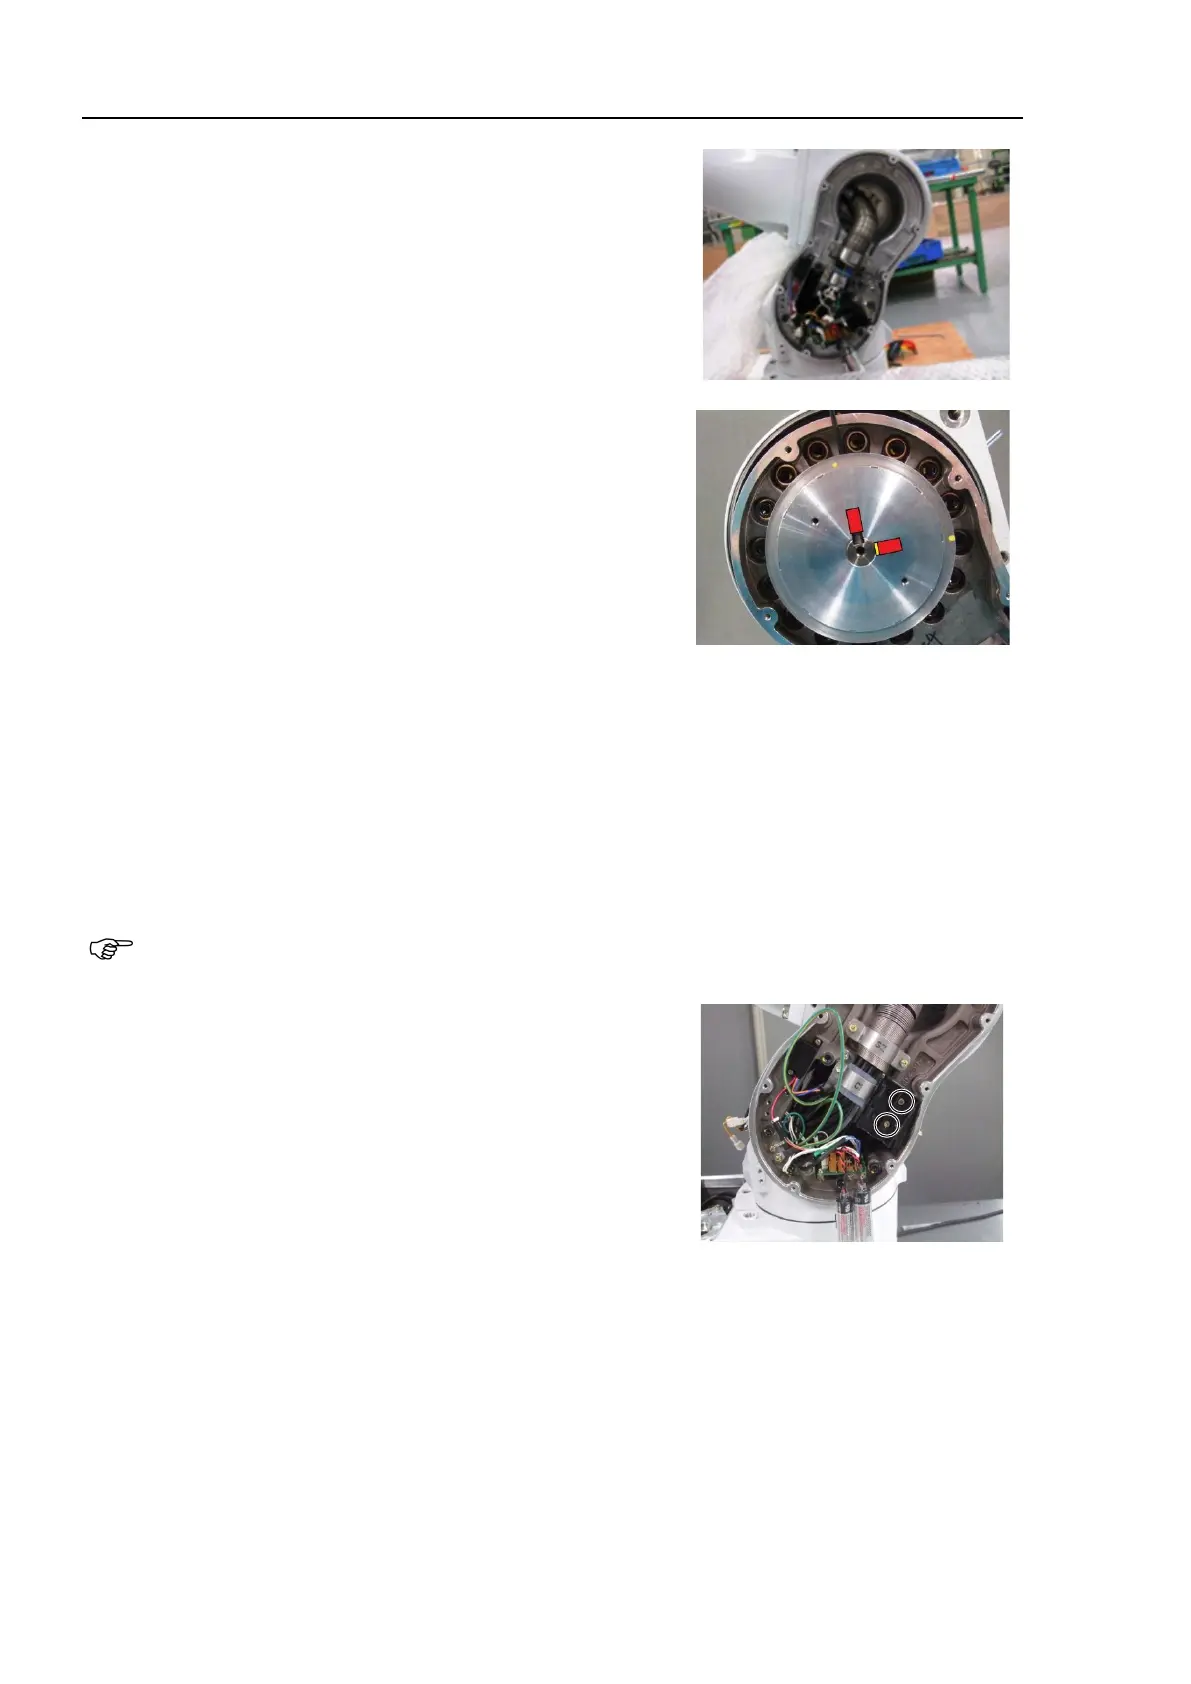
9. Install the Joint #2 pulley 2 to the Joint #2 shaft.
Hexagon socket head cap bolts: 2-M5×10
(with a brass washer)
Tightening torque: 3.9 ± 0.2 N·m
C8, C8L:
Insert the pulley 2 so that one of the set screws is at the flat
face of the shaft. The brass bushing is not necessary for the
screw for the flat surface. Set the bushing to the other
screw and then fix the screw.
C8XL:
Set the key to the shaft and insert the pulley 2 while aligning to the key groove. The brass bushing
is not necessary for the screw for the flat surface. Set the bushing to the other screw and then fix
the screw.
If the screw positions are incorrect or the bushing is not set, it may cause damage on the side of the
brake and may result in the part being unable to be removed.
10. Install the battery box.
Countersunk screws: 2-M3×8
Tightening torque: 0.45 ± 0.1 N·m
11. Install the following parts.
Battery
Battery board
Battery connector
For details, refer to C8 Maintenance 11.2 Replacing the Battery Board, Installation steps (2) to (5).
12. Install the Joint #2 timing belt.
For details, refer to C8 Maintenance 6.3 Joint #2 – Replacing the Timing Belt, Installation steps (1) to
 Loading...


