C4 Maintenance 5. Joint #1
70 C Series Maintenance Manual Rev.2
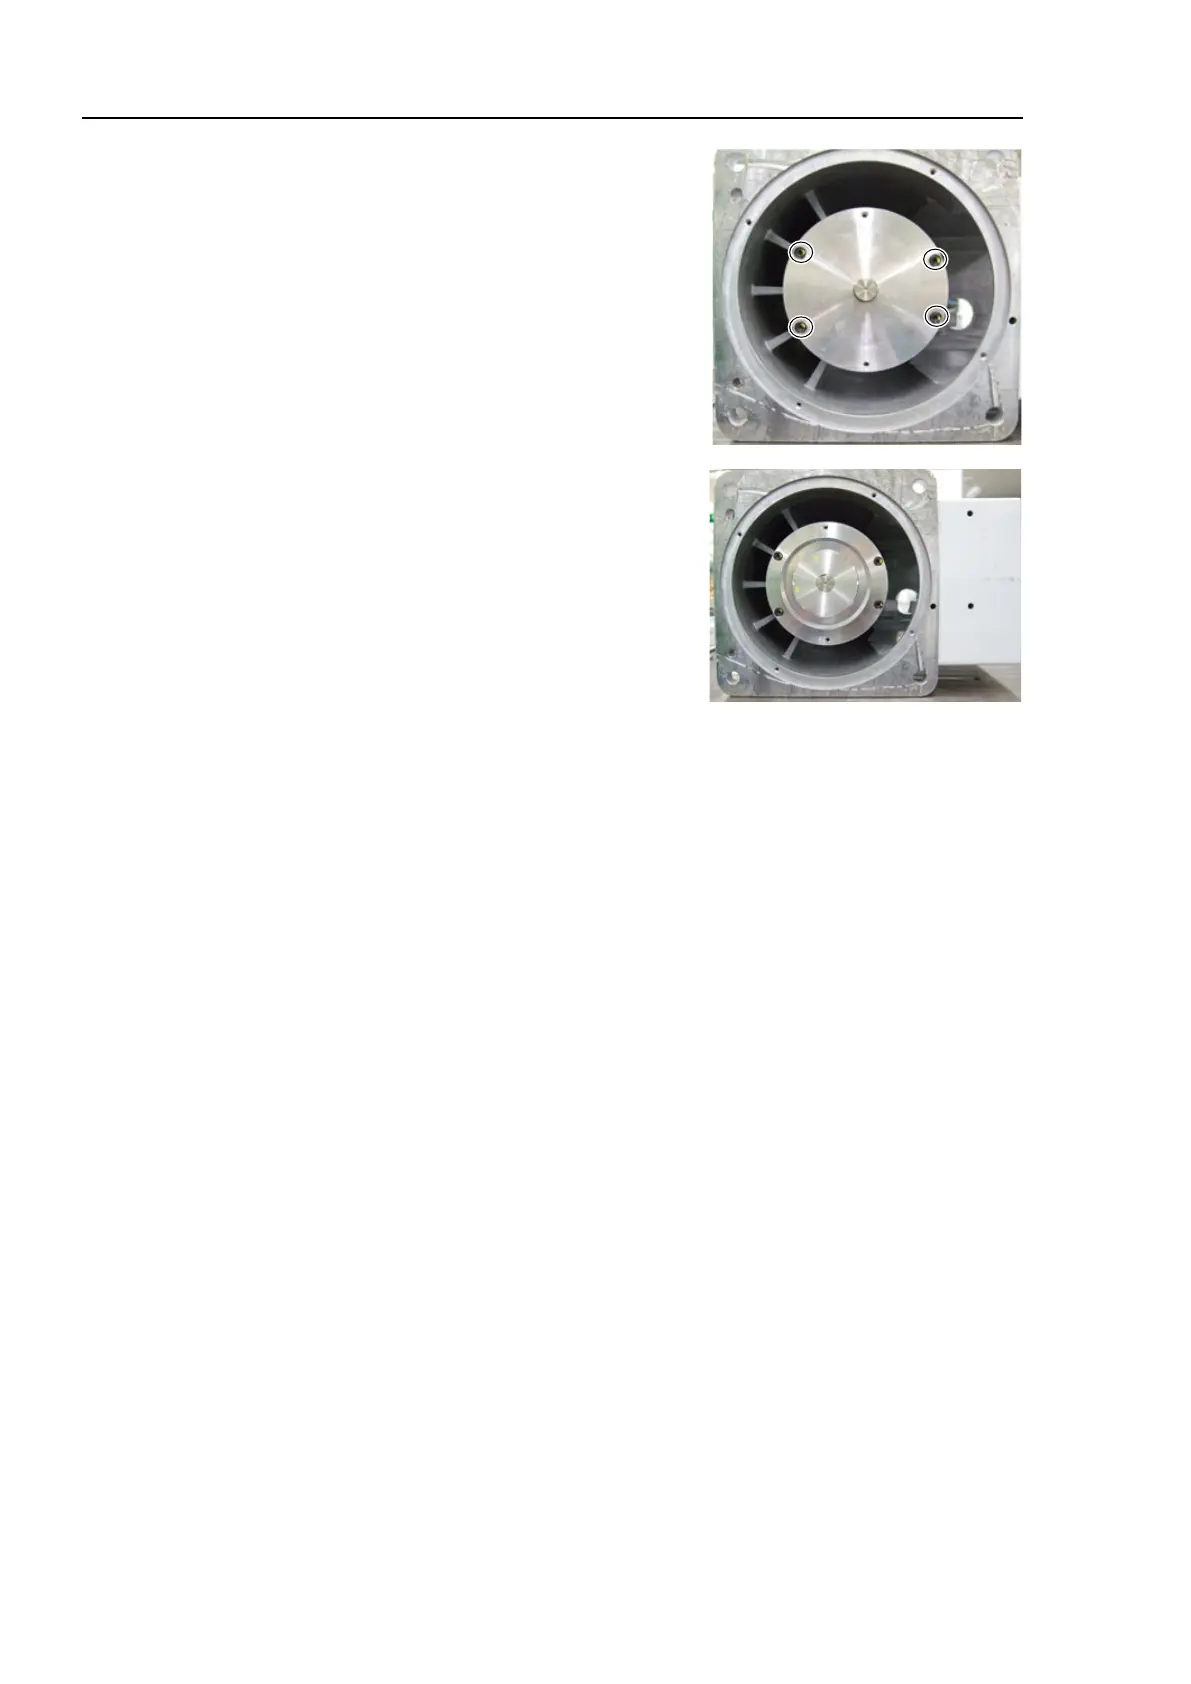
13. Install the flange to the base.
Hexagon socket head cap bolt: 4-M4×15
Tightening torque: 4.9 N·m (50 kgf·cm)
Carefully insert the shaft to the flange to avoid damaging the seal.
14. Install the pulley 2.
Hexagon socket head set screws: 2-M5×10
(with a brass bushing)
Tightening torque: 3.9 N·m (40 kgf·cm)
Align the end of the shaft with the side of the pulley.
15. Loosely secure the Joint #1 motor unit.
Make sure that the motor unit can be moved by hand, and it does not tilt when being pulled. If the unit
is secured too loose or too tight, the belt will not have proper tension.
16. Mount the Joint #1 motor unit
For details, refer to C4 Maintenance: 5.1 Joint #1 motor, Installation step (6).
17. Mount the connector plate and the base bottom cover.
For details, refer to C4 Maintenance: 3. Covers.
18. Calibrate the Joint #1.
For details, refer to C4 Maintenance: 16. Calibration.
 Loading...


