67
Chapter 2 Setup
2
Network settings
Set the IP address of the product following the steps below.
1
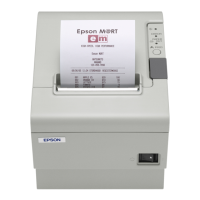
Turn on the product.
2
Press the (Menu) button to display the menu.
3
Select [I/F SETUP] and press the OK button.
4
Select [NETWORK SETUP] and press the OK button.
5
Select [IP ADDRESS] and press the OK button.
6
Select [AUTO] or [MANUAL].
When [AUTO] is selected, the network settings are complete.
When [MANUAL] is selected, go to Step 7 and set IP address, etc.
7
Select [IP ADDRESS] and press the OK button.
8
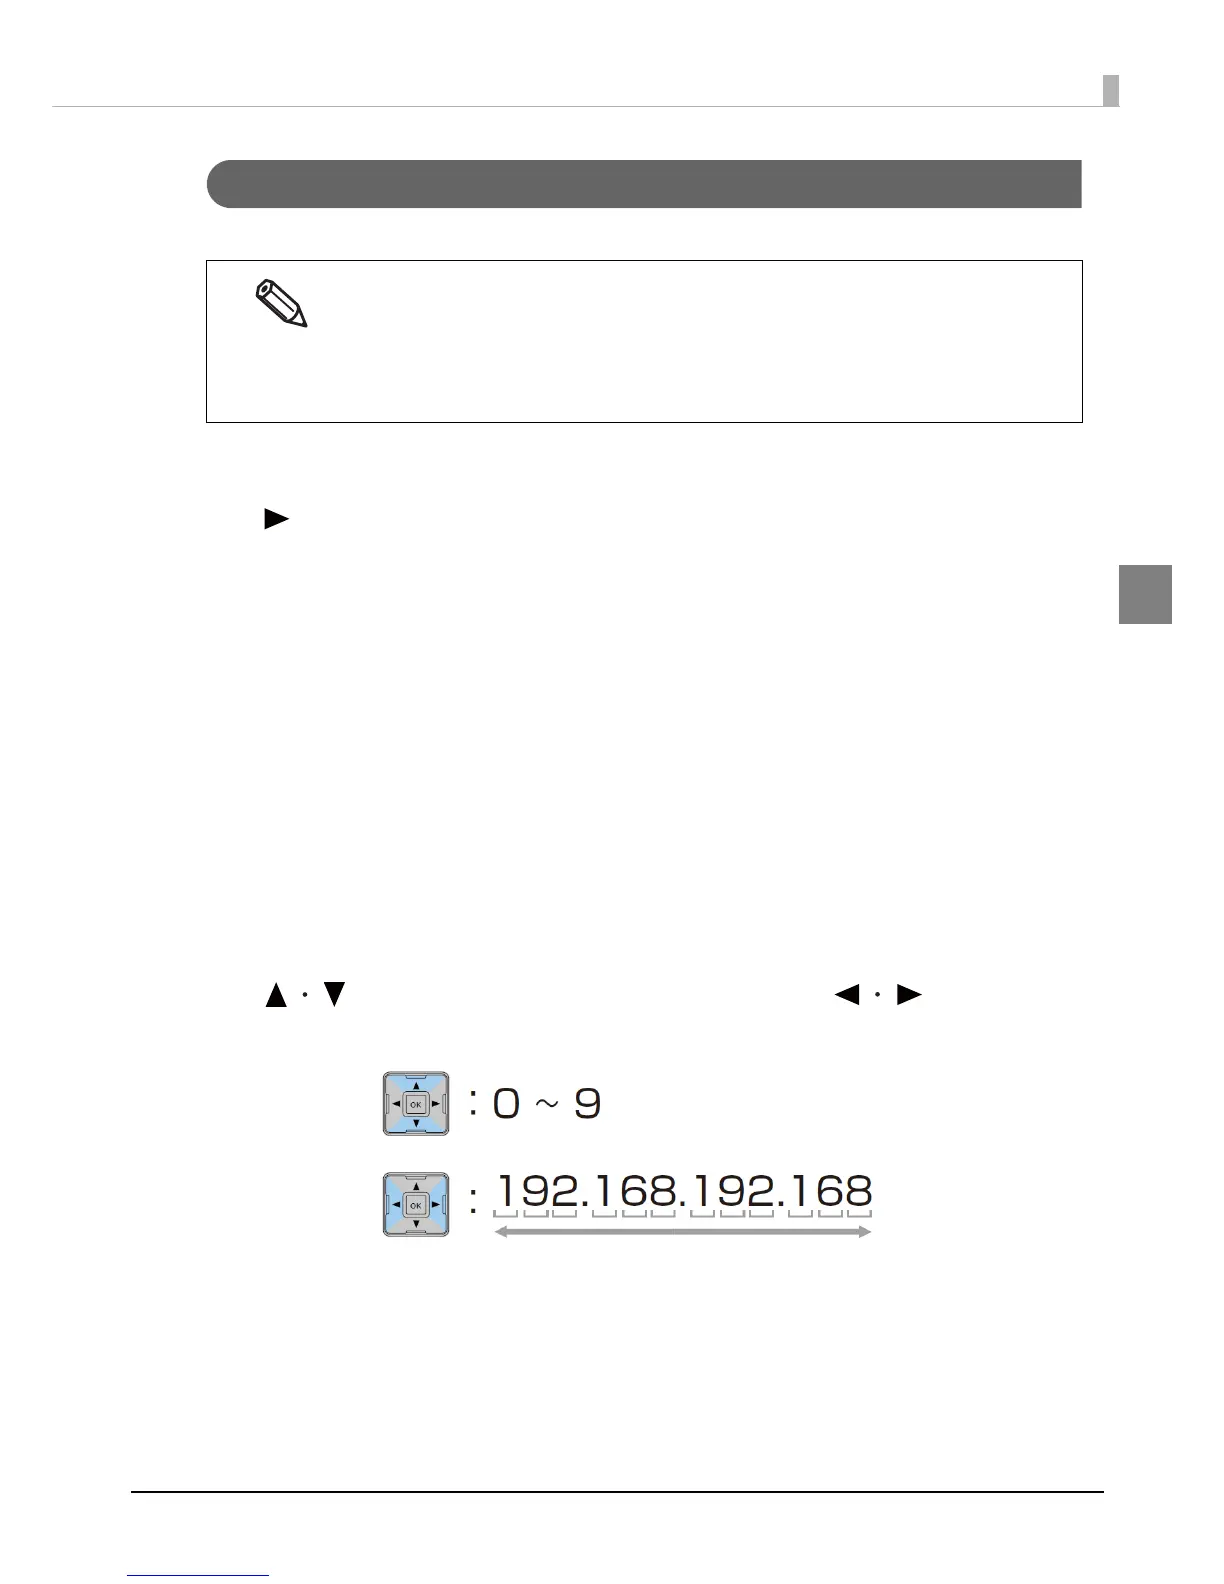
Enter the IP address.
Use the button to select a number and the buttons to
select the digit to be changed.
When using the product with an Ethernet connection, it is necessary to setup the network.
When using with a USB connection, network settings are not necessary.
When performing network settings, obtain the necessary information from a network
administrator.
The network setting can be checked by printing the status sheet.
See
"Printing the status sheet (Network settings)" on page 86.

 Loading...