75
Chapter 2 Setup
2
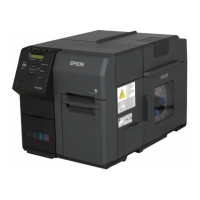
Setting with the operation panel
1
Turn on the product.
2
Press the (Menu) button to display the menu.
3
Select [PRINTER SETUP1] and press the OK button.
4
Select [MEDIA SOURCE] and press the OK button.
5
Select media source and click the OK button.
Select one from INTERNAL ROLL/EXTERNAL FEED.
6
Select [MEDIA TYPE] and click the OK button.
7
Select a media type and click the OK button.
Select one from PLAIN/MATTE1/MATTE2
/SYNTHETIC/GLOSSY (Only for TM-C7500G Series.).
8
Select [MEDIA FORM] and click the OK button.
9
Select media form and click the OK button.
Select one from DIE-CUT LABEL/CONT. LABEL/CONT. PAPER.
10
Select [LEFT GAP] and click the OK button.
11
Specify the left gap pixels and click the OK button.
The settable range is 0 to 2551 pixels.
12
Select [LABEL WIDTH] and click the OK button.
13
Specify the label width and click the OK button.
Settable range is 0 to 2551 pixels.
14
Select [LABEL LENGTH] and click the OK button.
15
Specify the label length and click the OK button.
The settable range is 0 to 14173 pixels.
16
Select [MEDIA DETECT] and click the OK button.
17
Select a media detection method and click the OK button.
Select one from BLACK MARK/GAP.
This completes the settings of media source, media type, media form and media detection.
 Loading...
