Troubleshooting for Printing
Diagnosing the Problem
Troubleshooting product problems is best handled in two steps: first diagnose the problem, then apply likely solutions
until the problem is fixed.
The information that you need to diagnose and solve most common problems is provided by online problem solving,
the control panel, or the status monitor. Refer to the appropriate section below.
If you have a specific problem relating to print quality, a printing problem not related to print quality, or a paper
feeding problem, or if the product does not print at all, refer to the appropriate section.
To solve a problem, you may need to cancel printing.
& “Canceling printing” on page 23
Error indicators
You can identify many common product problems using the lights on your product. If the product stops working and
the lights are on or flashing, use the following table to diagnose the problem, then follow the recommended corrective
measures.
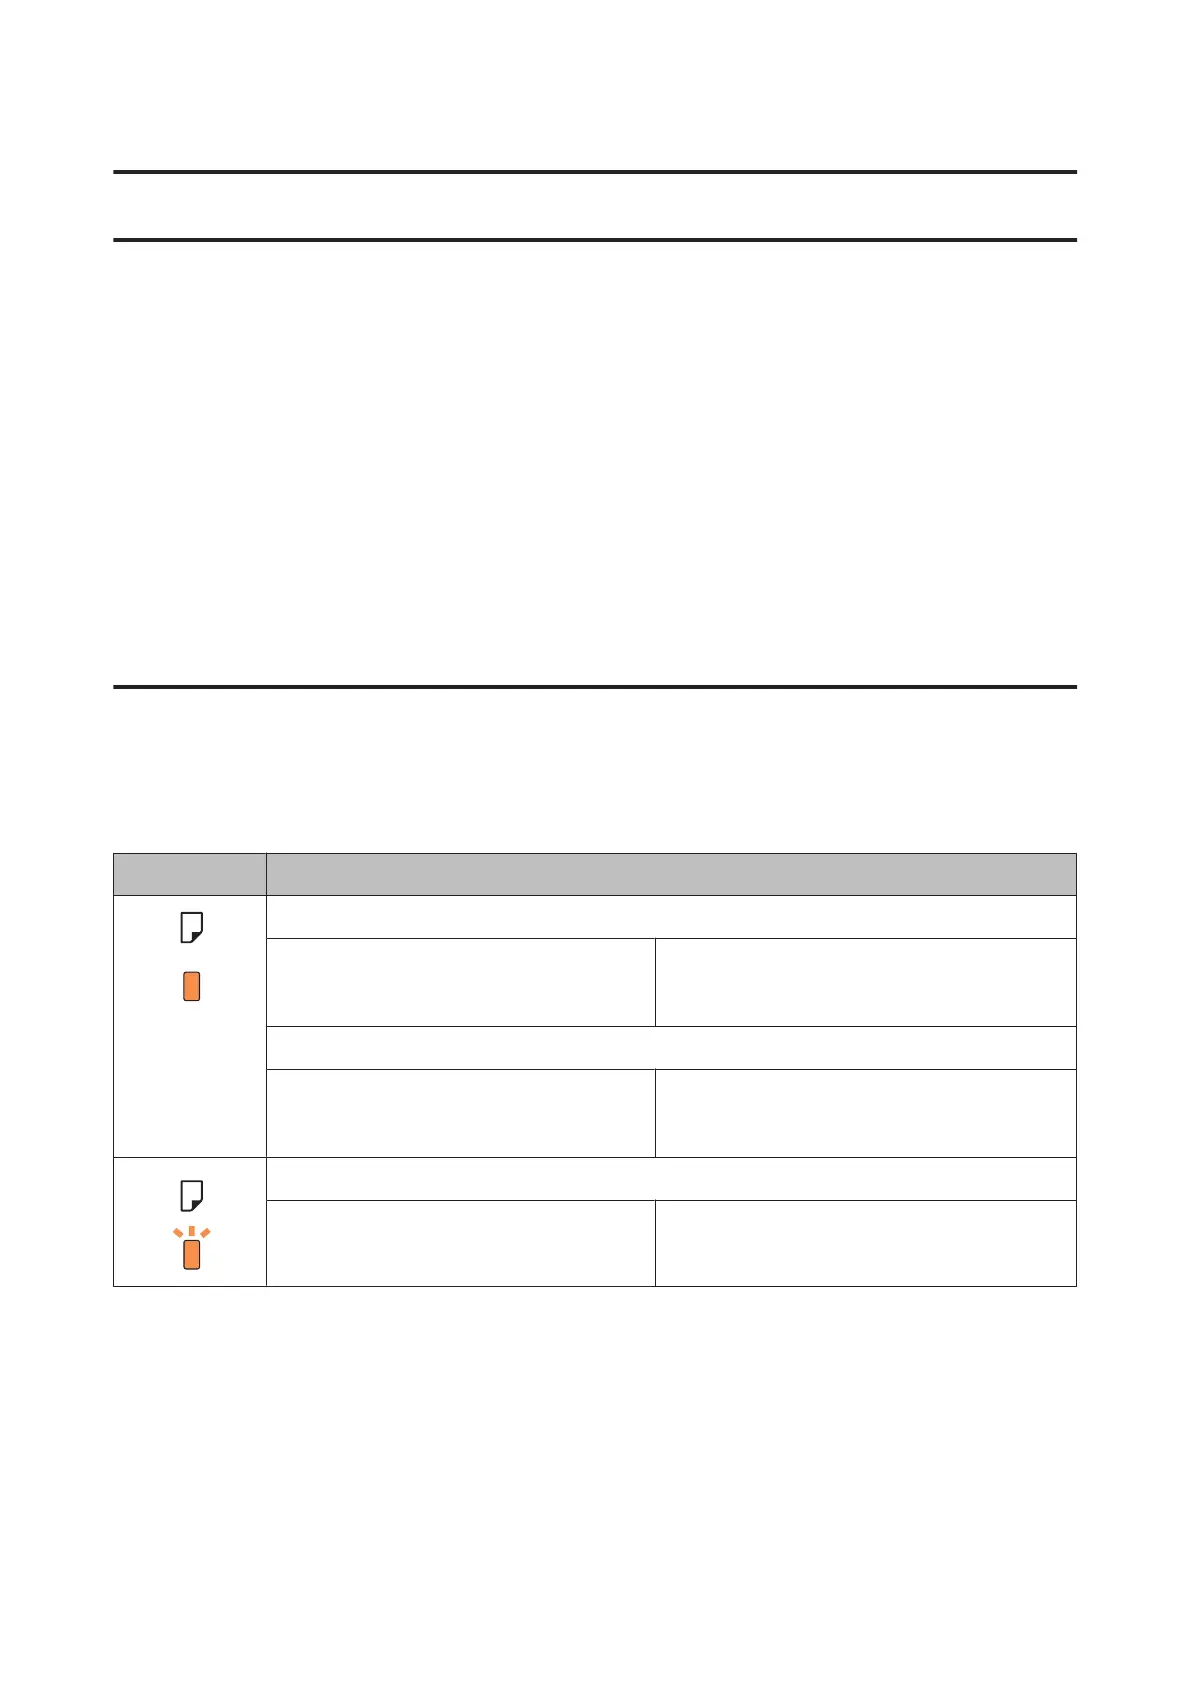
Lights Problem and solution
Paper out
No paper is loaded. Load paper into the rear paper feed, and then press
the + button. The product resumes printing and the
light goes out.
Multiple-paper feed
More than one sheet has been fed at a time.
Press the + button to feed and eject the paper. If the
paper remains in the product, see “Paper Jams” on
page 62.
Paper jam
Paper has jammed in the product.
& “Paper Jams” on page 62
User’s Guide
Troubleshooting for Printing
58
 Loading...


