5 OPERATION
0463 613 101
- 21 -
© ESAB AB 2020
5 OPERATION
5.1 General
CAUTION!
Read and understand the instruction manual before
installing or operating.
General safety regulations for handling the equipment can be found in the "SAFETY"
chapter of this manual. Read it through before you start using the equipment!
NOTE!
When moving the equipment, use the handle. Never pull the cables.
NOTE!
The tractor is supplied with a strap. It can be used to collect the welding cables behind
the tractor.
5.2 Transportation
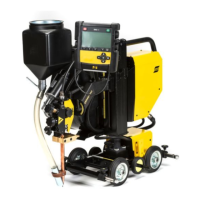
The EWT1000 welding tractor can transported by following the instructions in the "Lifting
instructions" section.
Follow these instructions to dismount the EWT1000 welding tractor into four separate
modules before transportation.
When transporting the EWT1000 welding tractor on wheels: place the horizontal slide in the
middle position with the needle pointing to zero on the scale.
NOTE!
Make sure the welding head has cooled down before dismounting.
1. Turn off and disconnect the power source. Disconnect the cables to the welding head
and the tractor carriage (1). Remove the cables from the welding tractor.
NOTE!
If the power source is disconnected without first turning off the power, the
power source emergency stop can be activated.
2. Remove the wire from the wire feed unit and wire liner (2).
3. Unlock and dismount the bobbin holder (3).
4. Place the EAC10 control pendant on top of the EAC10 motor drive unit.
5. Make sure the column is positioned in the middle of the tractor carriage.
6. Unlock and dismount the welding head (4).
7. Disconnect the cable (5) between the tractor carriage and the control unit.
8. Unlock the column rotation with the handle (6). Rotate to end point. Pull (7) and rotate
a few more degrees. Dismount the control unit (8).
9. Reassemble in reverse order. Make sure to lock the welding head (6).
 Loading...
