-30-
6.3.2 Removing / changing the gearhead
See the following steps to replace the gearhead or to change the cable position.
1. Removing the gearhead
Remove the hexagonal screws assembling motor and gearhead and detach the motor form the
gearhead.
2. Installing the gearhead
• Using the pilot sections of the motor and gearhead as quides, install the gearhead to the motor
and tighten the hexagonal screws.
• Confirm the no gaps remain between the motor flange surface and the end face of the
gearhead pilot section.
• At this time, The motor cable position can be changed to a desired 90° direction.
• When installing the gearhead, slowly rotate it to prevent the pinion of the motor output shaft
from contacting the side panel or gear of the gearhead.
• Do not forcibly assemble the motor and gearhead. Also do not let metal
objects or other foreign matter enter the gearhead. The motor shaft or gear
may be damaged. This will be reason of noise or shorter life time.
• Do not allow dust to attach to the pilot sections of the motor and gearhead.
Also assemble the motor and gearhead carefully by not pinching the O-ring at
the motor pilot section. If the O-ring is damaged, grease may leak from the
gearhead.
• The Hexagonal screws assembling the motor and gearhead are used to attach
the motor and gearhead temporarily. When installing the motor and gearhead
assembly, be sure to use the supplied hexagonal screws.
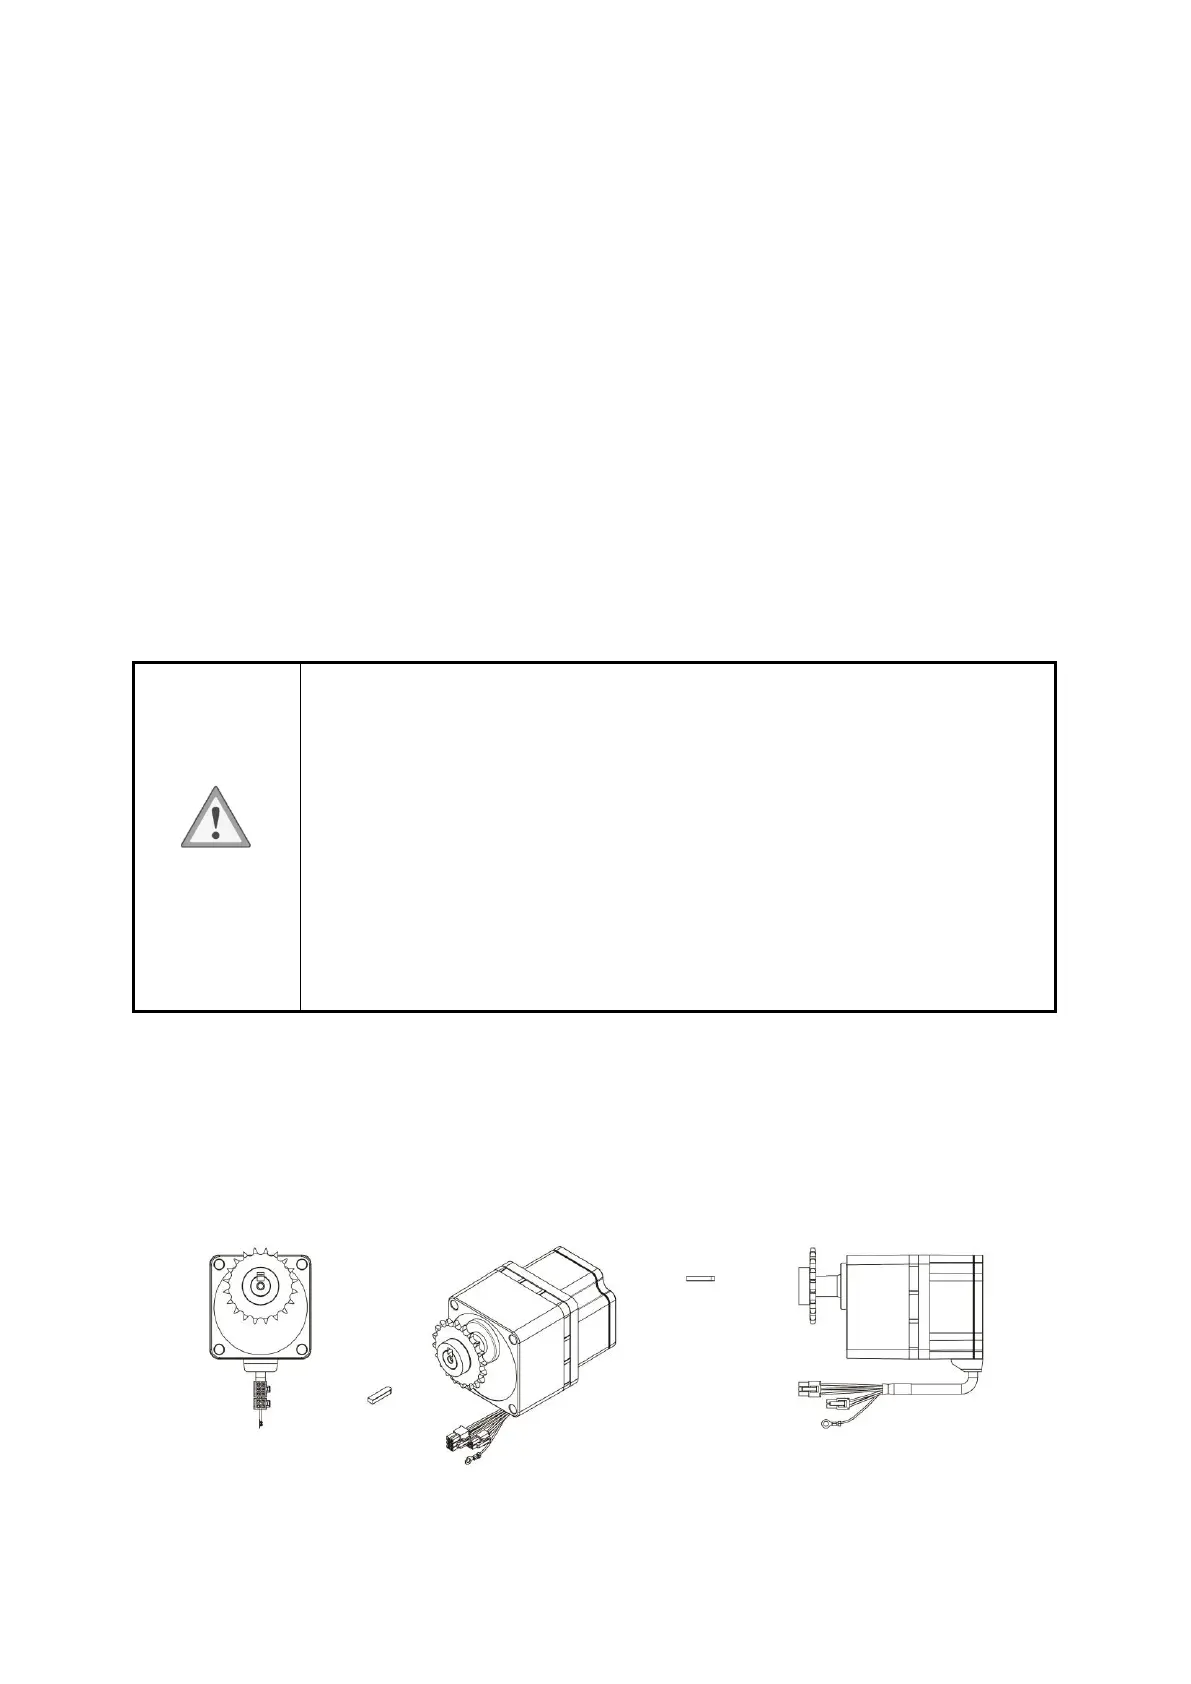
6.3.3 Fixing method of load
When fixing a laod on the motor or gearhead, pay attention the following points
• A key home is provided on the output shaft of gearhead or motor for fixing load.
• If using machining key home at chain, pulley and sprocket, etc, please use the supplied parallel
key.
 Loading...