Installation
Tabs at the top of the panel secure and release the front cover and the chassis. The
plastic hinges on the panel bottom allow the cover and chassis to swing down and
out of the way.
To mount the panel on a wall:
1. Choose a panel location and run all necessary power, phone, siren, and hardwired
contact wires to the desired location.
When choosing the AC outlet location for the AC power transformer, make sure
the outlet is not controlled by a switch or that it is not part of a ground fault circuit
interrupt (GFCI).
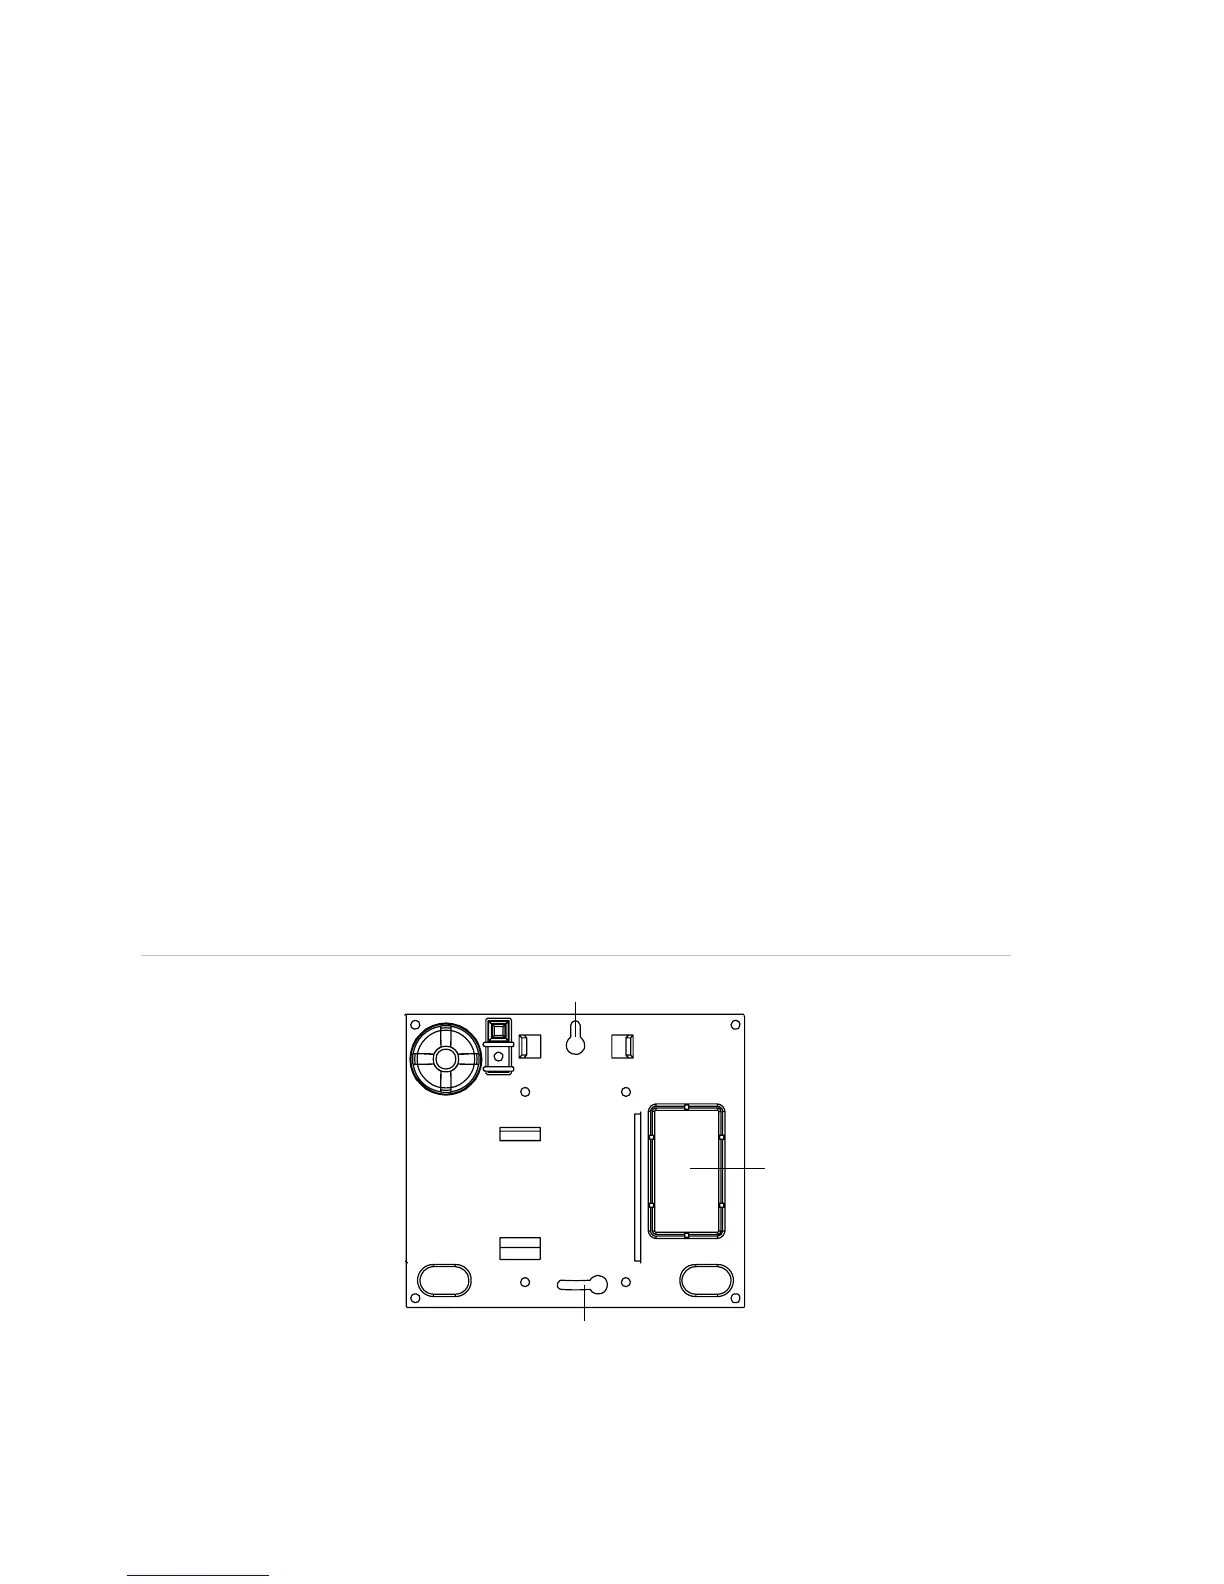
2. Hold the panel against the wall and mark the mounting hole locations with a
pencil (see Figure 3 below).
3. Mount the back piece to the wall through the two horizontally centered mounting
holes near the top and bottom using the supplied mounting hardware. Use wall
anchors if no studs are present.
4. Connect the chassis assembly to the mounted back piece and let it hang down.
This makes the terminal strip accessible for wiring various hardwired components
to the panel.
5. Feed wires through opening in the back piece to be ready to attach them to the
screw terminals or the phone connectors.
6. Install all screws and tighten gently.
Figure 3: Mounting holes
Mounting hole
Mounting hole
Wiring knockout
14 Simon XT Installation Manual