ORTHORALIX 9200 Service Manual
B-10
Gendex Dental Systems 4519-190-71193-7
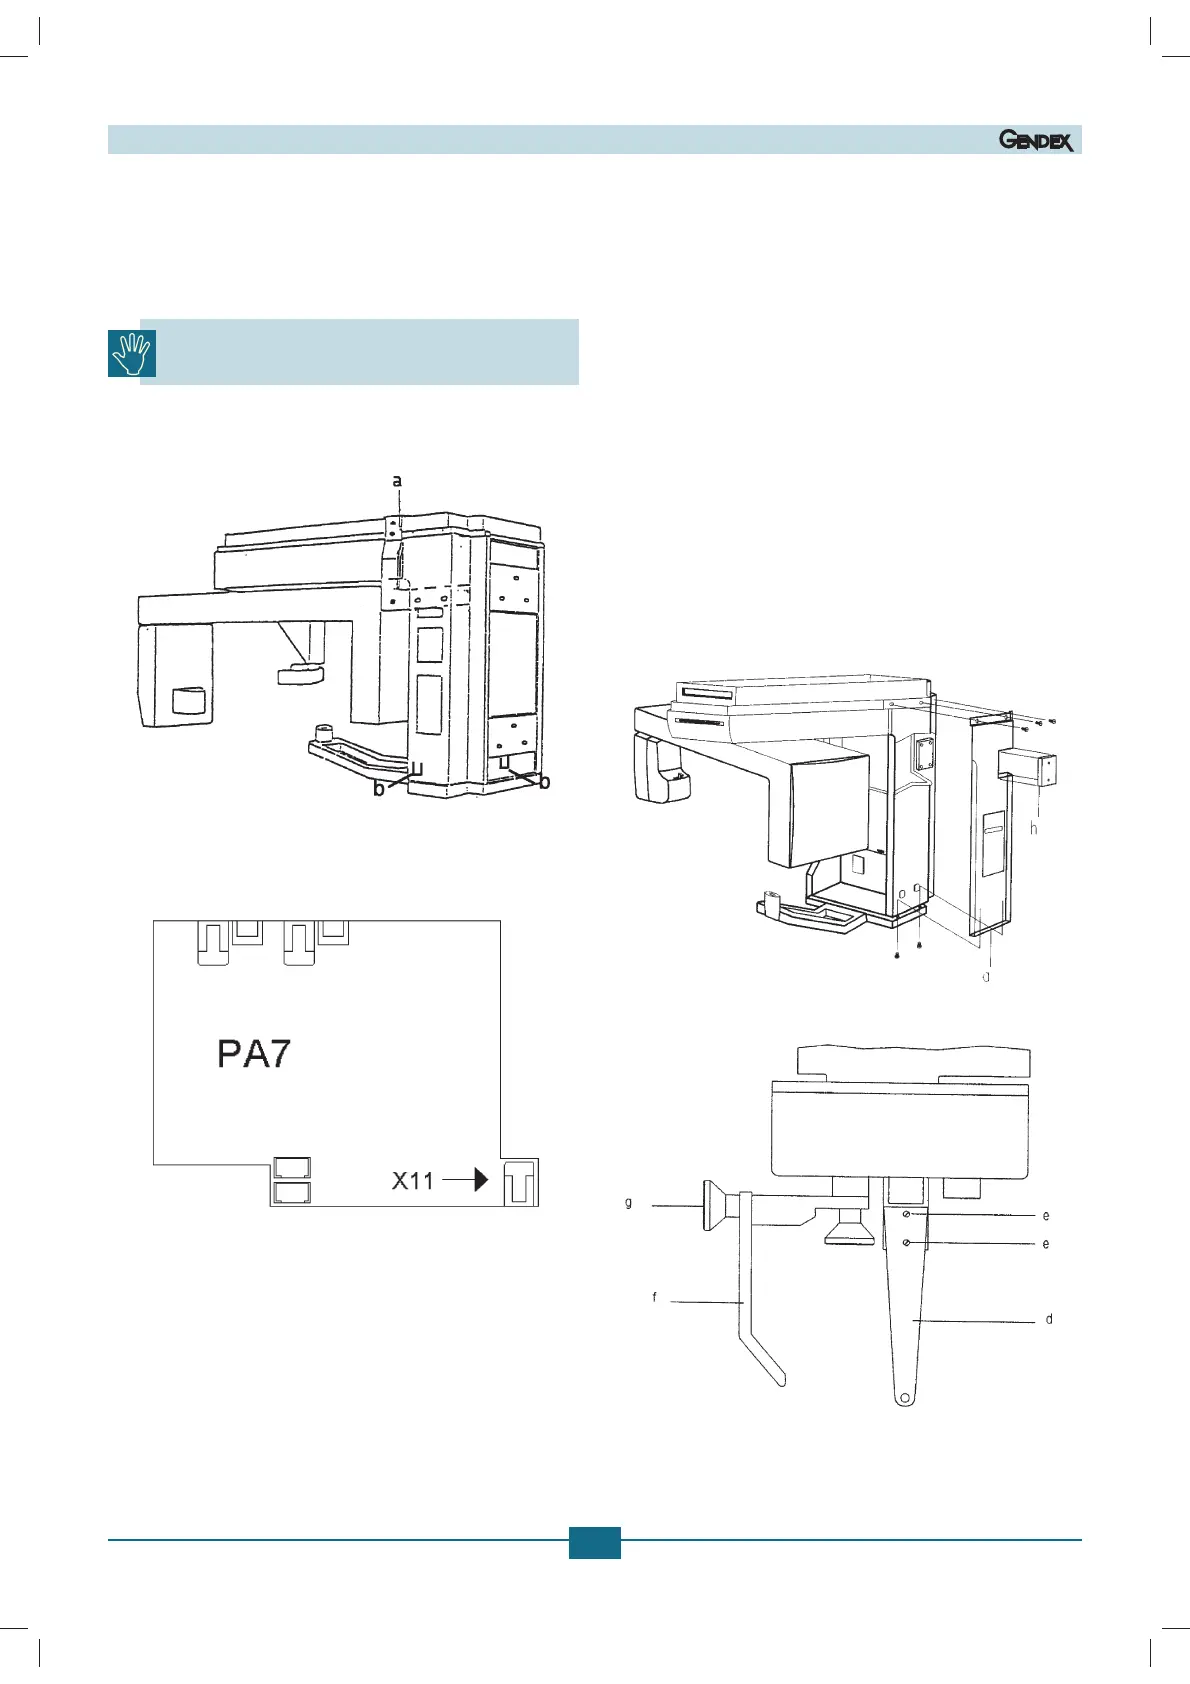
7. Remove the bracket (a) fixing the rotating unit to the Z-car-
riage.
Turn the rotary unit 90 to allow easier access to the electronic
board.
To rotate the rotating unit manually, move it gently
by hand.
8. Remove the two spacers (b) from the patient handgrip.
9. For Orthoralix DDE only: connect the connector X11 to the
auxiliary board PA7.
B.5.4 Installing the ceph arm
B.5.4.1 Procedure for Orthoralix 9200
To install the ceph arm with Cephalostat follow the procedure
below (applicable only for the CEPH versions):
1. Remove the right-hand cover (a) of the Z-carriage by un-
screwing five screws.
2. Prepare the ceph arm close to the Z-carriage.
3. Remove the metallic plate (i) by removing the four fixation
screws.
4. Feed the free cable connector (b) from the arm through
the hole provided and connect to socket X29 of the host
computer board PC1. The wire must pass in the rear side of
the metal plate where the PC1 is mounted.
5. If the AEC option is present connect the connector X34A
from the ceph arm to the X34B of the Z-Carriage.
(03.0)E
 Loading...