ORTHORALIX 9200 Service Manual
B-20
(06.0)EGendex Dental Systems 4519-190-71193-7
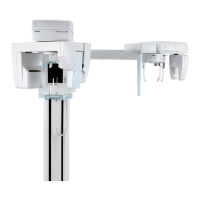
B.5.13 Installing the ceph formats
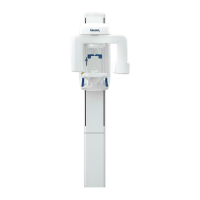
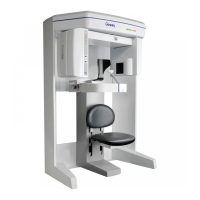
B.5.13.1 Orthoralix 9200/Plus/Ceph
The following lead plates supplied with the system allow for dif-
ferent Ceph X-rays formats:
a) 24 x 18 cm vertical asymmetric for latero-lateral projection
b) 18 x 24 cm horizontal for latero-lateral projection
c) 24 x 18 cm vertical symmetric for antero-posterior or postero-
anterior projection
d) 30 x 24 cm vertical symmetric for all projections
Two of the above listed formats can be installed, normally one
for the latero-lateral projection and one for the antero-posterior/
postero anterior projection.
To install the selected formats on the collimator, proceed as fol-
lows:
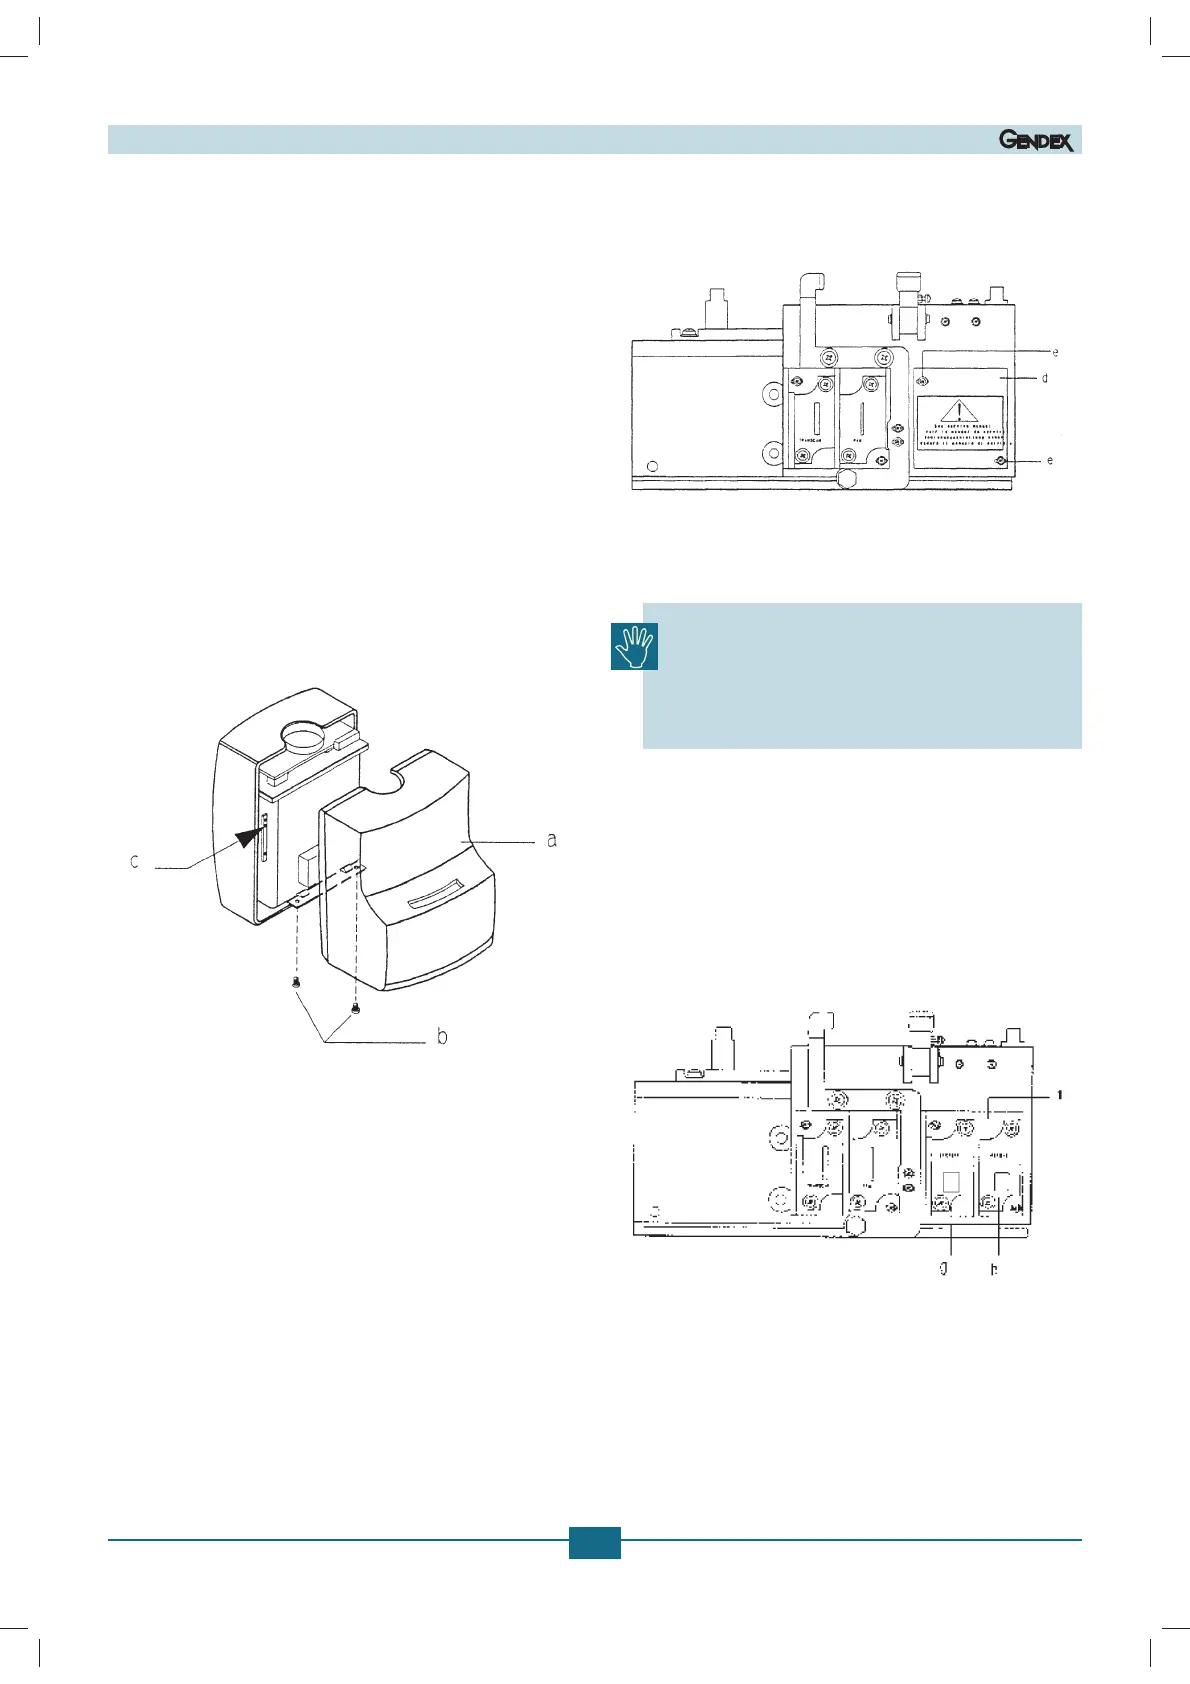
1. Remove the front cover (a) of the tubehead by unscrewing
the two screws (b) and by disengaging the spring latches
from the rear cover (c).
2. Remove the plate (d) from the collimator by unscrewing the
two screws (e).
3. Install the lead plate guide (f) on the collimator, using the
two screws provided.
If different screws are used instead of the one sup-
plied, it is possible:
tUPEBNBHFUIFUISFBE
tUPIBWFJOUFSGFSFODFCFUXFFOUIFGJYFEBOEUIF
mobile parts of the collimator.
4. Two lead plates are already mounted on the plate:
tUIF9DNWFSUJDBMBTZNNFUSJDGPSUIFMBUFSPMBUFSBM
projection in the position (g).
tUIF9DNWFSUJDBMTZNNFUSJDGPSBOUFSPQPTUFSJPSPS
postero-anterior projection in the position (h).
Please ask to the user which ceph formats are more convenient
among the available and, if necessary, replace the one (s) already
mounted.
Before remounting the tubehead front cover, adjust the X-ray field
of the Ceph formats as described in the Section C.
(03.0)E
 Loading...