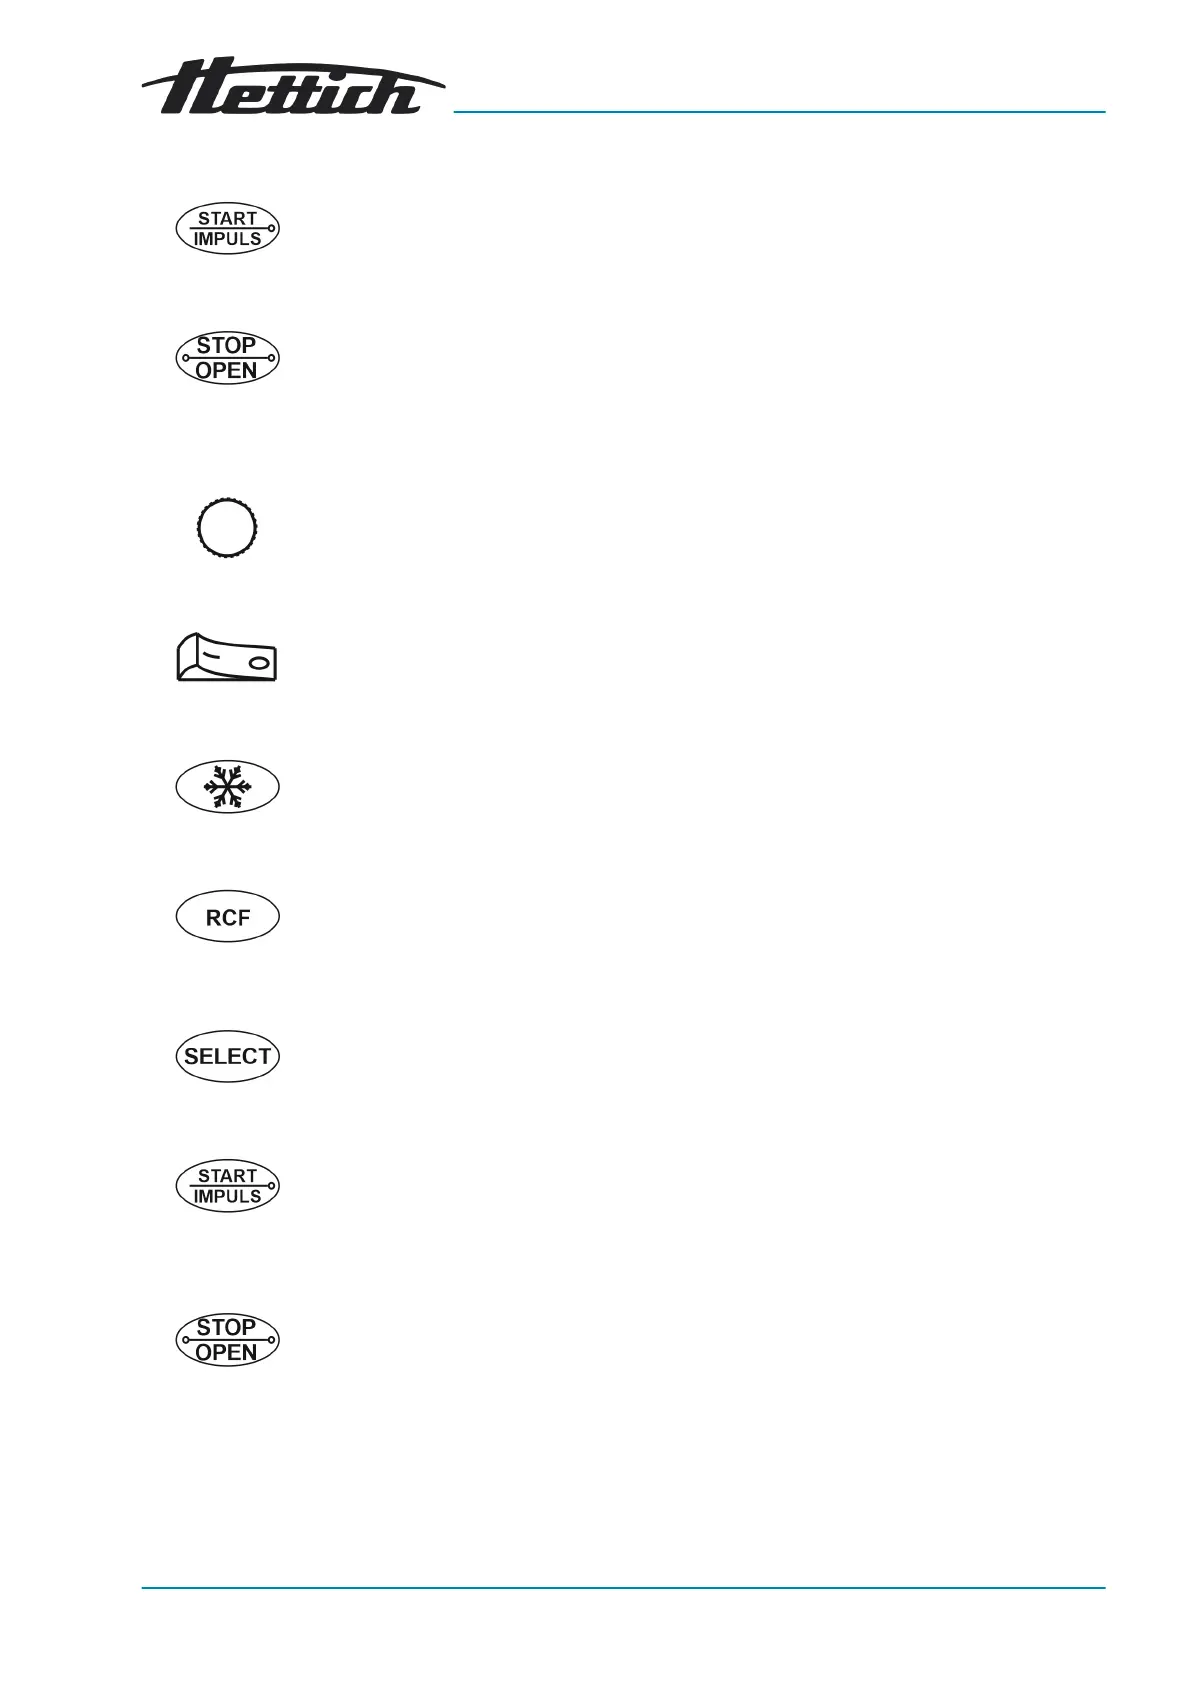
Fig. 4: [START/IMPULS] button
Fig. 5: [STOP/OPEN] button
Fig. 6: [Rotary knob]
Fig. 7: [Mains switch]
Fig. 8: [Cooling] button
Fig. 9: [RCF] button
Fig. 10: [SELECT] button
Fig. 11: [START/IMPULSE]
button
Fig. 12: [STOP/OPEN] button
3.5.2 Indicator elements
■
The button lights up during the centrifugation run for as long as the rotor
is not yet at a standstill.
■
The right side of the button lights up when the centrifuge is in ramp-
down. The rotor has not yet stopped.
■ The left side of the button lights up when the rotor is stationary.
■ The light on the left side of the button goes out when the lid is unlocked.
3.5.3 Controls
■
Setting the individual parameters.
Turning anticlockwise decreases the value.
Turning clockwise increases the value.
■
Switch the device on and off.
■ Start the centrifugation run to pre-cool the rotor (only for centrifuges with
cooling).
■ The precooling speed is adjustable. The default value is 10,000RPM.
■ Toggle between RCF indicator and RPM indicator.
■ Relative centrifugal force, RCF.
The RCF is displayed in brackets ñá.
■ Speed, RPM.
■ Selecting the individual parameters.
■ Scroll forward in the menus.
■ Start centrifugation run.
■ Short-term centrifugation. The centrifugation run takes place as long as
the button is being pressed.
■ Save entries and changes.
■ End the centrifugation run.
The rotor coasts to a stop with the preselected ramp-down parameter.
■ Pressing the button twice triggers the quick stop function.
■ Unlock the lid.
■ Exit parameter input and the menus.
3.6
Original spare parts
Only use original spare parts from the manufacturer and approved accesso-
ries.
 Loading...