User Manual of Network Fisheye Camera
60
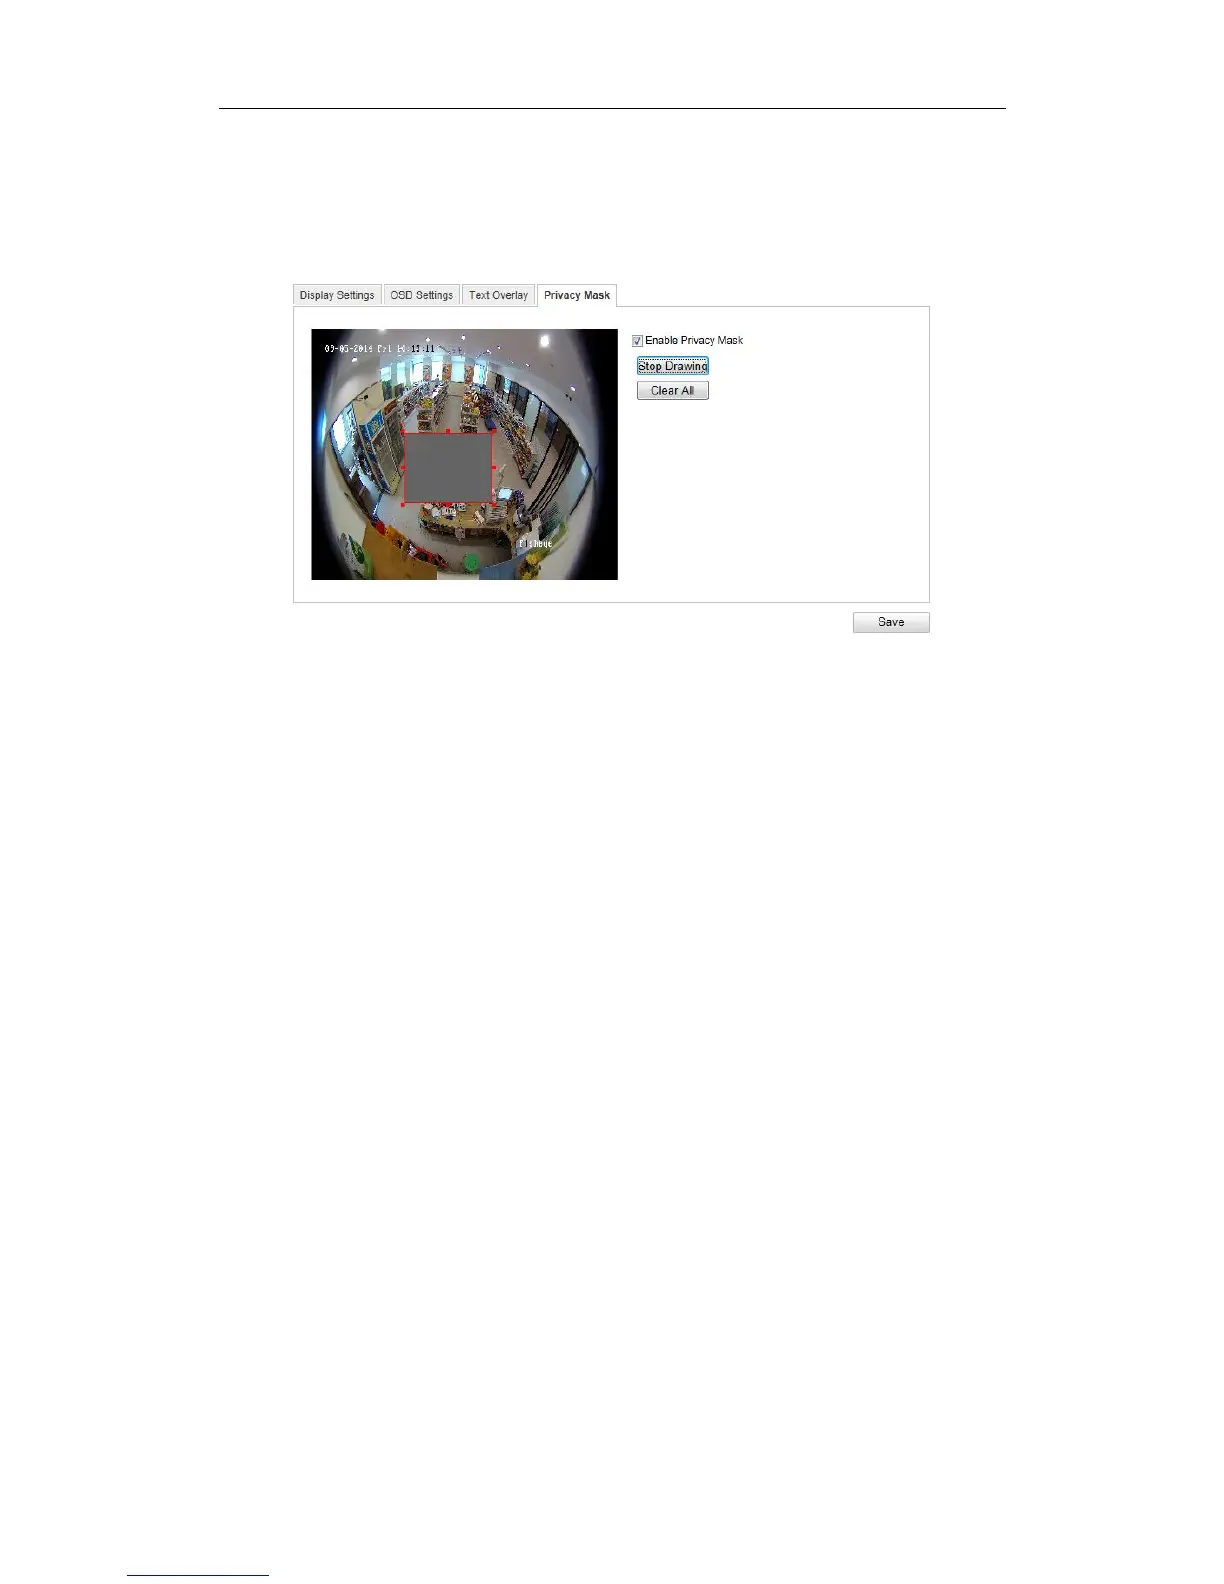
Steps:
1. Enter the Privacy Mask Settings interface:
Configuration > Advanced Configuration> Image > Privacy Mask
Figure 5-38 Privacy Mask Settings
2. Check the checkbox of Enable Privacy Mask to enable this function.
3. Click the Draw Area button to start drawing.
4. Click-and-drag the mouse in the live video window to draw the mask area.
5. Click Stop Drawing to finish drawing.
6. You can click Clear All to clear all the configured privacy masks.
7. Click Save to save the settings.
Note: Up to 4 privacy masks are configurable.
5.6 Configuring and Handling Alarms
This section explains how to configure the network camera to respond to alarm events,
including motion detection, video tampering, alarm input, alarm output, exception,
face detection, audio exception detection, intrusion detection, defocus detection, and
scene change detection, etc. These events can trigger the linkage methods, such as
Notify Surveillance Center, Send Email, Trigger Alarm Output, etc.
Note: Check the checkbox of Notify Surveillance Center if you want to push the
alarm information to the surveillance client such as the mobile phone, computer, etc.,
 Loading...