DS-A80&81 Series Storage System User Manual
73
Dead status at initial state: If selected, schedule state is Stopped. And encoding device wouldn’t start
recording. Other Schedule options wouldn’t take effective.
Deactivate the record schedule: If selected, encoding device wouldn’t start recording. Other Schedule
options wouldn’t take effective.
Pulling back data from encoding device: If selected and uploading schedule exists, the camera’s video
would upload to CVR. For details of configuring uploading schedule, refer to chapter 7.5.2.3 Adding
Uploading Schedule.
Deactivate schedule of alarm pre-record: Pre-record refers to the time you set to record before the
scheduled time or event. If selected, pre-record is turned off.
Deactivate alarm arm: If selected, when encoding device is error, CVR wouldn’t alarm.
Locking: If selected, you need to set locking time as a specified duration or keep locking. During locking time,
videos wouldn’t be overlapped. Locking time must be longer than duration time.
Sub-stream: If selected, encoding device records via sub-stream instead of main stream.
Figure 7. 24 Schedule Options
7.5.1.3 Advanced Schedule
Purpose:
By setting advanced schedule, you can specify the start recording time and recording duration for designated.
Steps:
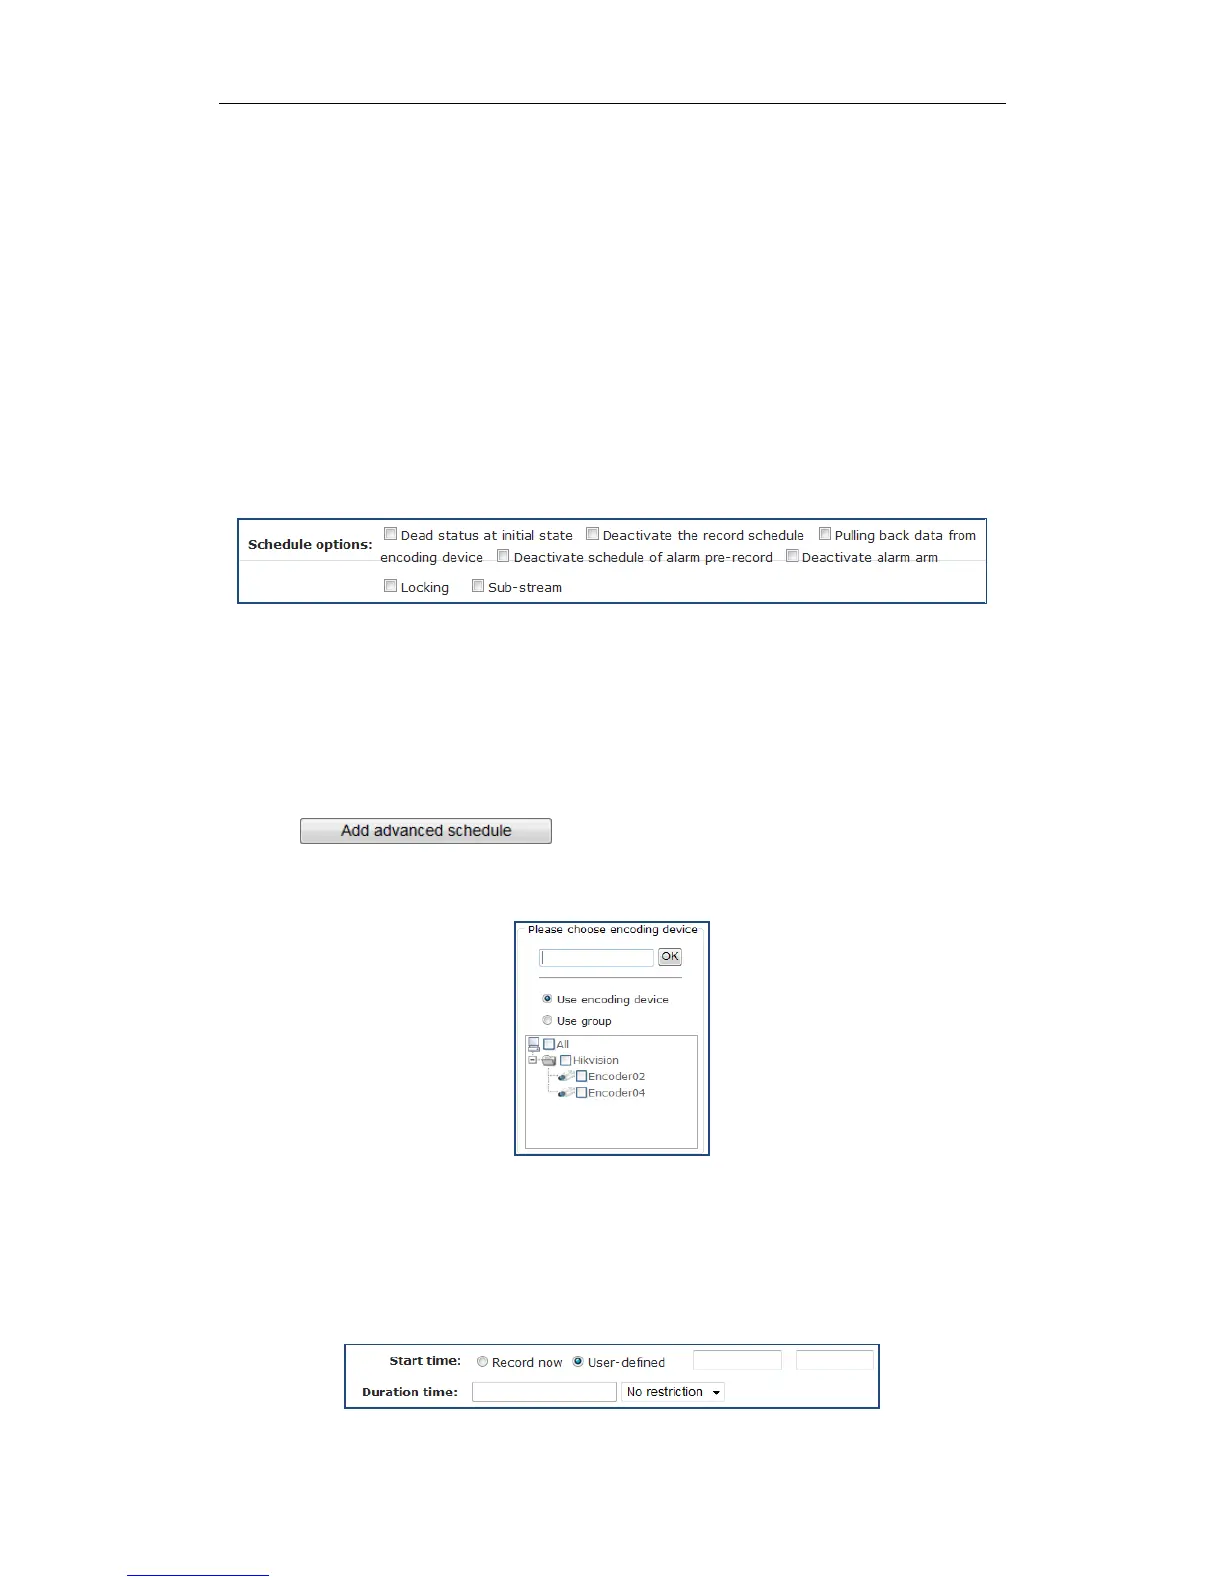
1. Click button to pop up Add advanced schedule interface.
2. Enter in the encoding device name and click OK to select the encoding device. Repeat the step to add more.
Or select encoding devices or groups in the list.
Figure 7. 25 Select Encoding Devices
3. Select Start time by Record now or User-defined.
Start time: Starts recording once schedule is added.
User-defined: Starts recording at the set time.
4. Select Duration time unit as Week, day, hour, minute, or second and enter number.
Duration time: Keeps recording during duration time.
Figure 7. 26 Start Time and Duration Time
 Loading...