16
You can adjust:
Configuration - Select On or Off. When On mode is select-
ed, the following options are available.
Internet Connection: Setting the Internet Connection.
Interface: You can set up your TV so that it can access
the Internet through your local area network (LAN) with a
Ethernet or wireless connection.
Wireless Setting: You can set up your TV’s wireless
connection.
Information: Display network configuration information.
IP Setting: Allows you to set IP address, subnet mask,
gateway, primary and secondary DNS.
Connection Test: Press the [
ENTER
] button to test
network status.
Basic Features
Backgro
un
d Color/Opacity:
Select the color/opacity
level of the background.
Window Color/Opacity:
Select the color of the window.
CEC Function:
Turn the HDMI-CEC function ON or OFF.
Device Auto Power Off:
When HDMI-CEC is turned on,
Device Auto Power Off turns off HDMI CEC devices when
you turn off your TV.
TV Auto Power On: When HDMI-CEC is turned on and
you turn on an HDMI CEC device, TV Auto Power On turns
on your TV automatically.
Audio Receiver: When HDMI-CEC is turned on and you
have connected an audio receiver to your TV, turning on
Audio Receiver lets you use your TV’s remote control to
control the volume on the audio receiver.
Device Root Menu: You can open an HDMI-CEC
compatible device’s root menu, then use your TV’s remote
control to control the device.
Device Discovery: You can display a list of HDMI-CEC
devices that are connected to your TV.
NOTES
•
HDMI cables must be used to connect HDMI CEC-
compatible devices to your TV.
•
The connected device’s HDMI CEC feature must be
turned on.
•
If you connect an HDMI device that is not HDMI CEC-
compatible, all the HDMI-CEC Control features do not
work.
•
Depending on the connected HDMI device, the HDMI-
CEC Control feature may not work.
Demo Mode -
Displays a banner at the top of the screen
which describes the key features of the TV.
Power Indicator - Select this feature to turn off or On the
Power LED indicator on the front panel on your TV.
Version Info - View the software version information.
Reset Settings - Restores the TV configuration to factory
settings.
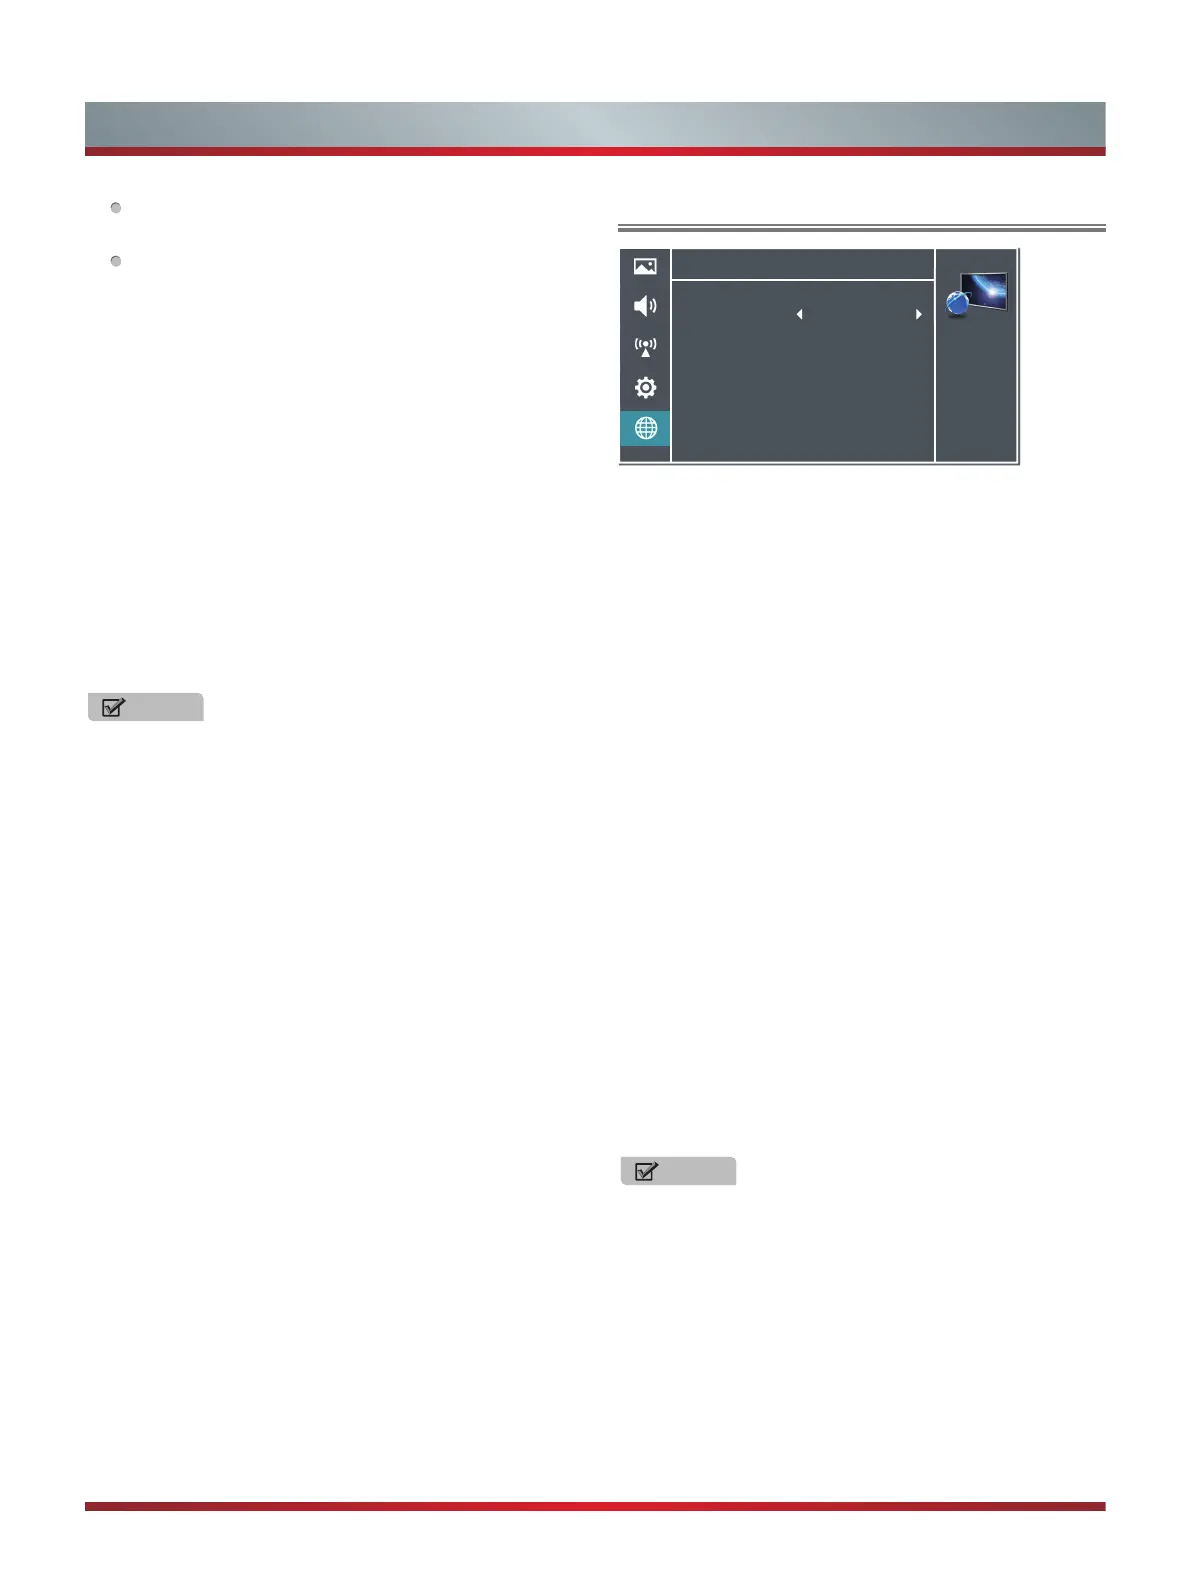
Using the Network Menu
Auto Upgrade - Update the software using the Internet.
Configure your network. For detailed procedures on using
the Network Setup, refer to the “Connecting to the Internet
or a network” instructions. If you want the Network Update
to work automatically, please select Auto Updates (On).
If you want to do the Network Update manually, please
select Auto Updates (Off).
If the Internet connection doesn’t operate properly, check
the Network Configuration settings and try again. If the
problem persists, use the USB method below to update.
Network Upgrade - Check the process and it will prompt
you to upgrade the software.
NOTES
•
Software Update can also be performed via downloading
the latest software to a USB memory device.(www.
hisense-usa.com or www.hisense-canada.com).
•
Please be careful not to disconnect the power or remove
the USB drive until updates are complete. The TV will
be turned on automatically after completing the software
update. When software is updated, video and audio
settings you made will return to their default settings and
your personal settings will be deleted. We advise you to
write down your settings so that you can easily reset them
after the update.
Applications - Network application.
Network
Personalize the
network connection
settings.
Configuration
Auto Upgrade
Network Upgrade
Applications
>
>
>
Off
 Loading...