17
Basic Features
Connecting to a Wired Network
Network Setup (Auto)
Use the Automatic Network Setup to connect the TV to a
network that supports DHCP. To set up your TV’s network
connection automatically, follow these steps:
How to set up automatically
1. Connect your TV to your LAN as described in the
previous section.
2. Turn on your TV, operate according to the description in
the Settings menu until the Network screen appears.
3. On the Network screen, select Configuration and press
[ENTER] button to enter the submenu.
4. Set Internet Connection to On and Interface to Ethernet.
5. Select IP Setting and press [ENTER] button to enter it.
6. Set Address Type to Auto.
7. noitcennoc yrassecen eht sretne dna seriuqca otuA
values automatically.
8. If the connection values are not automatically entered,
please check your modem and router manuals for
.PCHD yb gnisserdda PI citamotua elbane ot snoitcerid
Or, follow the steps listed in the following section,
Network Setup (Manual), to manually configure the
network connection.
Network Setup (Manual)
Use the Manual Network Setup when connecting your TV to
a network that requires a Static IP address.
Getting the Network Connection Values
To get the network connection values on most windows
computers, follow these steps:
1. Right click the Network icon in the bottom right of the
screen.
2. In the pop-up menu that appears, click Status.
3. On the dialog that appears, click the Support tab.
4. On the Support tab, click the Details button. The network
connection values are displayed.
How to manually set up the network connection
To set up your TV’s network connection manually, follow
these steps:
1. Follow Steps 1 through 5 in the “How to set up
automatically” procedure.
2. Set Address Type to Manual.
3. Press [▲/▼] button to select IP Address and press [◄/►]
button to move the cursor to the entry field. Then press
0~9 buttons to enter the numbers.
4. Press [MENU] button to exit IP Address and press [▲/▼]
button to select the next options to enter the numbers.
5 When done, press [MENU] button to return to the
previous menu.
.ytivitcennoc tenretni eht kcehc ot tseT noitcennoC tceleS.6
Wireless Setting
How to set up
1. Turn on your TV, press Menu and select Settings Network.
2. On the Network screen, select Configuration and press
the [ENTER] button to enter the submenu.
3. Set Internet Connection to On and Interface to Wireless.
4. Select Wireless Setting and
press the [ENTER] button
you can select: Scan / Manual / Auto.
5. If you select Scan, a screen will appear listing all of the
wireless networks within range of the TV. Use the [▲/▼]
button to select the wireless network with your router SSID
and press the [ENTER] to confirm. Proceed to Step 7.
6. If you select Manual, a screen will appear prompting
you to enter the SSID of your wireless network. Press
[ENTER] and an on-screen keyboard will pop up. Enter
the SSID and select OK. Press [ENTER] and a screen
will appear prompting you select the security mode for
your wireless network. Use the [▲/▼] button to select
the proper security mode and press [ENTER] to confirm.
If you selected None for the security mode, proceed to
step 9.
7. A screen will appear prompting you to enter the password
for the selected
security mode. Press [ENTER] and an
on-screen keyboard will pop up. Enter the password and
select OK. Press [ENTER] to confirm. Proceed to Step 9.
DLNA: Digital Media Player (HiMedia) feature of Digital
Living Network Alliance. Press the [◄/►] buttons to set
DLNA to On.
Netflix: Deactivate Netflix and display the exclusive
Netflix ESN.
VUDU: Deactivate VUDU. (If available.)
My Shared Devices:
Allow or deny content sharing from
other devices on your network.
NOTES
•
Software Update can also be performed via downloading
the latest software to a USB memory device.
•
Please be careful not to disconnect the power or remove
the USB drive until updates are complete. The TV will
be turned on automatically after completing the software
update. When software is updated, video and audio
settings you made will return to their default settings and
your personal settings will be deleted. We advise you
to write down your settings so that you can easily reset
them after the update.
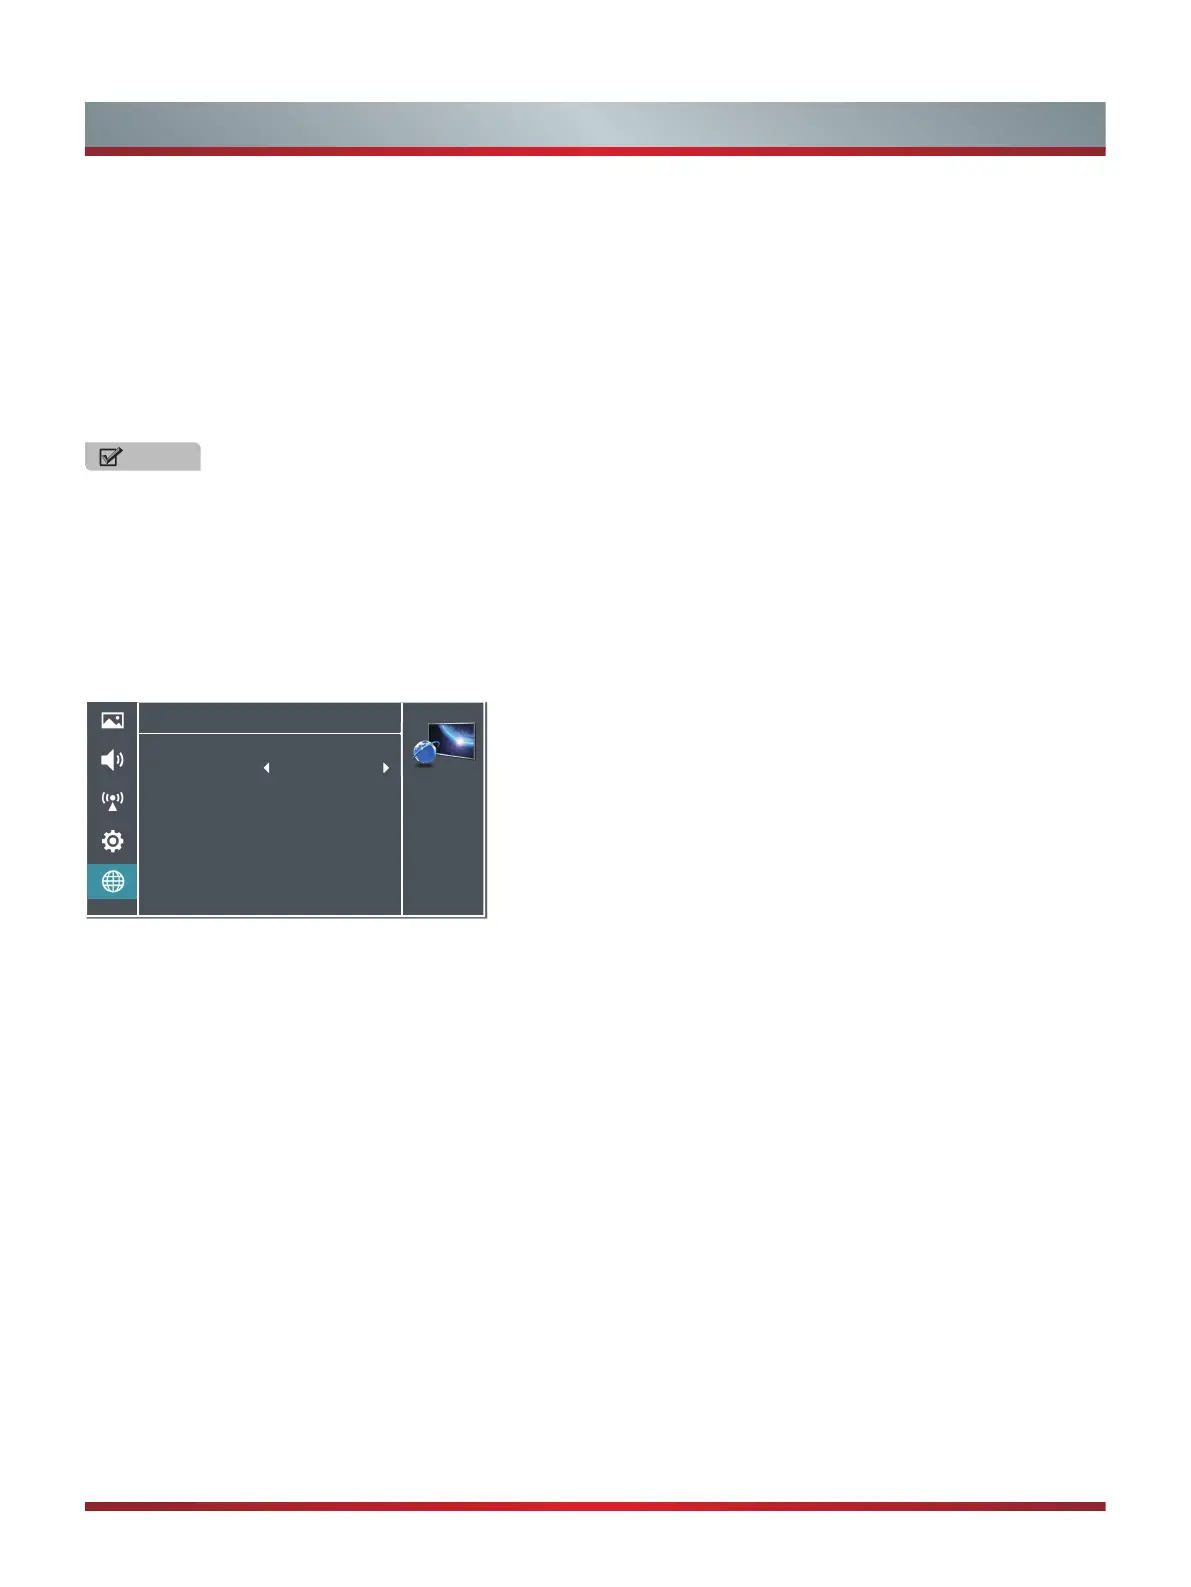
Network
Personalize the
network connection
settings.
Configuration
Auto Upgrade
Firmware Upgrade
Applications
>
>
>
Off
 Loading...