E
3
Point Gas Monitor Technical Manual
Installation Test
13
Installation Test
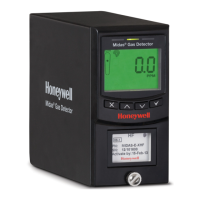
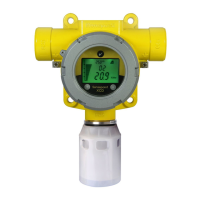
Once the monitor has been mounted and all wiring connections are complete,
a test of the monitor’s functions is recommended. It is necessary to access the
monitor’s programming menus to perform the test:
• Power up the monitor and allow 5 minutes for the warm-up procedure to
complete (allow 15 minutes for the O
2
sensor).
• Press the enter on the front touchpad.
• The LCD displays the Password login screen. See Password Menu.
Once in the programming menus, use the arrow key to scroll to the TestMode
option. See TestMode Menu.
The TestMode menu performs a test of all functions on the monitor. All outputs
are activated according to their failsafe mode, relay setting, and buzzer setting.
All functions are activated simultaneously for a maximum of 3 minutes (or until the
user cancels the test) to ensure working order.
The monitor does not detect gas during this TestMode procedure.
Once all functions are confirmed in good working order, the monitor is completely
functional.
Should any function fail the test, verify that all connections are correctly wired and
re-test.
w ww . . co m
information@itm.com1.800.561.8187
 Loading...
