EXCEL 50 INSTALLATION INSTRUCTIONS
EN1B-0101GE51 R1105D 8
MOUNTING
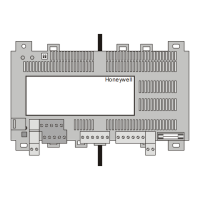
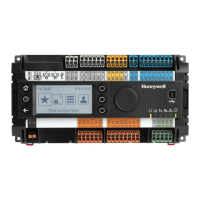
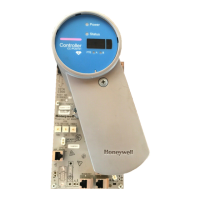
If the Excel 50 Controller has an MMI, the housing is mounted
either in the front door of a cabinet or on a DIN rail with the
back facing to the DIN rail.
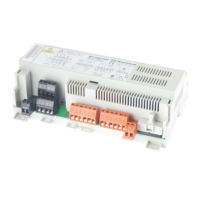
The controller without an MMI is mounted on a DIN rail with
the front facing to the DIN rail.
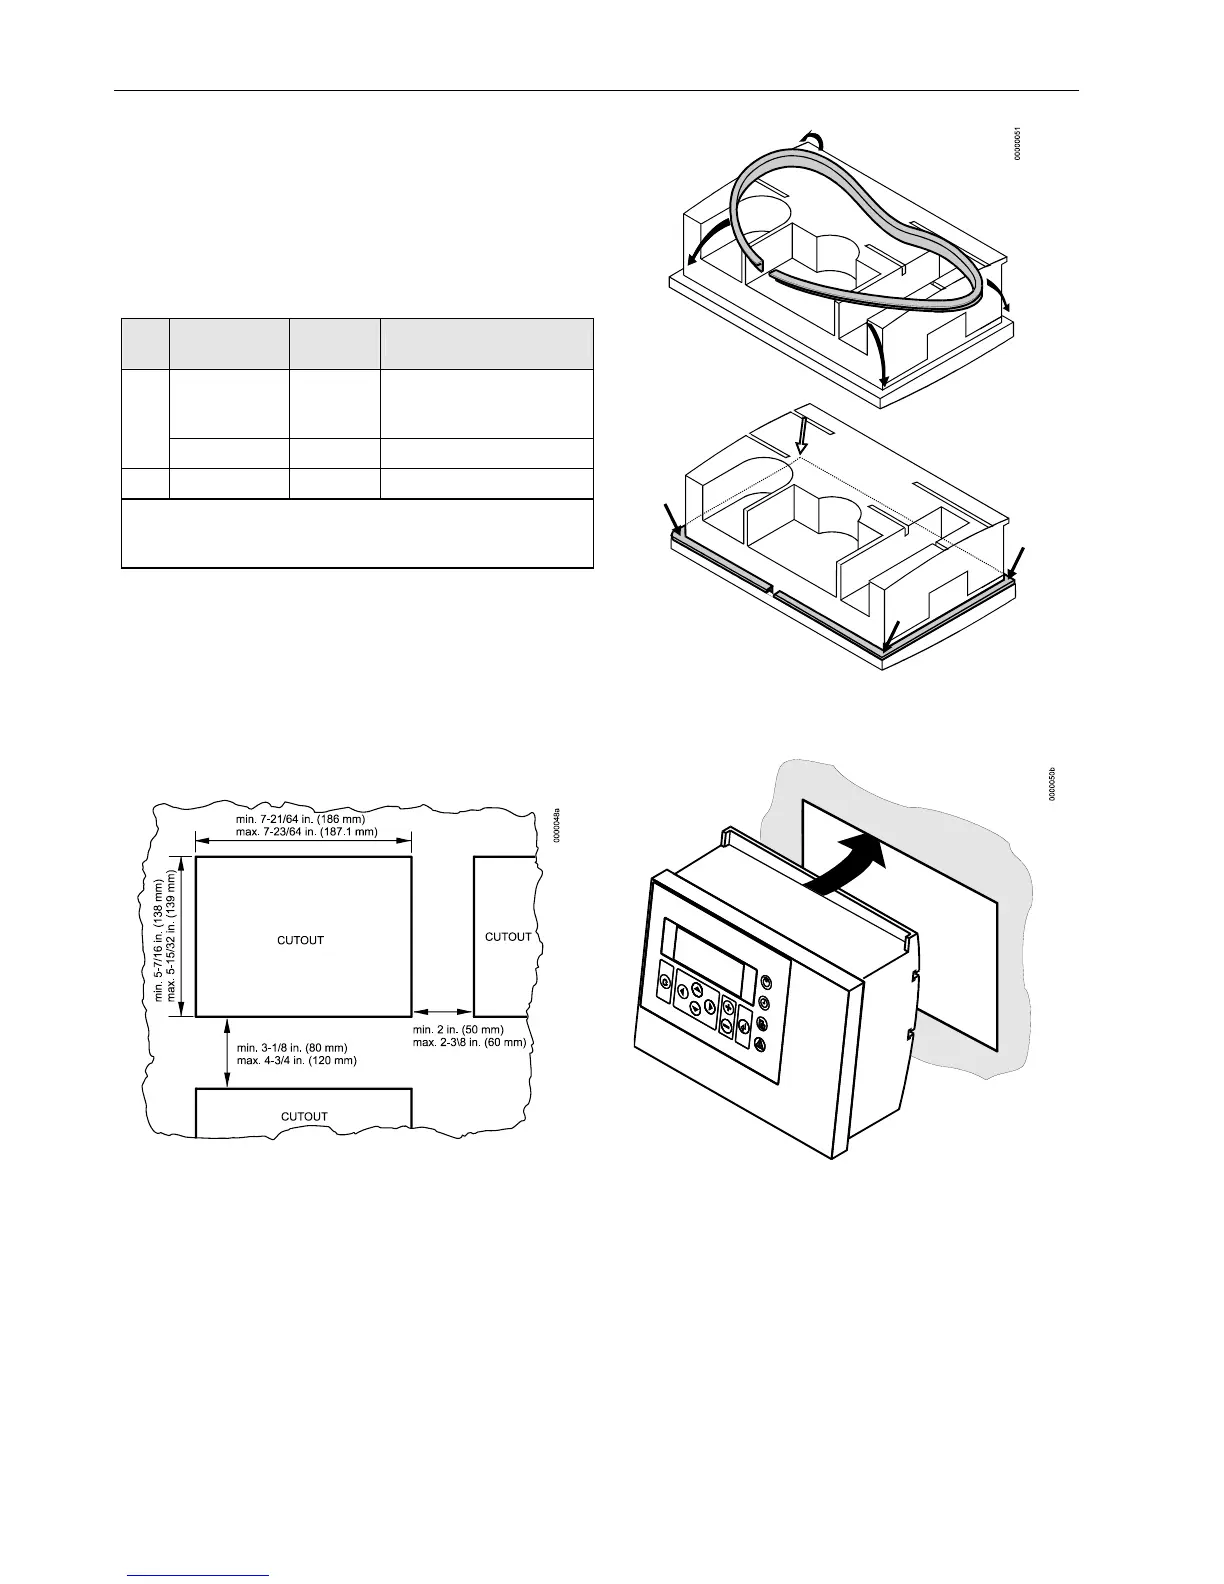
Table 1. Mounting versions
MMI version
where
mounted
necessary accessory*
front door
cutout in
front door
XL 50 ACC3 - rubber
sealing ring and front door
mounting clamps
yes
inside cabinet DIN rail DIN rail mounting clips
no inside cabinet DIN rail DIN rail mounting clips
*The DIN rail mounting clips are part of the delivery. The
Accessory kit XL 50 ACC3 for front door mounting must be
ordered separately.
Housing
Front Door
1. Choose the position of the controller in the front door.
Observe the min. and max. distances to other devices in
the front door.
2. Cut a rectangle measuring 7-21/64 in. x 5-7/16 in.
(186 mm x 138 mm) out of the front door (standard DIN
cutout).
Fig. 8. Front door cutout dimensions
3. Insert the rubber sealing ring into the gap around the
front plate of the Excel 50 Controller.
Fig. 9. Inserting sealing ring
4. Insert the controller into the cutout in the front door.
Fig. 10. Inserting controller in front door cutout
5. Attach Front Door Mounting clamps on both sides of the
controller and tighten the screws with a screwdriver as
shown in Fig. 11.
 Loading...