10.
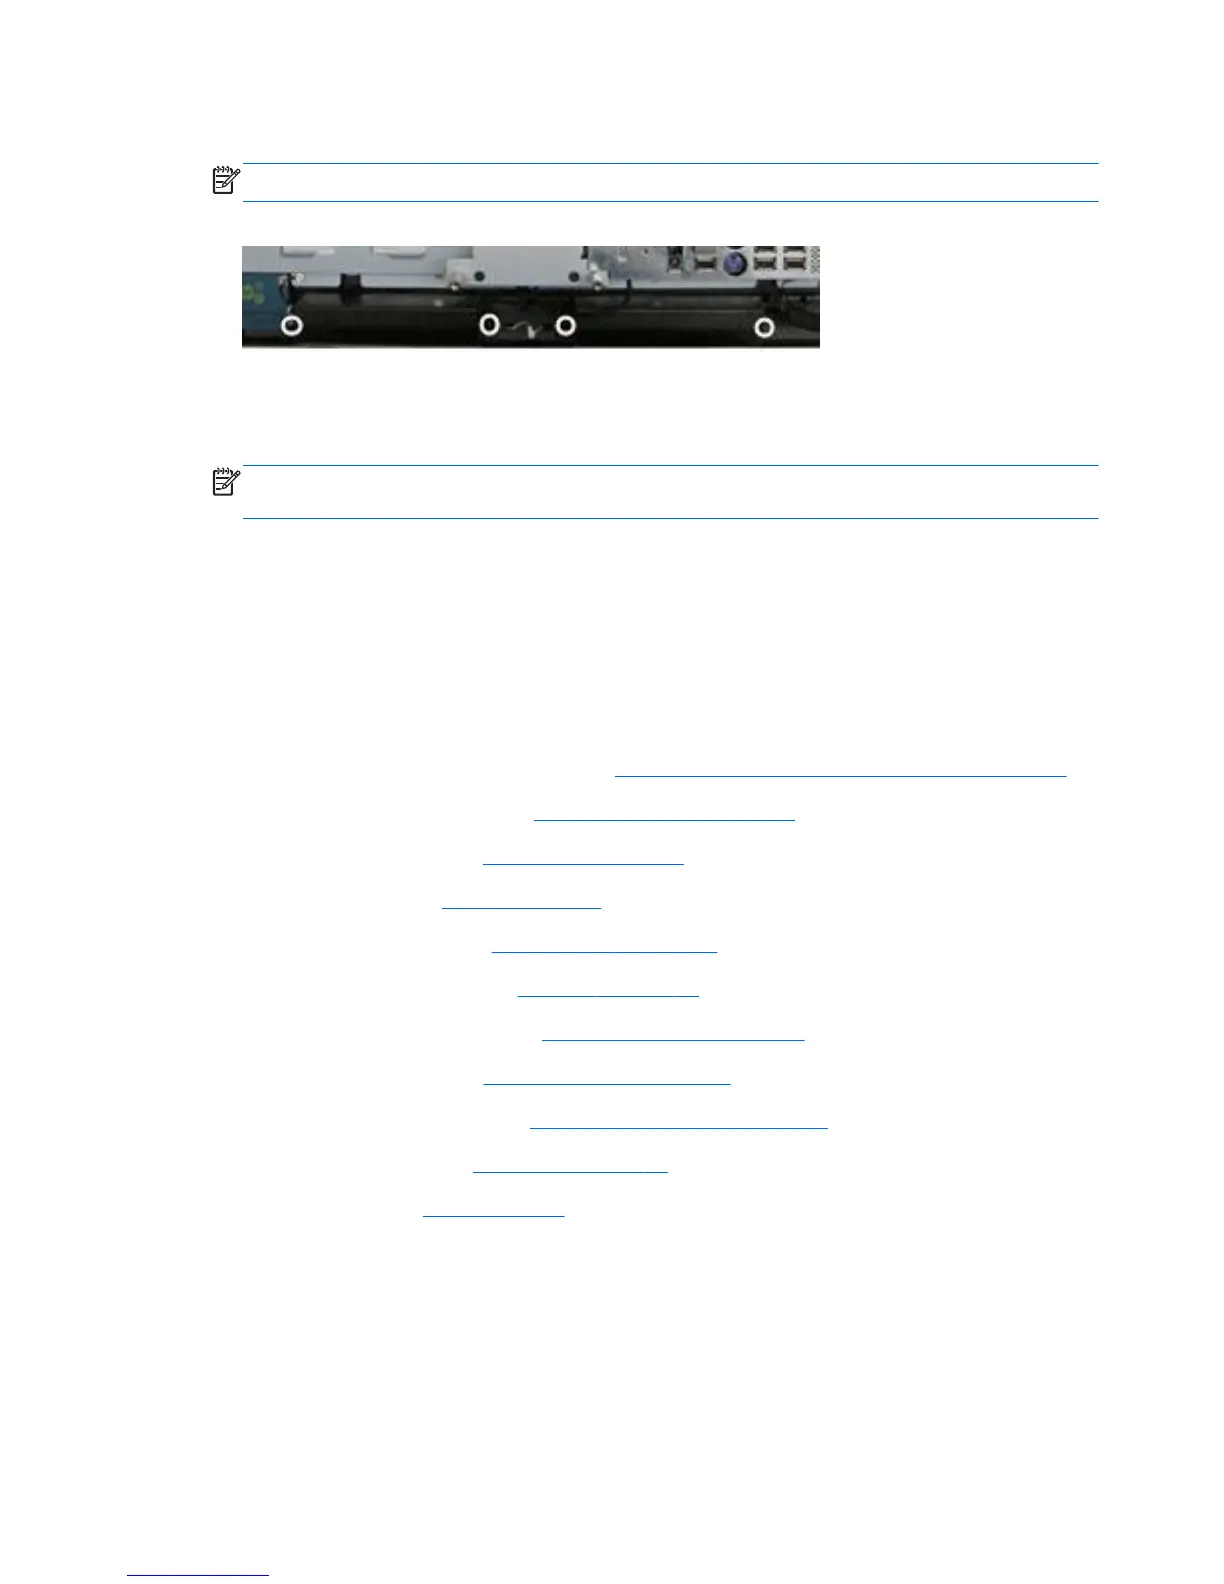
Remove two screws that secure each speaker to the computer.
NOTE: Make note of grounding wire placement for proper installation later.
Figure 7-50 Removing the speakers
11. Remove the tape that secures the speaker wires to the computer.
12. Disconnect the speaker cable from the system board connector.
NOTE: The speakers can be disconnected from each other. The right speaker connects to the
system board.
To install the speakers, reverse the removal procedures.
System Board Shield
The system board shield sits above the system board. It is secured with seven screws.
To remove the system board shield:
1. Prepare the computer for disassembly (see
Preparing to Disassemble the Computer on page 43).
2. Remove the small rear cover (see
Small Rear Cover on page 44).
3. Remove the port cover (see
Port Cover on page 45).
4. Remove the stand (see
Stand on page 46).
5. Remove the drive cover (see
Optical Drive on page 47).
6. Remove the memory cover (see
Memory on page 53).
7.
Remove the upper rear panel (see
Upper Rear Panel on page 55).
8. Remove the I/O panel (see
Rear I/O Cover on page 67).
9. Remove the outer/left panel (see
Outer/Left Rear Panel on page 75).
10. Remove the small fan (see
Small Fan on page 61).
11. Remove the fan (see
Fan on page 89).
92 Chapter 7 Removal and Replacement Procedures All-in One (AIO) Chassis
 Loading...