 Loading...


Do you have a question about the HP ProLiant DL360 G7 and is the answer not in the manual?
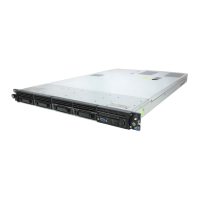
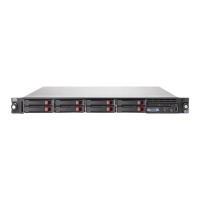
| Storage | Up to 8 SFF SAS/SATA/SSD drives |
|---|---|
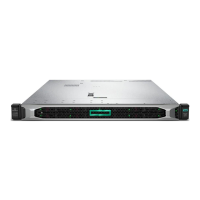
| Form Factor | 1U Rack |
| Processor | Intel Xeon 5600 series |
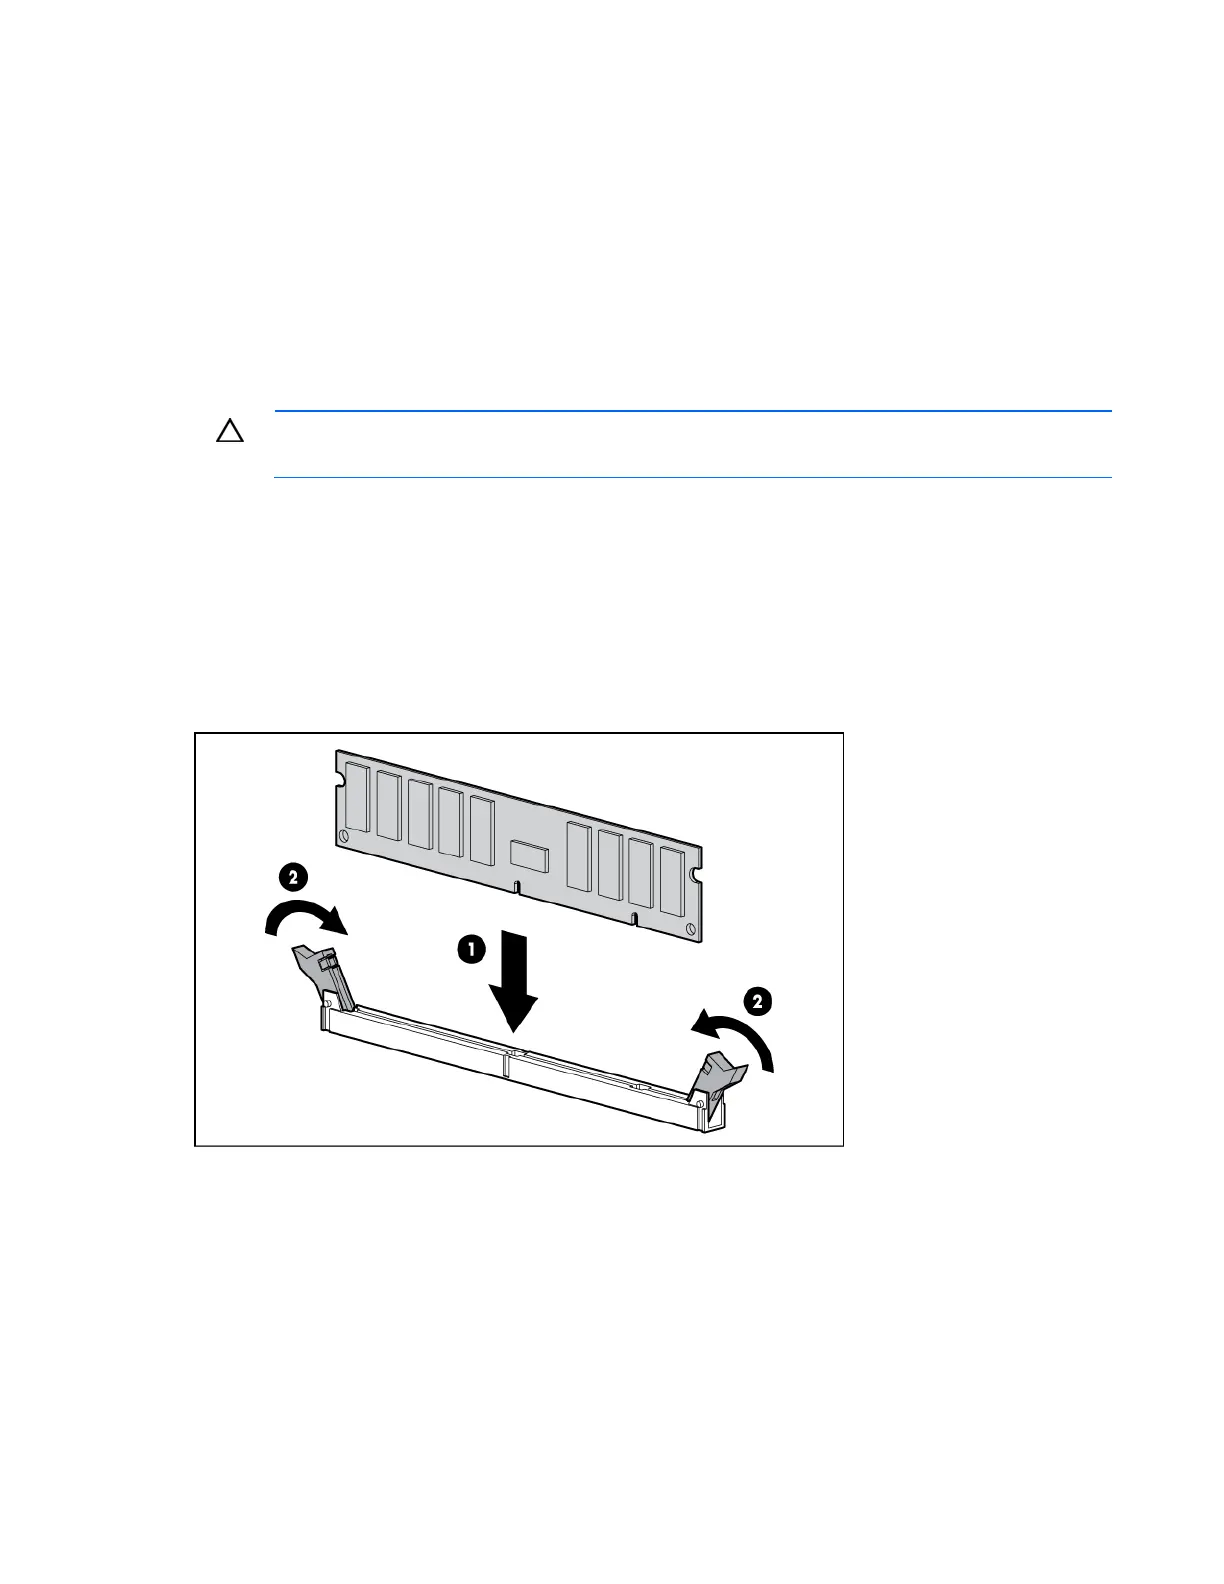
| Memory | Up to 192GB DDR3 |
| Network | Embedded NC382i Dual Port Multifunction Gigabit Server Adapter |
| Power Supply | Hot-plug redundant power supplies (460W, 750W, or 1200W) |
| Expansion Slots | 2 x PCIe Gen2 |
| RAID Controller | HP Smart Array P410i |
| Network Controller | HP NC382i Dual Port Multifunction Gigabit Server Adapter |
| Management | Integrated Lights-Out 3 (iLO 3) |
| Operating System Support | Microsoft Windows Server, Red Hat Enterprise Linux, SUSE Linux Enterprise Server, VMware |