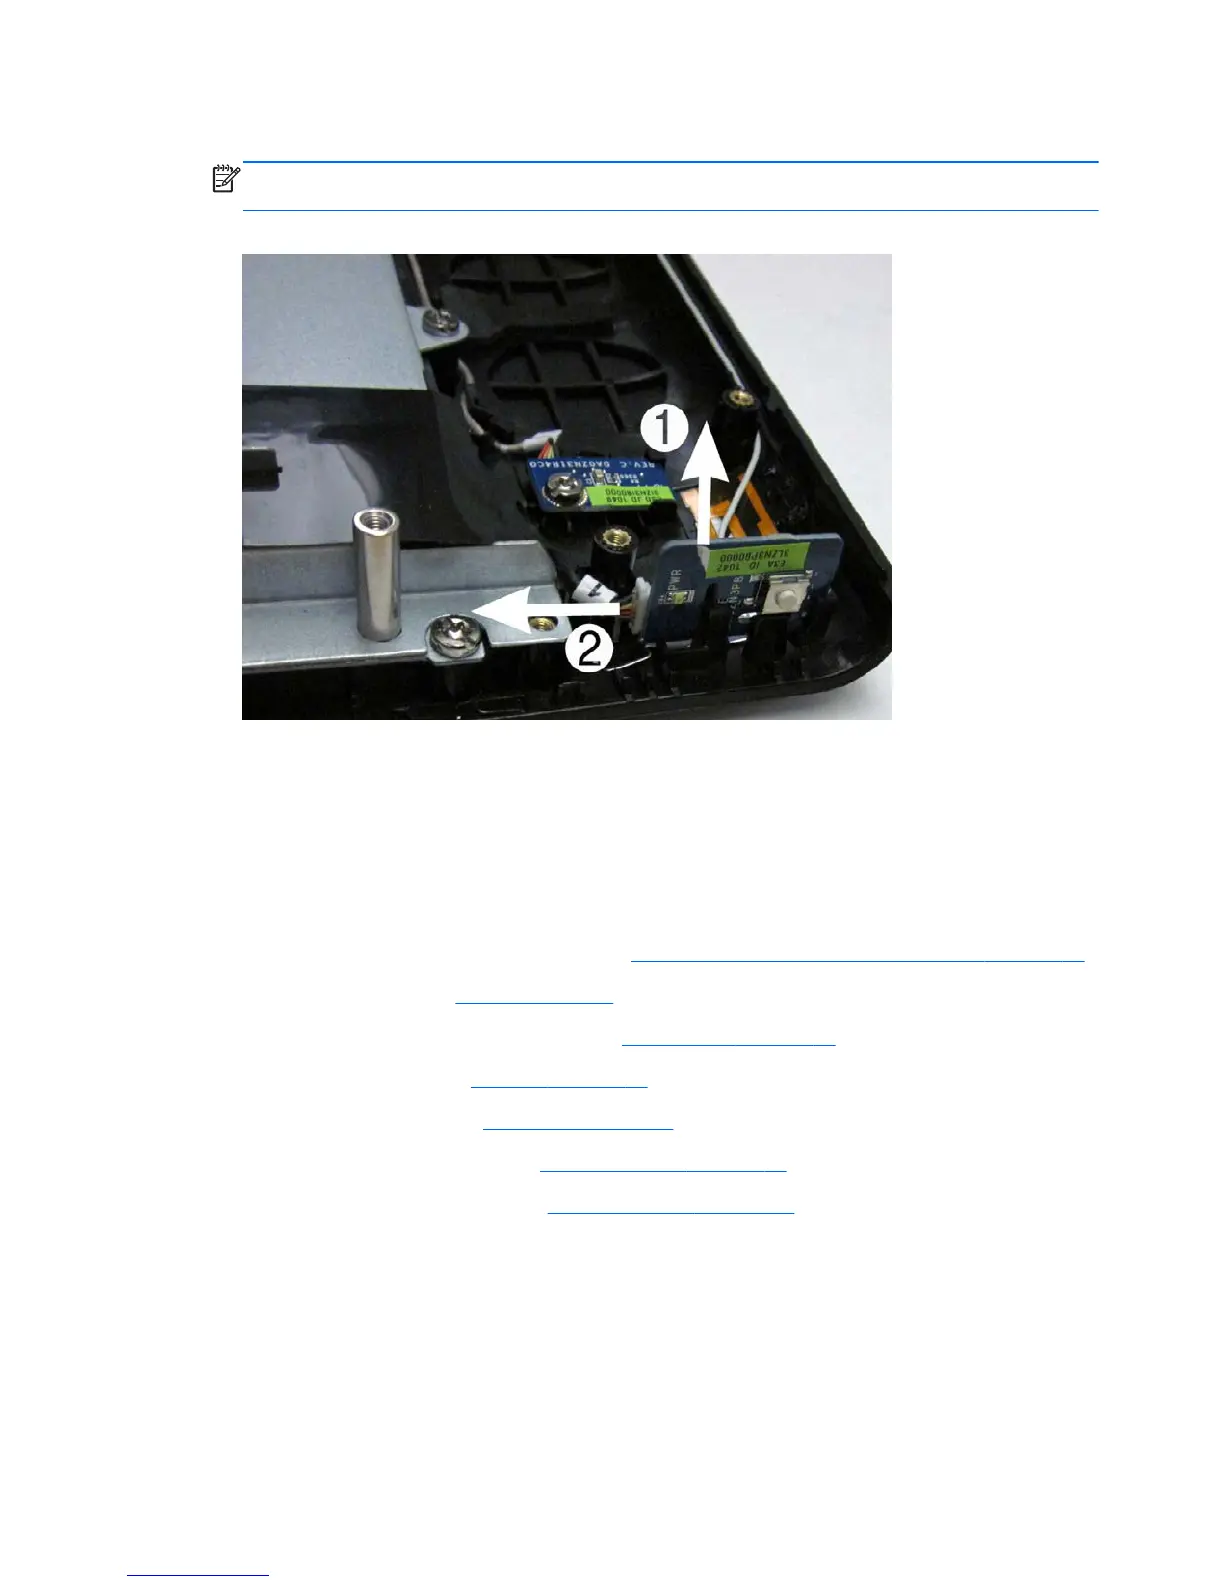
9. Disconnect the cable from the board (2), and then remove the board from the computer.
NOTE: Be careful not to damage the cable when disconnecting it from the connector. Do not
pull on the wires.
Figure 7-50 Removing the power button board
To install the power button board, reverse the removal procedures.
System board shield
The system board shield sits above the system board. It is secured with three screws.
To remove the system board shield:
1. Prepare the computer for disassembly (see
Preparing to disassemble the computer on page 33).
2. Remove the stand (see
Stand on page 34).
3. Remove the right and left rear panels (see
Rear panels on page 46).
4. Remove the left cap (see
Left cap on page 60).
5. Remove the right cap (see
Right cap on page 66).
6. Remove the rear logo cover (see
Rear logo cover on page 71).
7. Remove the rear main frame (see
Main rear frame on page 74).
8. Remove the three screws that secure the shield to the computer (1).
9. Disconnect the cable from the CONVER DB CONN system board connector (2).
76 Chapter 7 Removal and Replacement Procedures
 Loading...