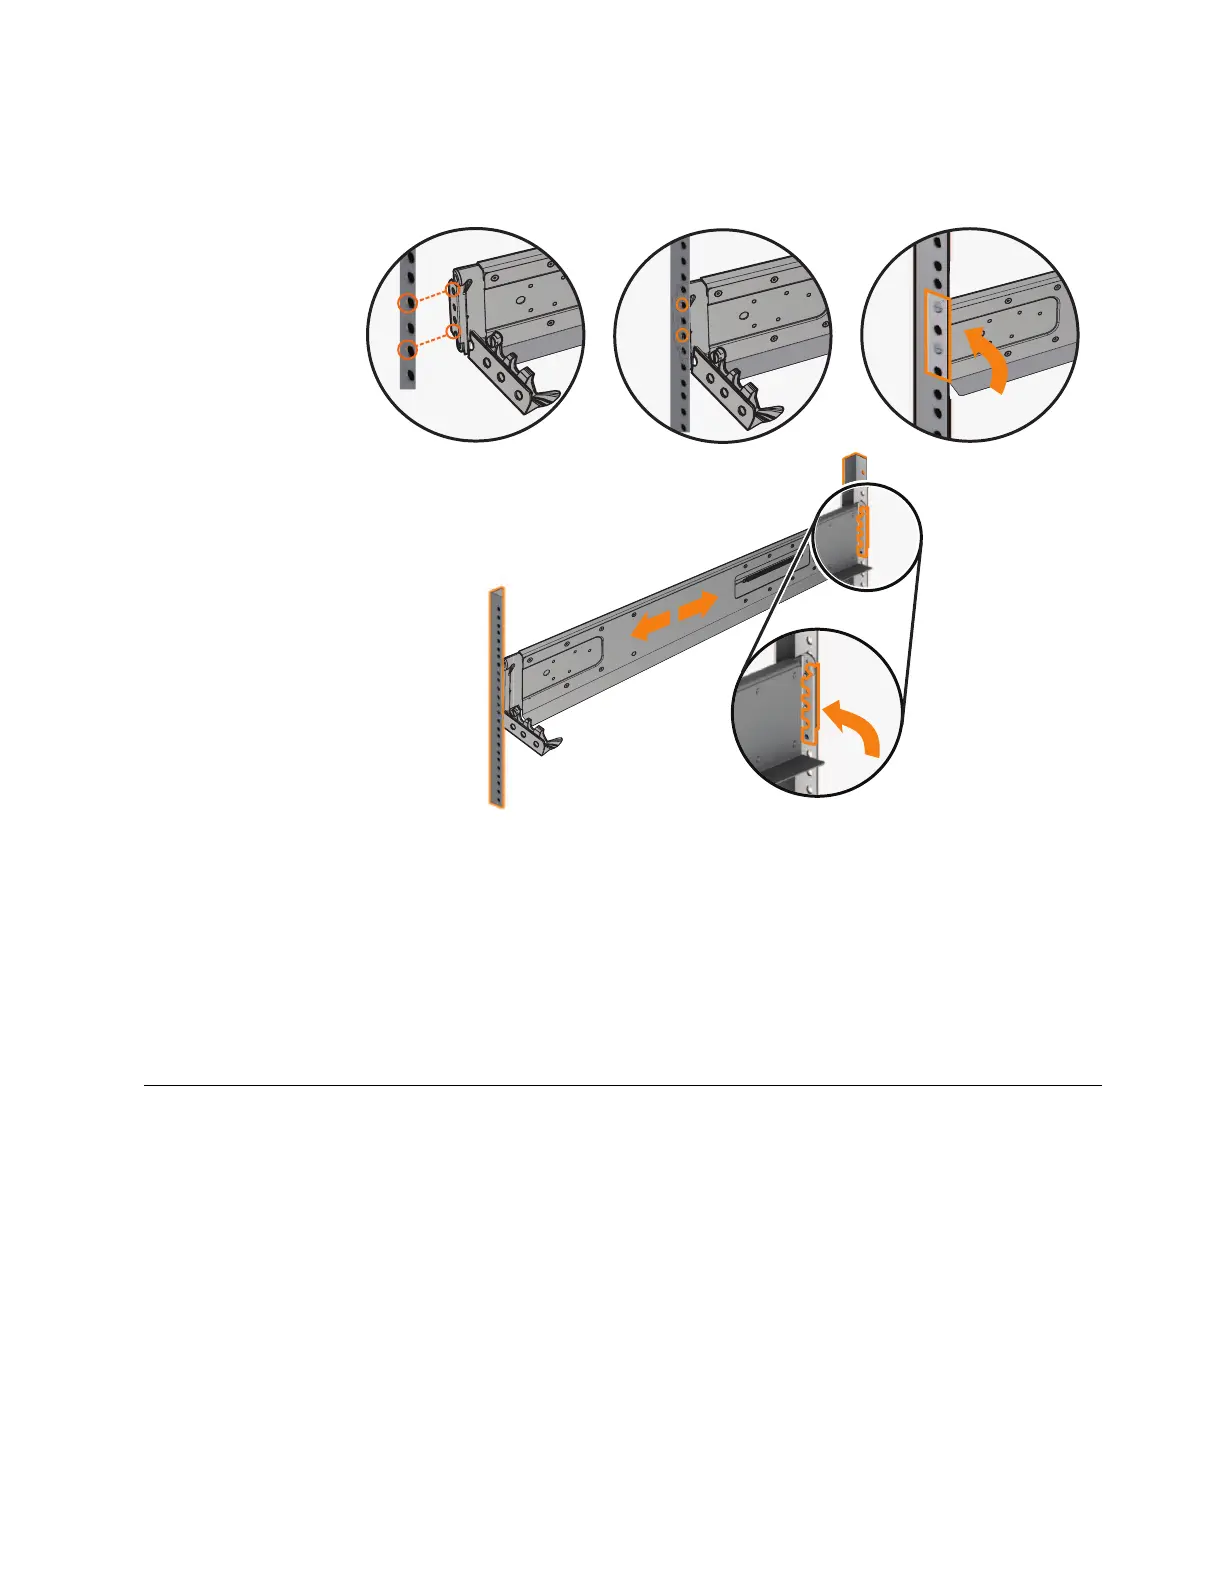
8. Close the rear hinge bracket to secure the rail to the rack cabinet flange. (See
Figure 15.)
9. On the front of the rail, press the two bracket pins into the holes in the rack
flanges.
10. Close the front hinge bracket to secure the rail to the rack cabinet flange.
Figure 15 shows an example.
11. Repeat step 2 on page 18 through step 10 to secure the opposite rail to the
rack cabinet.
12. Repeat the procedure to install rails for each additional control enclosure.
Installing enclosures
Following your enclosure location plan, install the control enclosure (and
optionally, one or more expansion enclosures).
About this task
Note: For NEBS-compliant installations, more requirements are placed on the rack
into which the support rails and enclosures are to be installed. Before you proceed,
ensure that the rack meets the requirements that are listed in “NEBS-compliant
earth connection” on page 17.
Figure 15. Closing the hinge brackets
Chapter 2. Installing the system hardware 21
 Loading...


