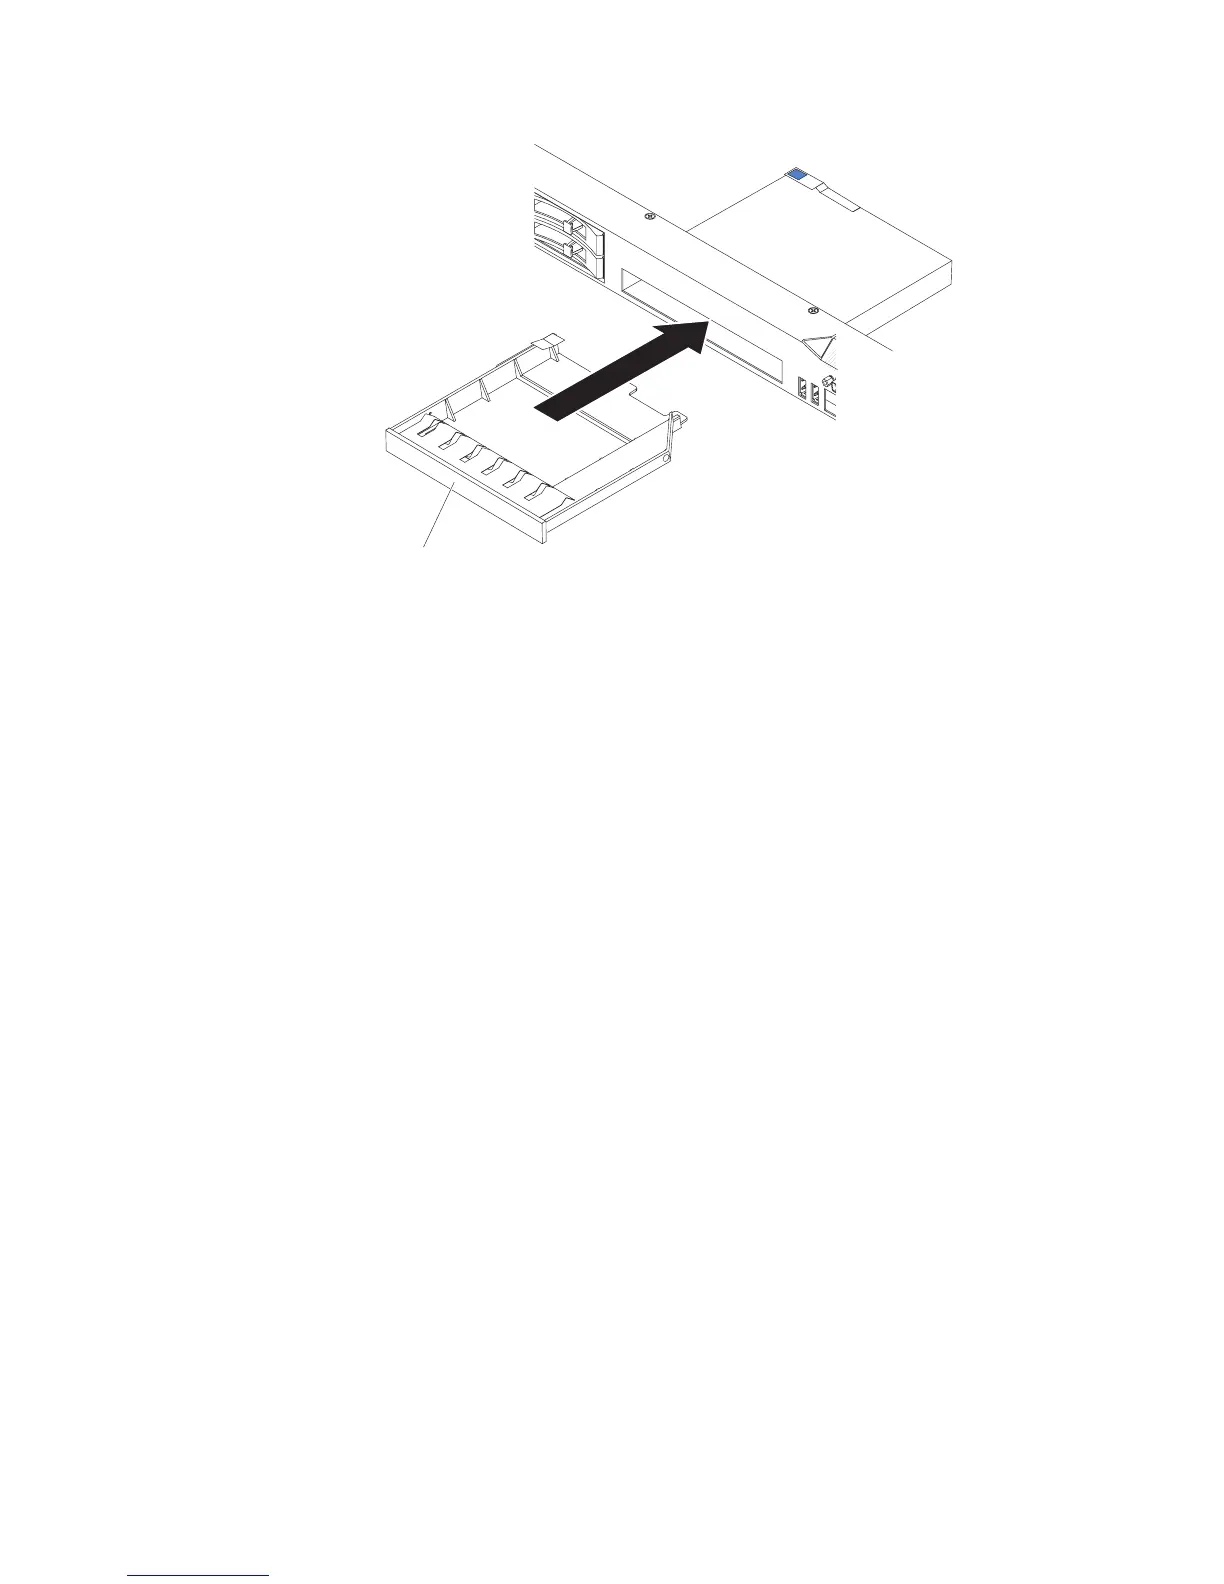
DVD drive filler panel
8. If you are instructed to return the DVD drive, follow all packaging instructions,
and use any packaging materials for shipping that are supplied to you.
Installing an optional DVD drive
The following notes describe the type of drives that the server supports and other
information that you must consider when you install a hard disk drive. For a list of
supported drives, see http://www.ibm.com/servers/eserver/serverproven/compat/us/.
v Locate the documentation that comes with the drive and follow those instructions
in addition to the instructions in this chapter.
v Make sure that you have all the cables and other equipment that are specified in
the documentation that comes with the drive.
v The server supports one ultra-slim SATA optical drive.
If you need to install an optional DVD drive, complete the following steps:
1. Read the safety information that begins on page vii and “Installation guidelines”
on page 167.
2. Turn off the server and peripheral devices and disconnect the power cords and
all external cables.
3. Remove the cover (see “Removing the cover” on page 174).
4. If your server does not come with an optical drive bay, install the optical drive
cage and replace the bezel (see “Installing an optional optical drive cage” on
page 228).
5. Disconnect the DVD drive cable (see “Removing the DVD cable” on page
229).
6. Remove the DVD drive filler panel if it is installed. locate the blue release tab
on the rear of the DVD drive filler panel; then, while you press the tab, push
the DVD drive filler panel out of the drive bay.
190 IBM System x3550 M3 Types 4254 and 7944: Problem Determination and Service Guide
 Loading...


